Colorful Summer Pennant Banner

I made a spunky and colorful banner to spruce up my entry.


Most of the furnishings and paint colors in my home are pretty neutral.  So I wanted to make something bright and fun to decorate for summer.


I started with this Maya Road canvas pennant kit.  I think it's sold as a scrapbook, but it works great as a banner.   It had just enough of the little pennants to spell out summer.


I pulled a few bits and pieces of crafty fun from my stash.  I used red, aqua and yellow to go with the glittery silver chipboard letters.


For the S, I used a bottle cap from the cokes we drank to celebrate the start of summer, a cardstock paper border and a felt flower.


For the U, I used a fabric circle, a chipboard scalloped circle and some yellow ric rac.


For the first M, I used some cardstock for the back ground and a metal flower.


For the other M, I used a yellow, scalloped fabric circle with some red polka dot washi tape.


For the E, I used a aqua cardstock circle and some buttons.


For the R, I used a scrap of trim and a blue clothespin.


I used book rings to bind all of the flags together.


And ribbon to tie it onto the shelf.


It's a fun little banner with bold pops of color.


I hope you are having a fun summer!!  


Here is a link to a mini  (it's a little smaller then what I used) banner kit and the chipboard letters.


Business Cards

I came home from Haven with TONS of business cards from my new friends!!


They are all so dang creative and individualized.  Love them all!!  Some even included some little prizes like chocolate, tea and a mini pencil.  Too cute!!  


About 2 weeks before Haven I thought I ought to have some business cards.  Um yeah, nothing like the last minute.  But it all worked out because I remembered that Staples does business cards.  I was able to put my order in 1 evening and pick them up the next day.


I used the software on their website and made this card.  I wanted my cards to be a little different so I did the orientation vertical instead of horizontal.  I uploaded my little she's crafty girl and put it on the card along with my info.


To add a little somethin' something to the cards I filled in the girls with glossy accents.


It's kinda hard to take a photo of, but the little girls are clear and raised.


I'm off to go through this big ol' stack and check out more business cards and blogs.  

Haven 2012

I went to Haven, a Blogging and Home DIY conference last weekend.  It was such a mind blowing experience  I'm not even sure where to start with my recap.  I guess I'll just start at the beginning.


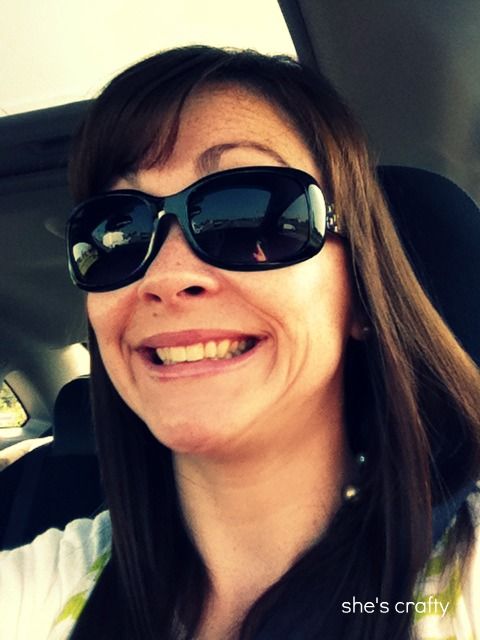
On Wednesday, I drove down to Atlanta, all by myself -it was heaven to listen to the music I wanted to hear and not have to mediate any kid-fighting.  I got all checked in to my room, then went in search of the Haven activities.


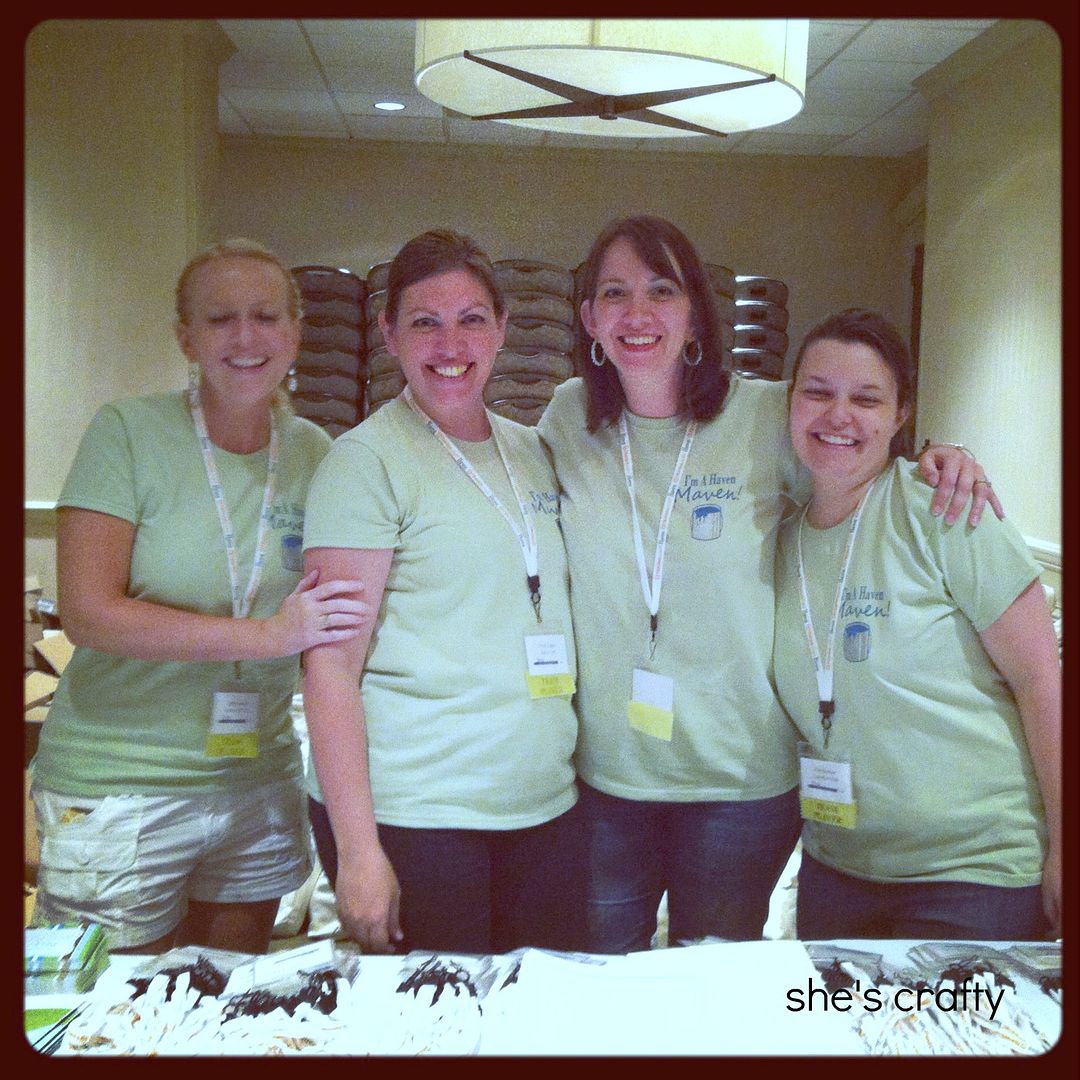
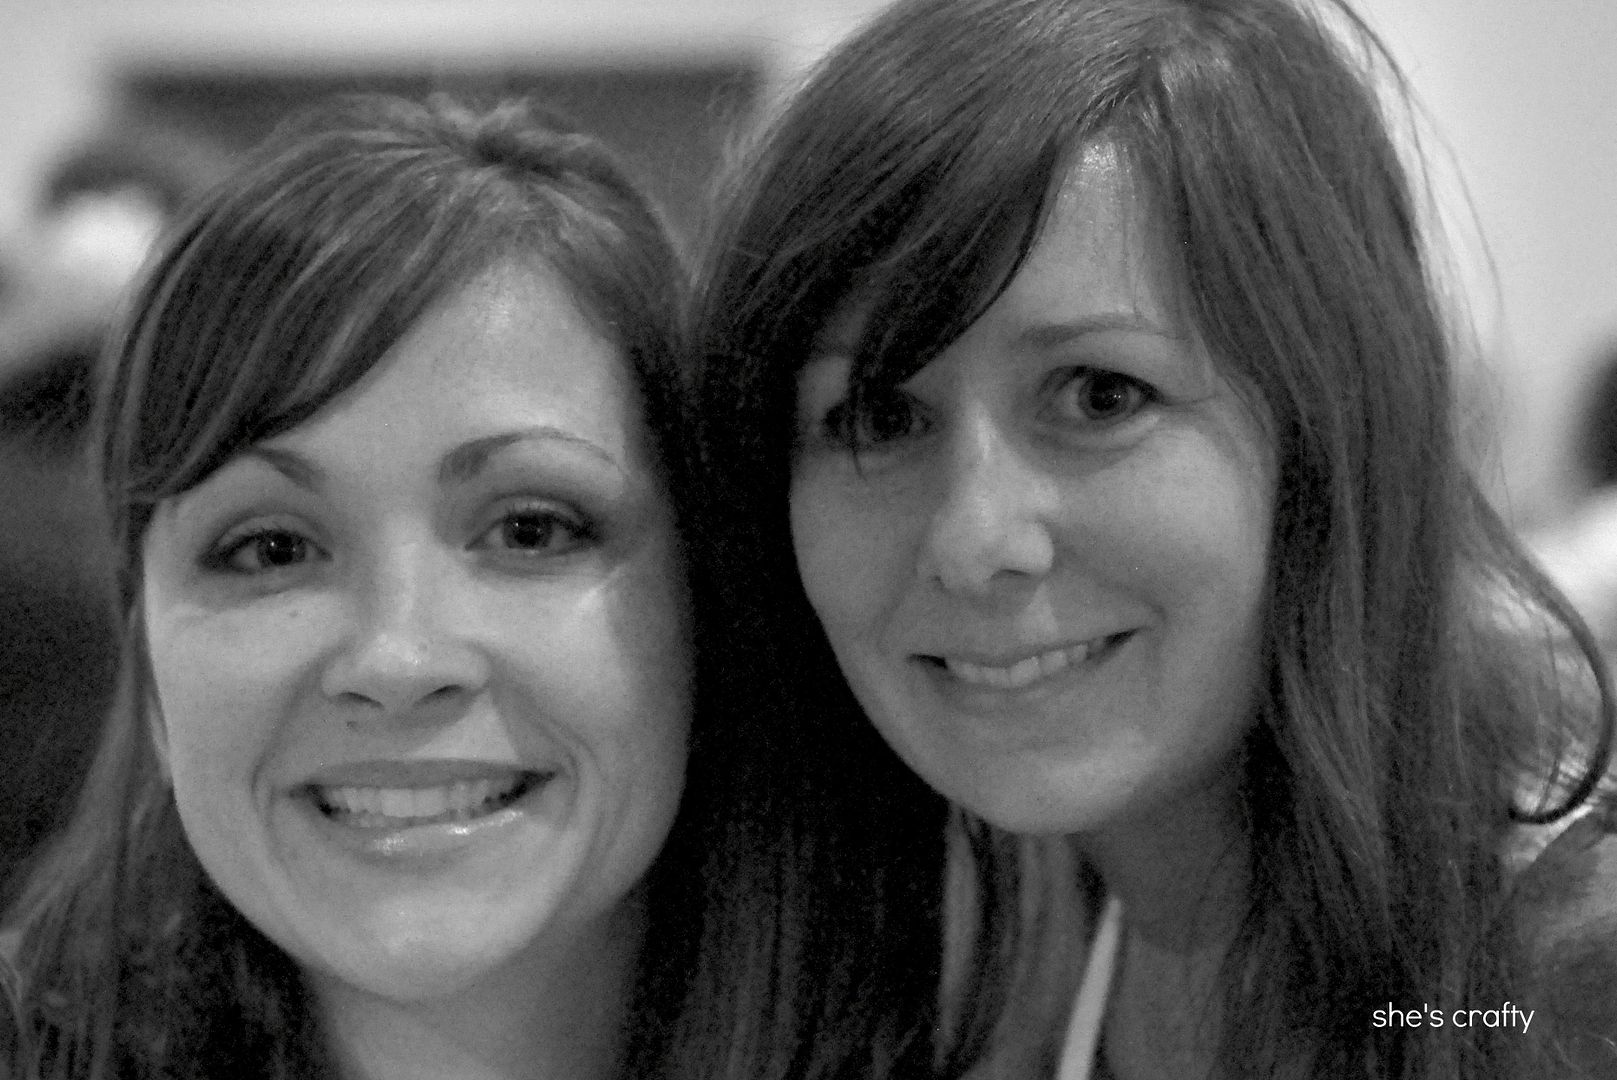
I walked into the registration room and was completely star struck to see:  Beth, Chris, Sarah and Kristi.  (I apologize to Beth and Kristi for this photo of them with their eyes closed.  It was the only one I took because my heart was pounding so hard and my picture taking finger was shaking.)  I also saw Rhoda and Tracy too, but somehow missed taking their picture.


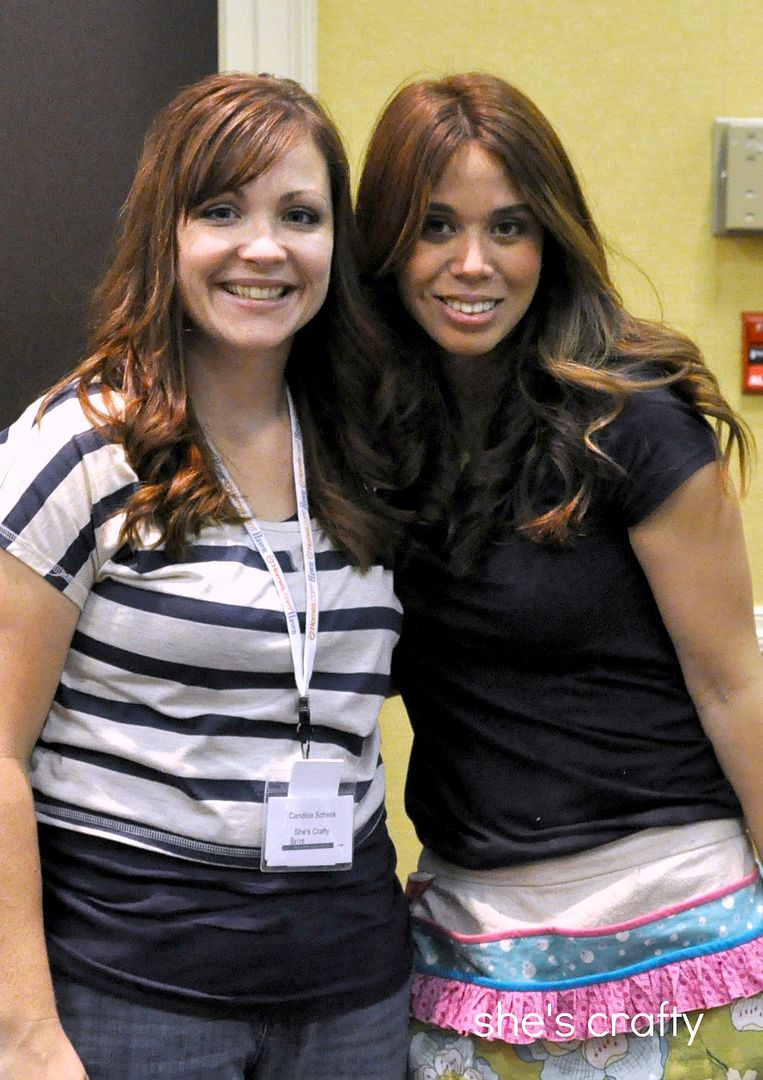
Later that night was a meet and greet.  And look who I met... 
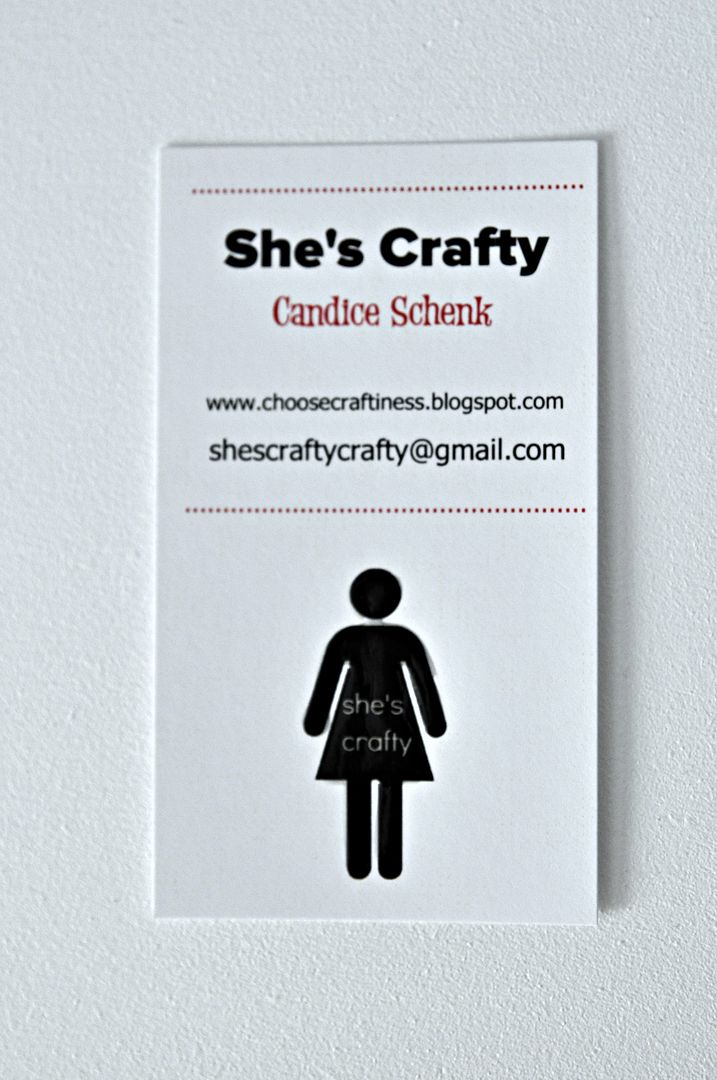
THE NESTER!!  Holy cow!  I was so excited.  She was super sweet and kind.  She even complimented me on my business cards.  Awww!!  


I got to meet Jon and Sherry from Young House Love too.  Also pictured is my new friend Jamie from C.R.A.F.T.


The next day we were up bright and early to hear a welcome from our Haven hosts.


Followed by the key note address by John and Sherry.  They were so funny.  I don't know how they weren't nervous to get up there and speak to over 260 women, but they were as cool as could be.  They told funny stories and were so humble as they related their experiences of home DIY and blogging.  It was delightful to hear them speak in real life!! 


Then we went to our classes.    One of my favorite sessions was a carpentry class taught by the amazing Ana White.  She totally rocked high heels while she was using power tools.  I don't even look that good for church let alone when I'm building stuff.


She was so sweet and completely inspirational, not to mention gorgeous!!!   I came away from her class convinced I can build anything.  


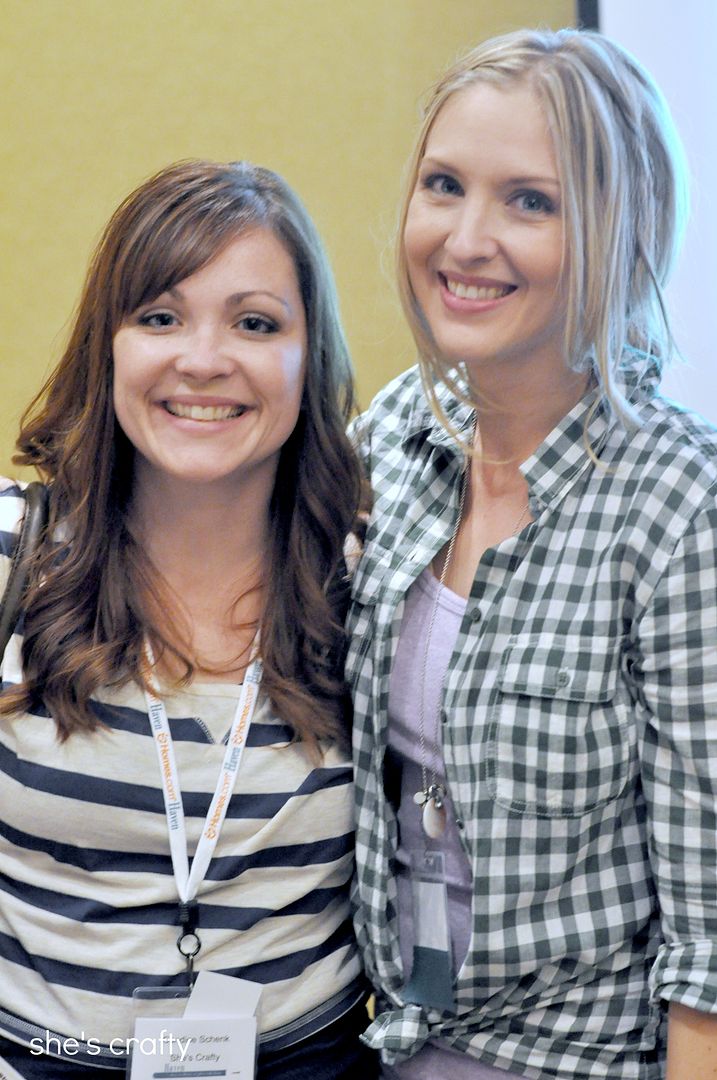
I took a photography class from Kevin and Layla from  The Lettered Cottage and Josh from Shoot Fly Shoot.  The class really opened my eyes to how to take better pictures.  And Layla's photo styling tips were amazing.  I fully expect to be posting better quality photos...hopefully!! 


Layla was absolutely adorable!!


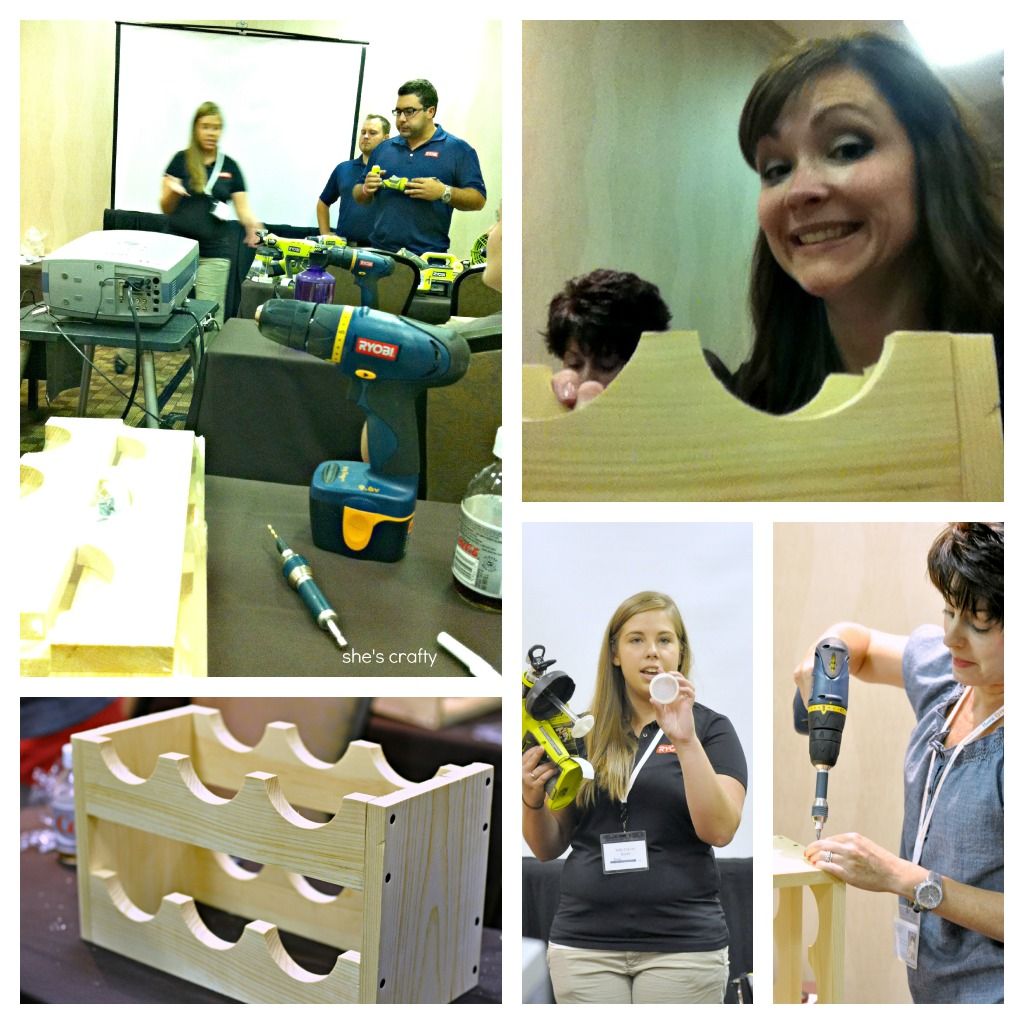
The next day I took a power tool class from Ryobi.   They gave us a demonstration of some of their tools.   I wanted them all, especially the miter saw and the paint sprayer.   Using some of their tools, we were able to make a wine rack.  I'm not sure what I'll do with the wine rack since I don't drink wine.  Maybe it will be a towel holder or something.  Also in the photo is my new friend Chrissi from Hoot Design.   


I went to a Marketing/PR class taught by Tauni and 3 other professional PR girls- Rachael, Ashley and Amy.  They really knew their stuff.  I learned things I never even knew I needed to know.


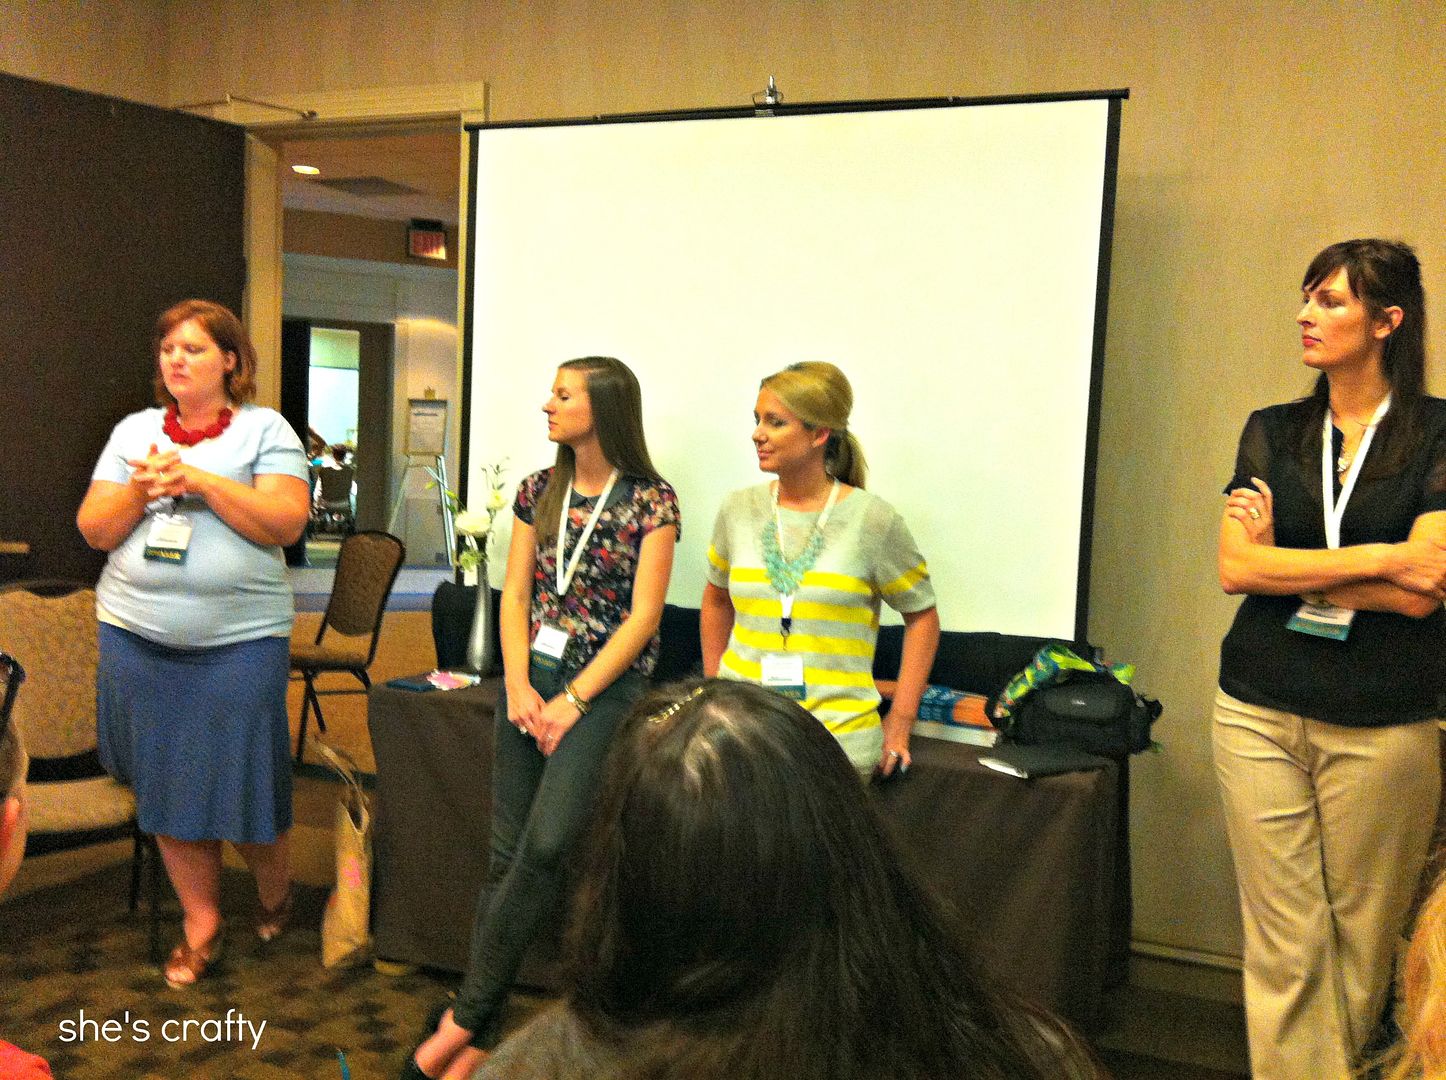
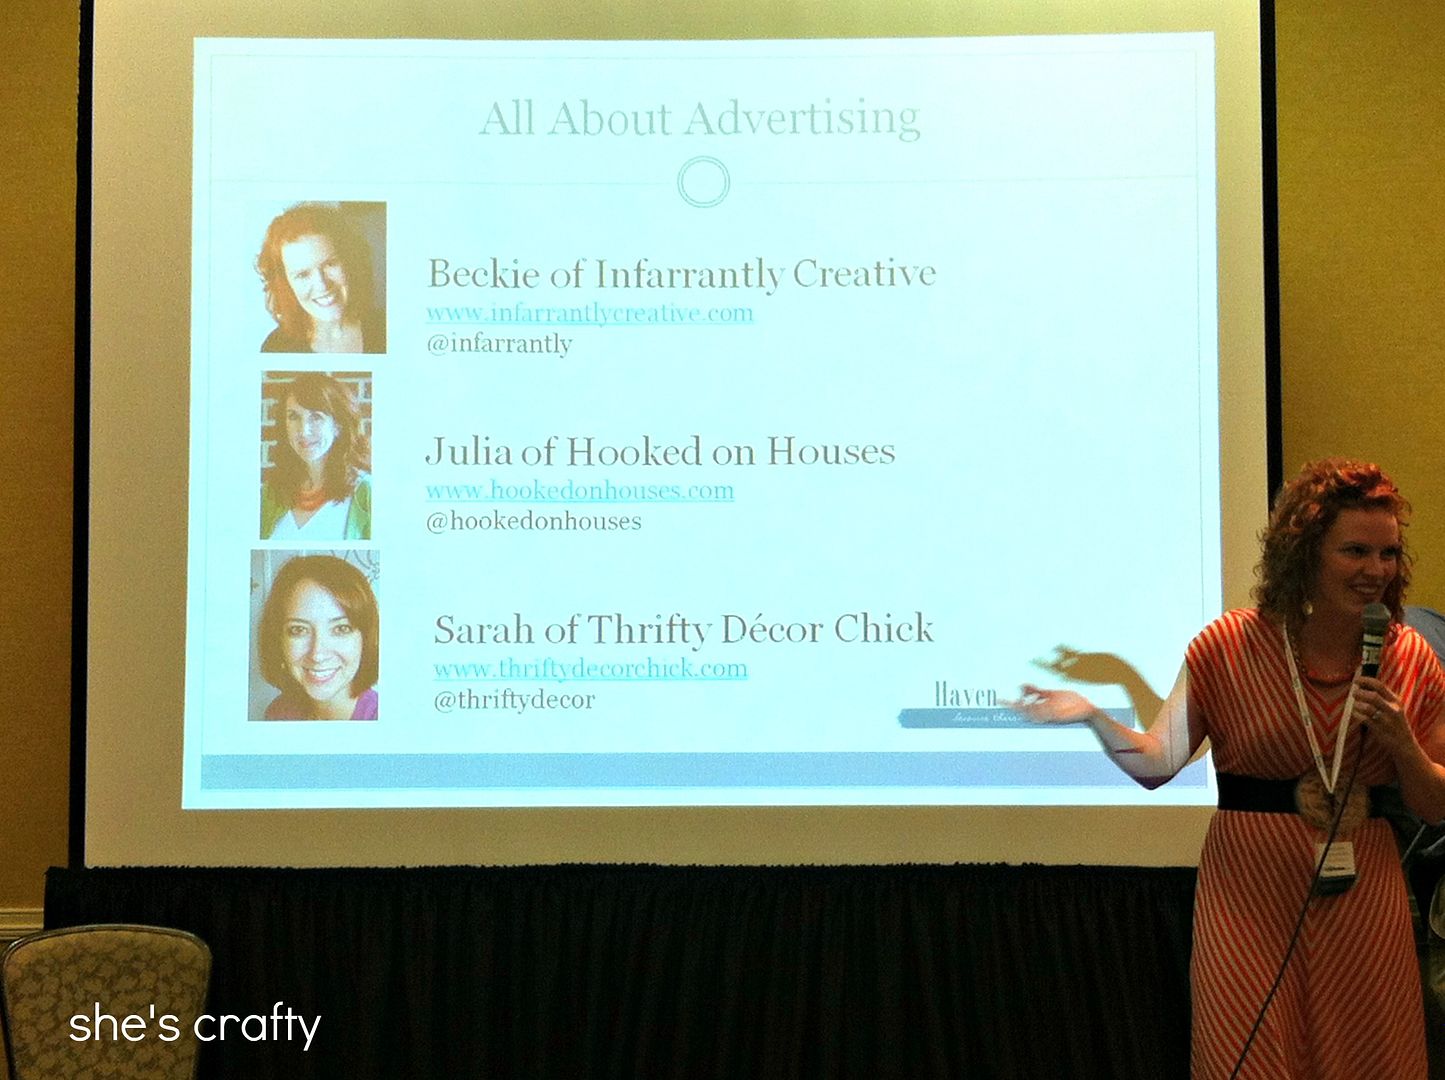
The last class I attended was an advertising class by Beckie, Julia and Sarah.  Again, I learned things I never even knew I needed to know.  That Beckie is a fire cracker and knows what she's talking about!  It was very informative.  I seriously had no idea that some women are supporting their families with their blog as a small business.  My eyes were opened.  I'm not taking my blog to that level but I did learn a quite few things I hope to implement soon.  


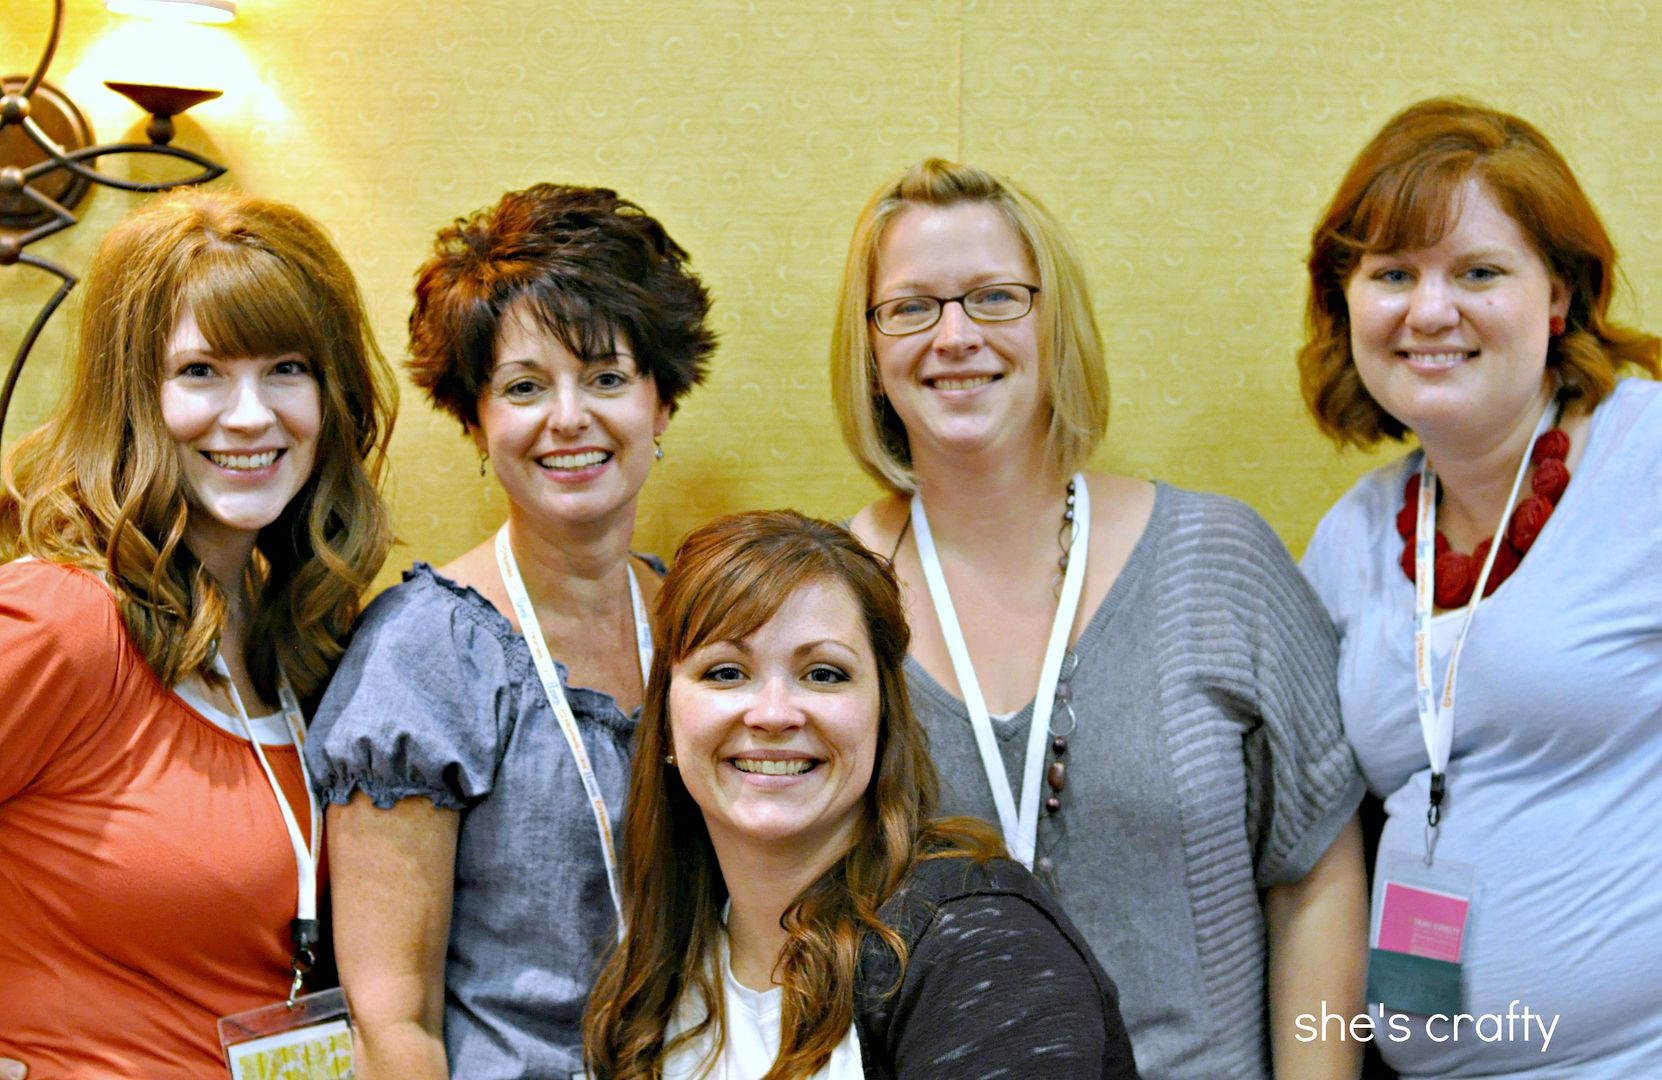
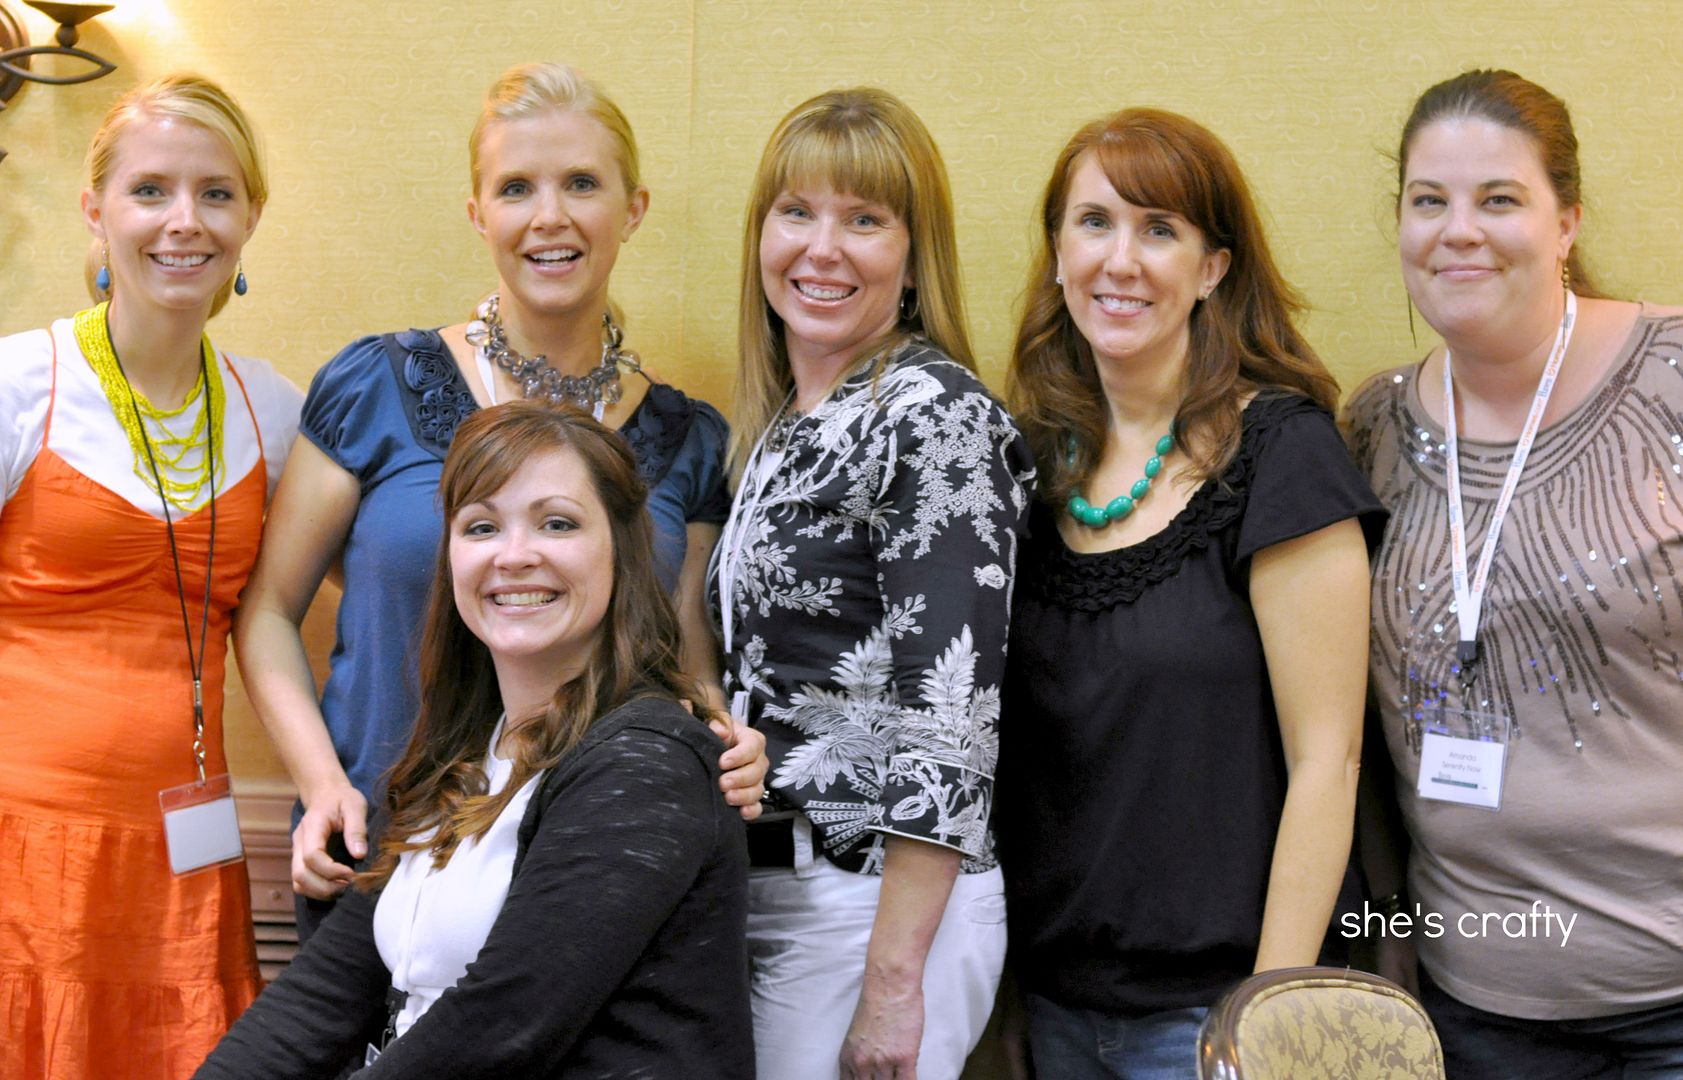
I'm so happy to have gone to this conference and met so many amazing women. I was really nervous and way out of my comfort zone.  Walking up to beautiful women, who run amazing blogs that I read all the time, to say hi, made me break out in a sweat!  But I'm so glad I did because I had the opportunity to meet many of my blogging idols!!  One of my new friends said that she would rather meet these women then Brad Pitt.  I totally agree.
  I'm pictured here with:  Stacy, Chrissi, Natalie, and Tauni.  


The amount of swag we got was so amazing!!  There were so many generous sponsors. I had to have an extra bag to take it all home in.  Yay!  Luckily I drove and didn't have to worry about shipping it or flying with it.  

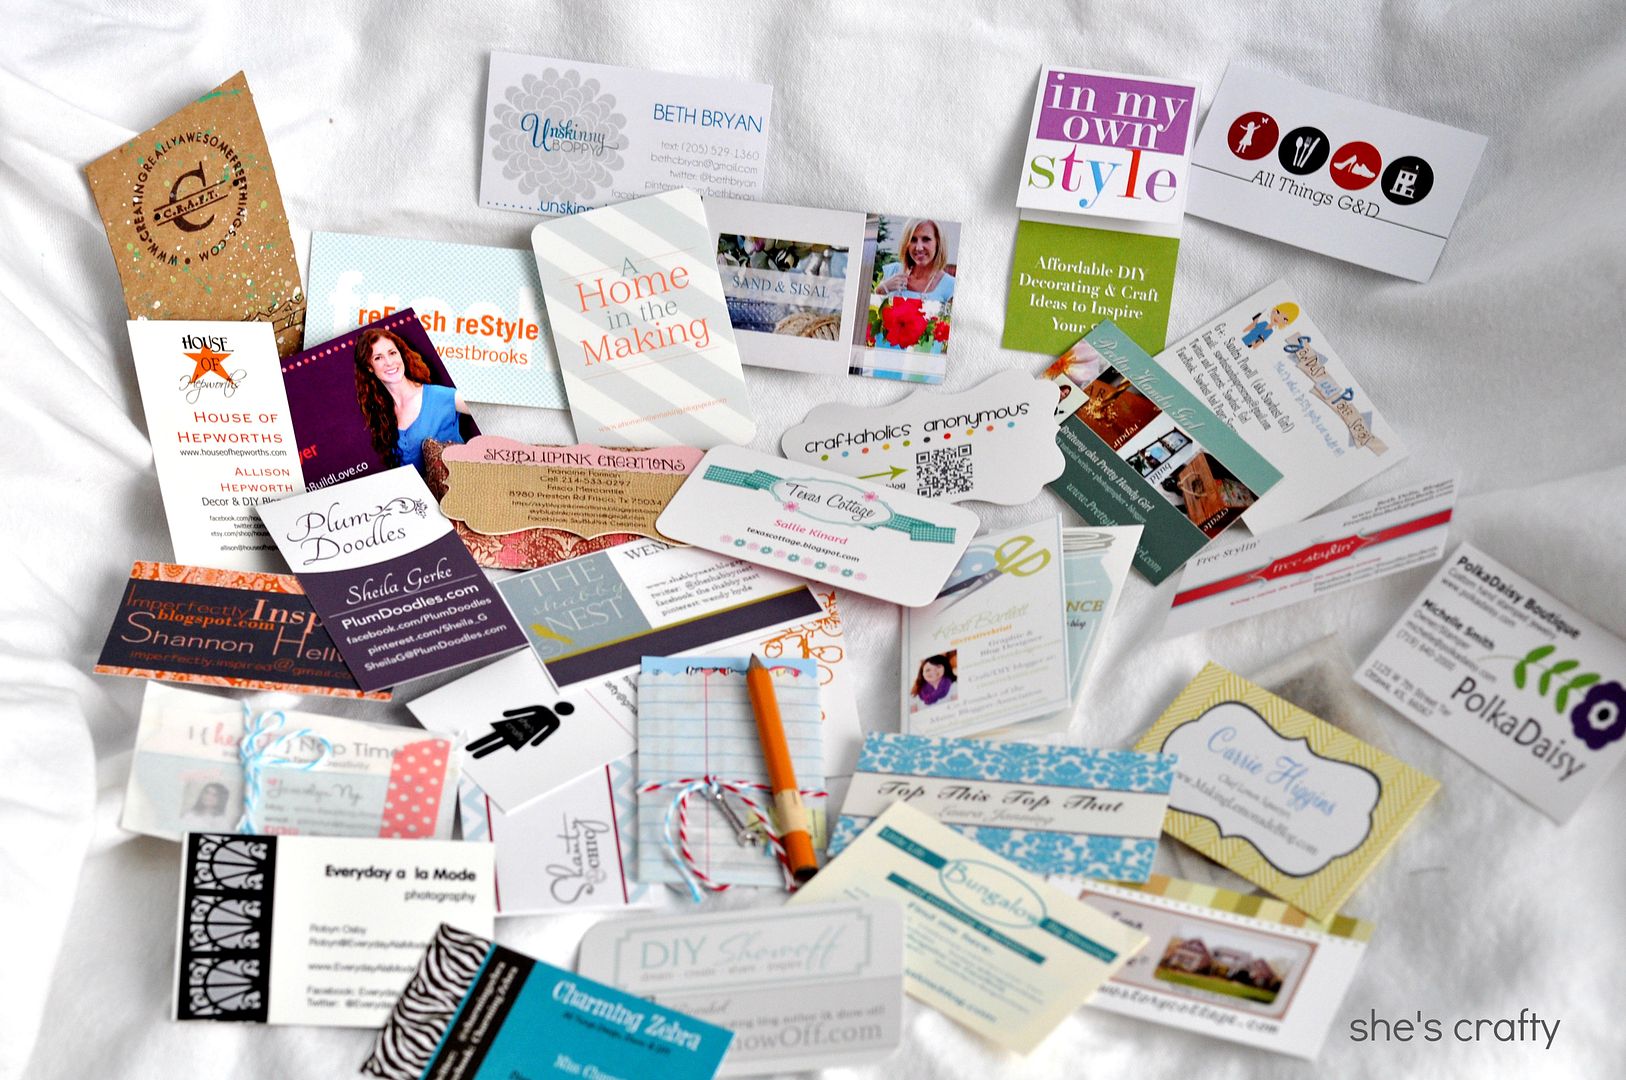
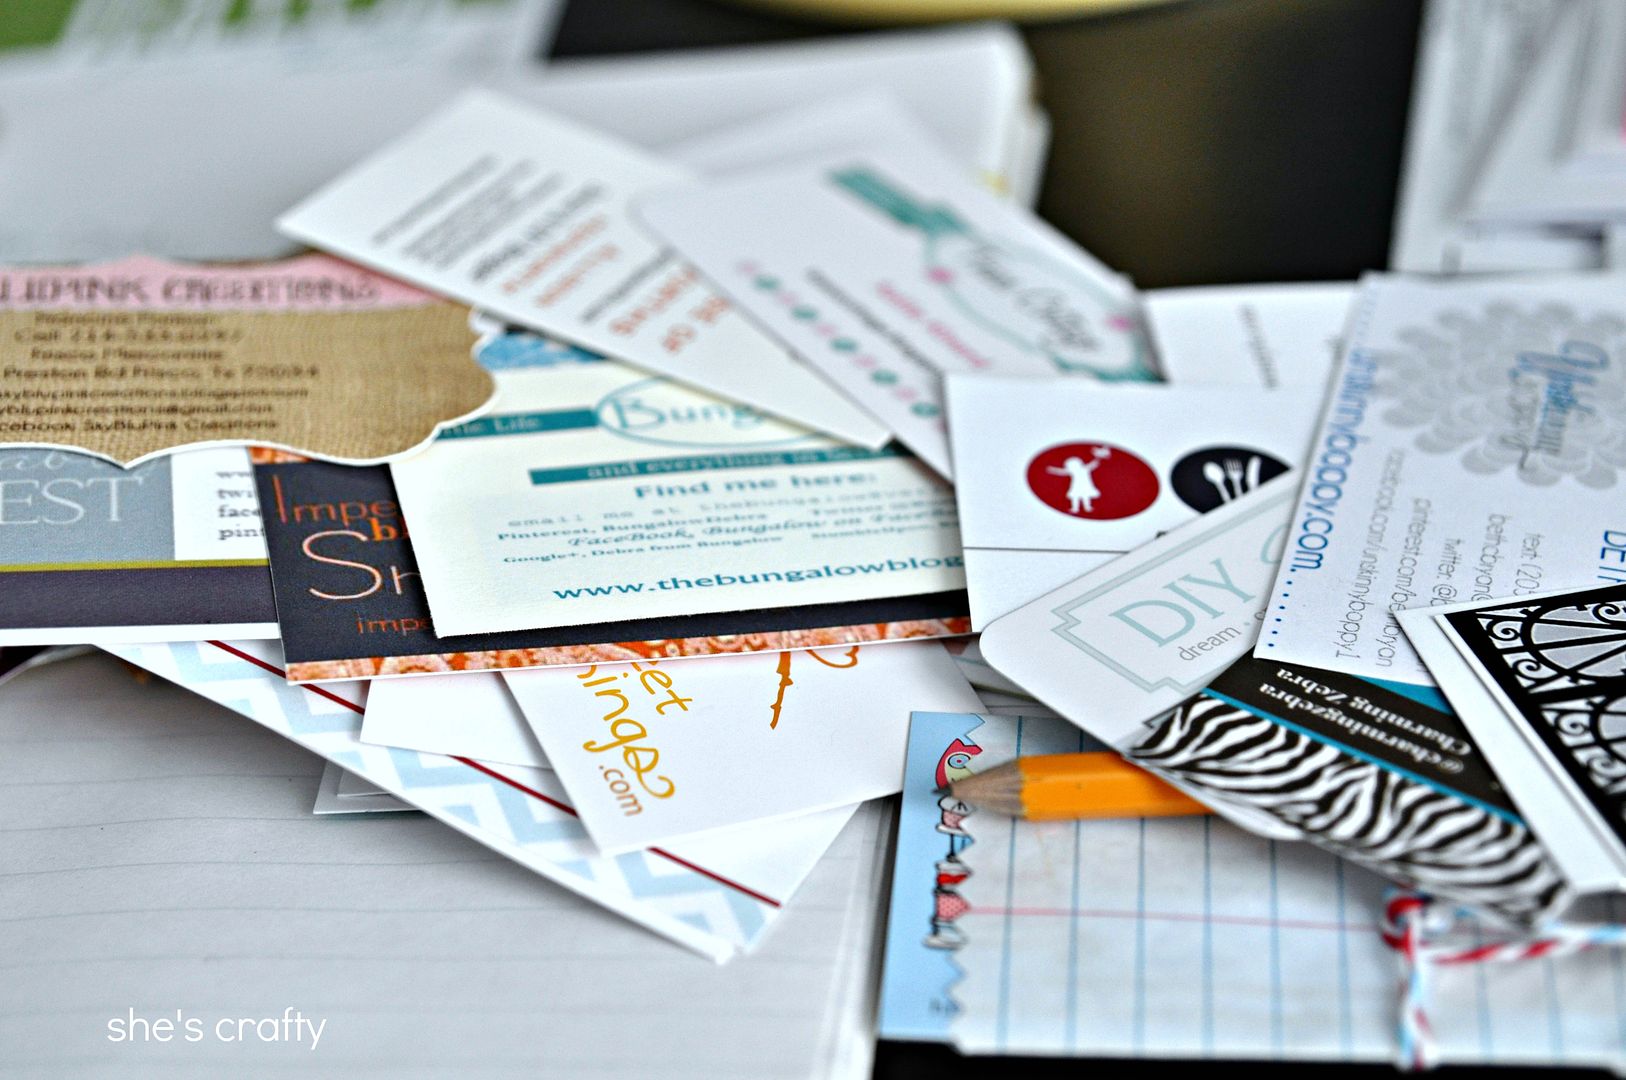
I still have lots of business cards to go through and lots of blogs to visit.  Not to mention, lots of fun to products to try out!  Haven was a wonderful experience!  I hope to go again!!

linking up to:  Southern Hospitality

4th of July Mantle

I kept things pretty simple in our 4th of July decorating!  I use a shelf in our dining area as a mantle and it's my fave place to decorate for the holidays.


The stars in the jar are from Hobby Lobby.  I made the "happy 4th sign" with products from my stash.


In front of my chevron wall art is some USA wooden letters I've had forever.  I elevated them on mismatched candlesticks. 


And of course the painted wooden flag

So simple, bright and fun!!

Linking up to: Liz Marie

July 4 decor outside

Welcome to our home all spruced up for the 4th of July!


Sources:
buntings, metal pinwheel- Kohl's
flag, tiered plant stand- Walmart
stars on door- Hobby Lobby

painted wooden flag


I love this time of year!!   I've always been patriotic.  But now as I'm older and realize what has been sacrificed for our freedom, I get emotional just thinking about it. So to pay tribute to our wonderful country, I made this wooden flag to celebrate Independence Day!


I started with a scrap piece of mdf.  It's about 12 x 17 inches.


I painted it white, waited for it to dry, then taped off some stripes. No measuring- just eyeballed it.  Imperfect is always the look I'm going for.


I used Martha Stewart craft paint.


I then painted it all red, excluding the top left corner.  When the red paint was dry, I taped off and painted a  blue rectangle.


After all of the paint was dry, I heavily sanded the entire thing.  


Then I brushed on some antiquing medium and wiped it off with a paper towel.  It dries really quickly, so it has to be wiped off fast.


I used a white chipboard star from my stash that I shabbied up a bit with the antiquing medium.


God Bless the USA!