
My boys' room is getting a makeover. They got new beds (a twin for my little guy and a full for my huge pre-teen) back in November. And that's as far as the makeover went at the time because I couldn't figure out what to do with the room. I was patient and waited until inspiration struck. After browsing Pinterest in the last week or so, I found a ton of great ideas and decided to start their room with headboards.
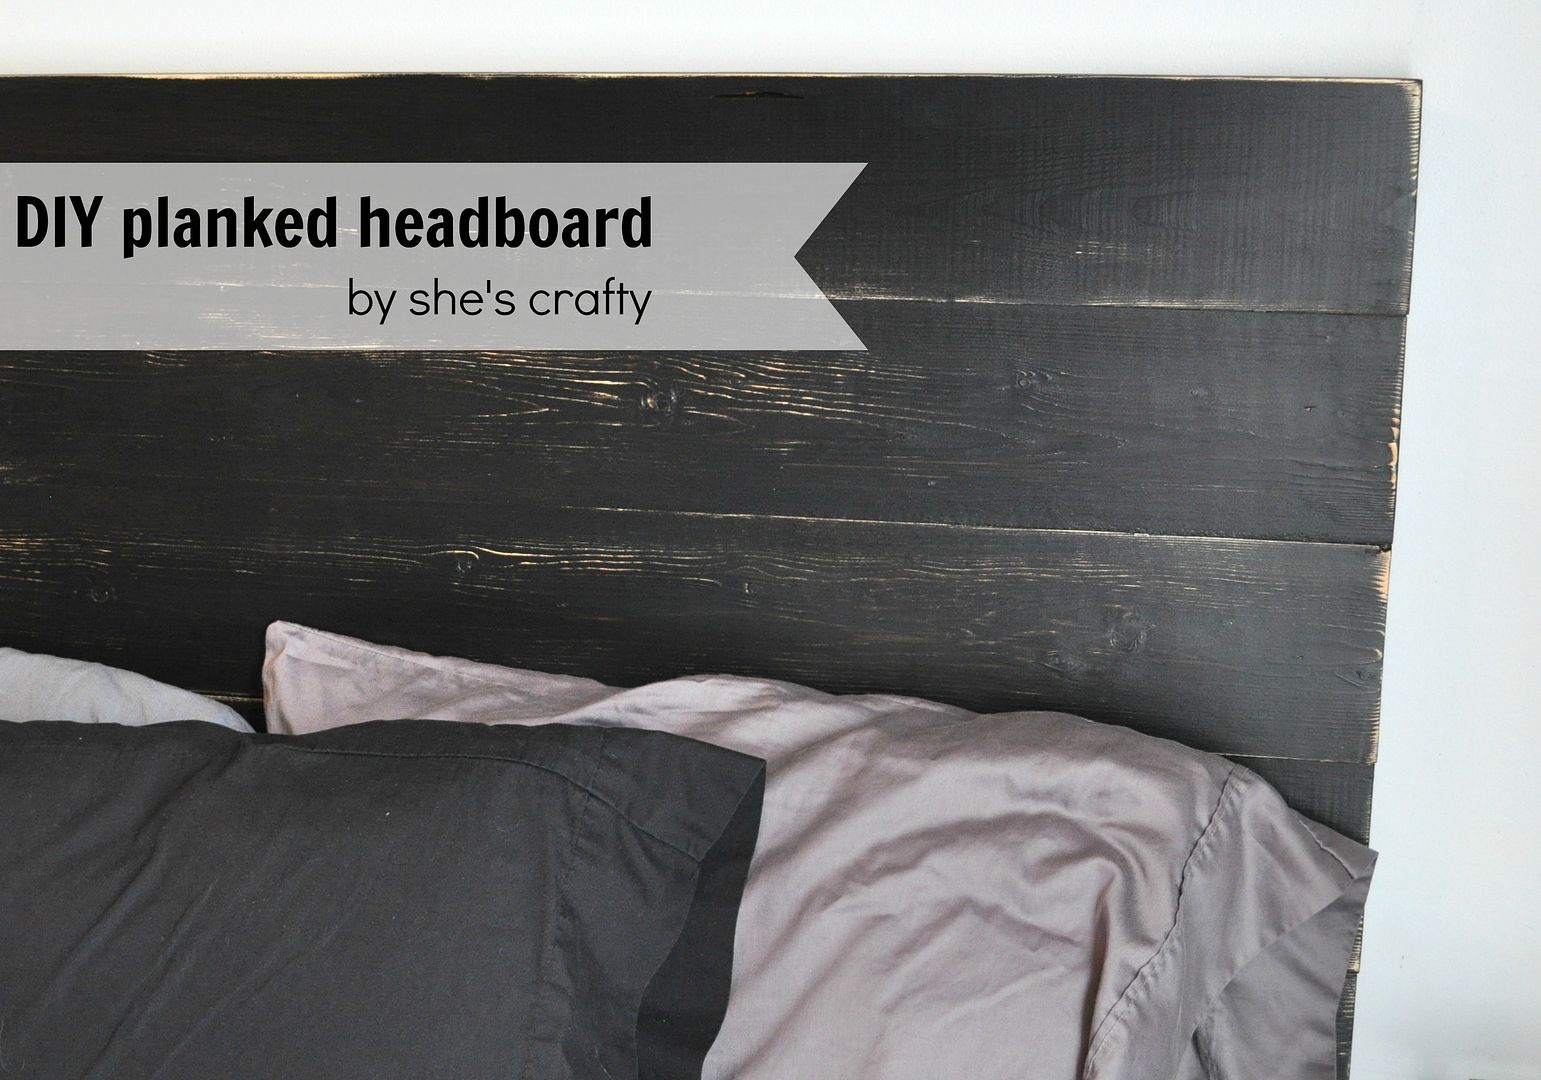
I custom built 2 matching planked headboards and it was super easy. Here is how I did it.
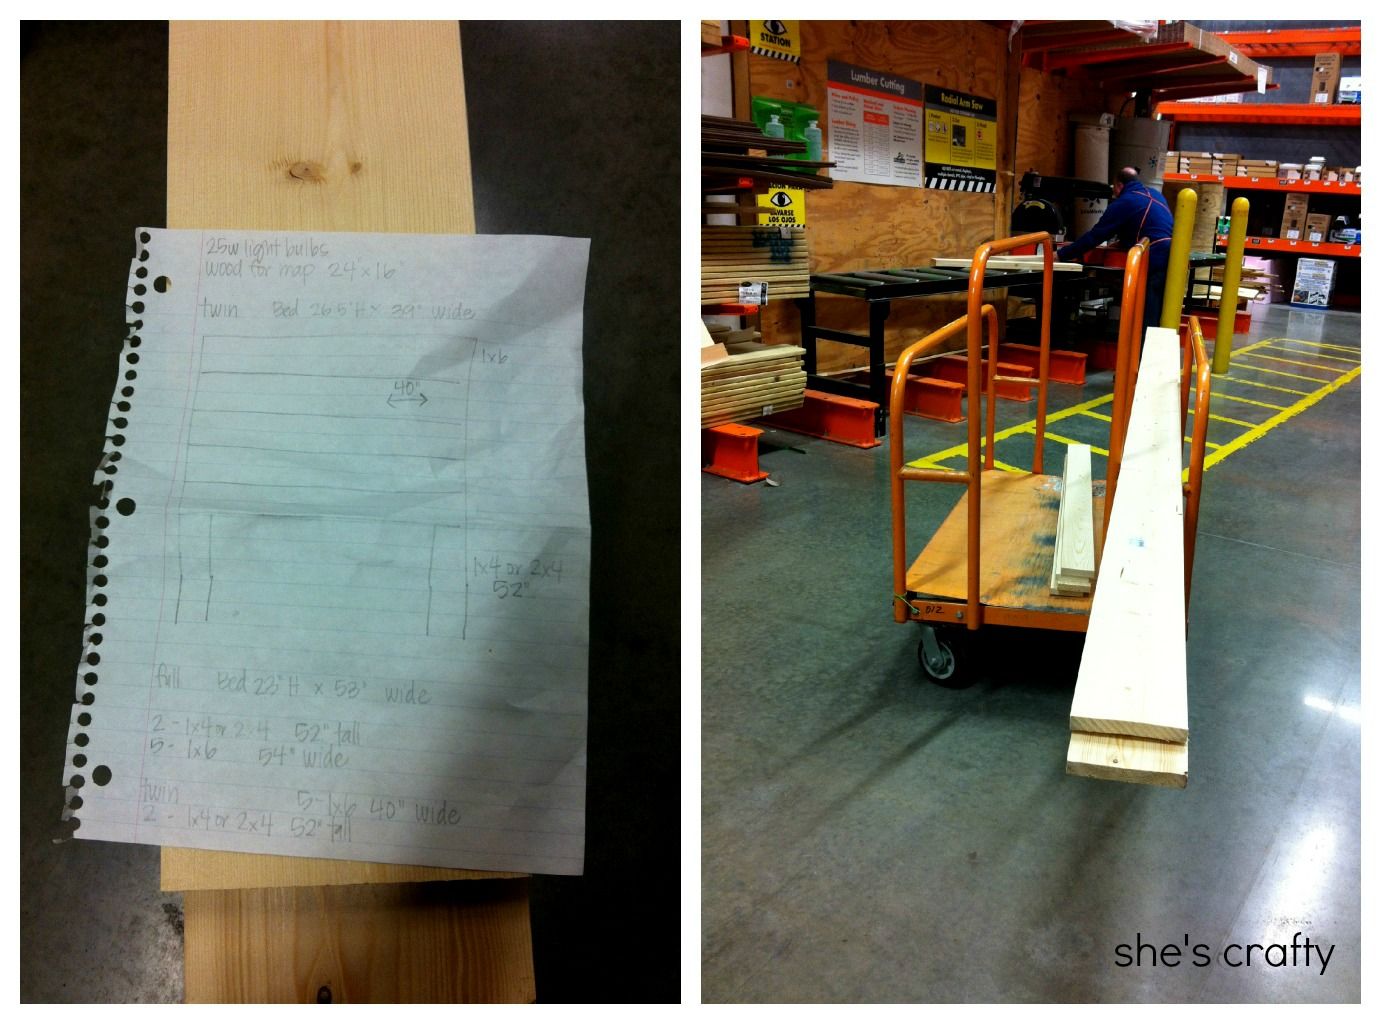
I drew a rough sketch and then went to get the wood. I told the gentleman at Home Depot my measurements and he cut the wood for me.

Back at home, I laid everything out on the floor in my garage. The planks are made with 1x6's and the support legs are made with 1x4's. I also added a support bar down the center (not shown) with a scrap piece of wood. It was so simple to put together with a drill and wood screws.
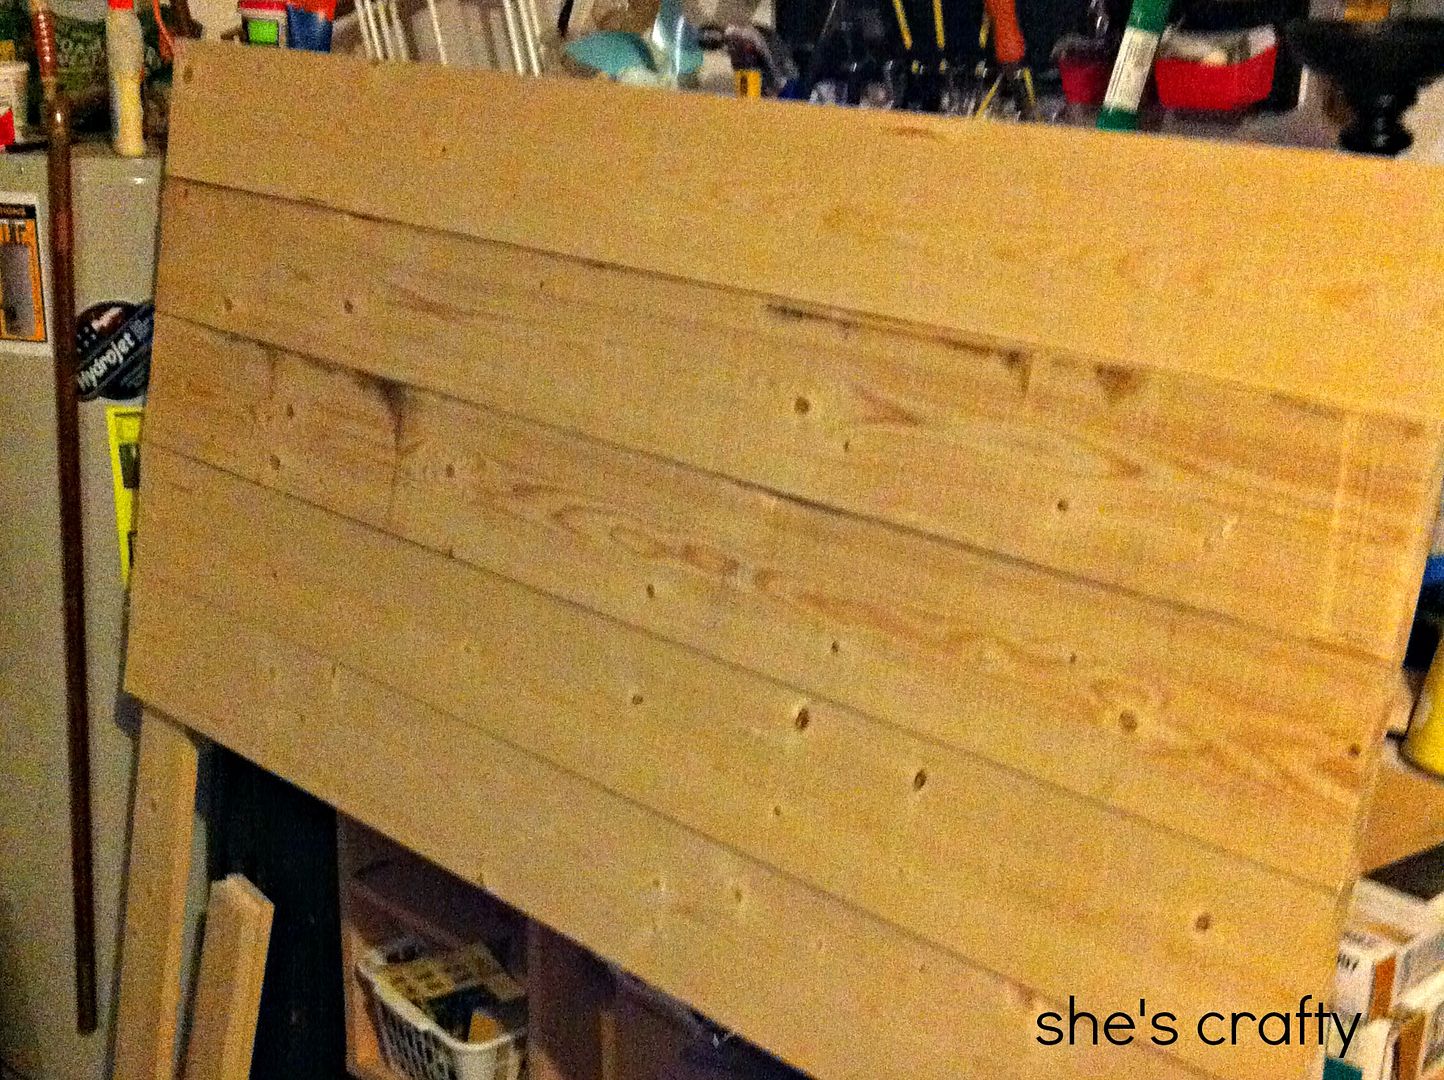
Once I had the full sized one done, I made the twin sized headboard as well.
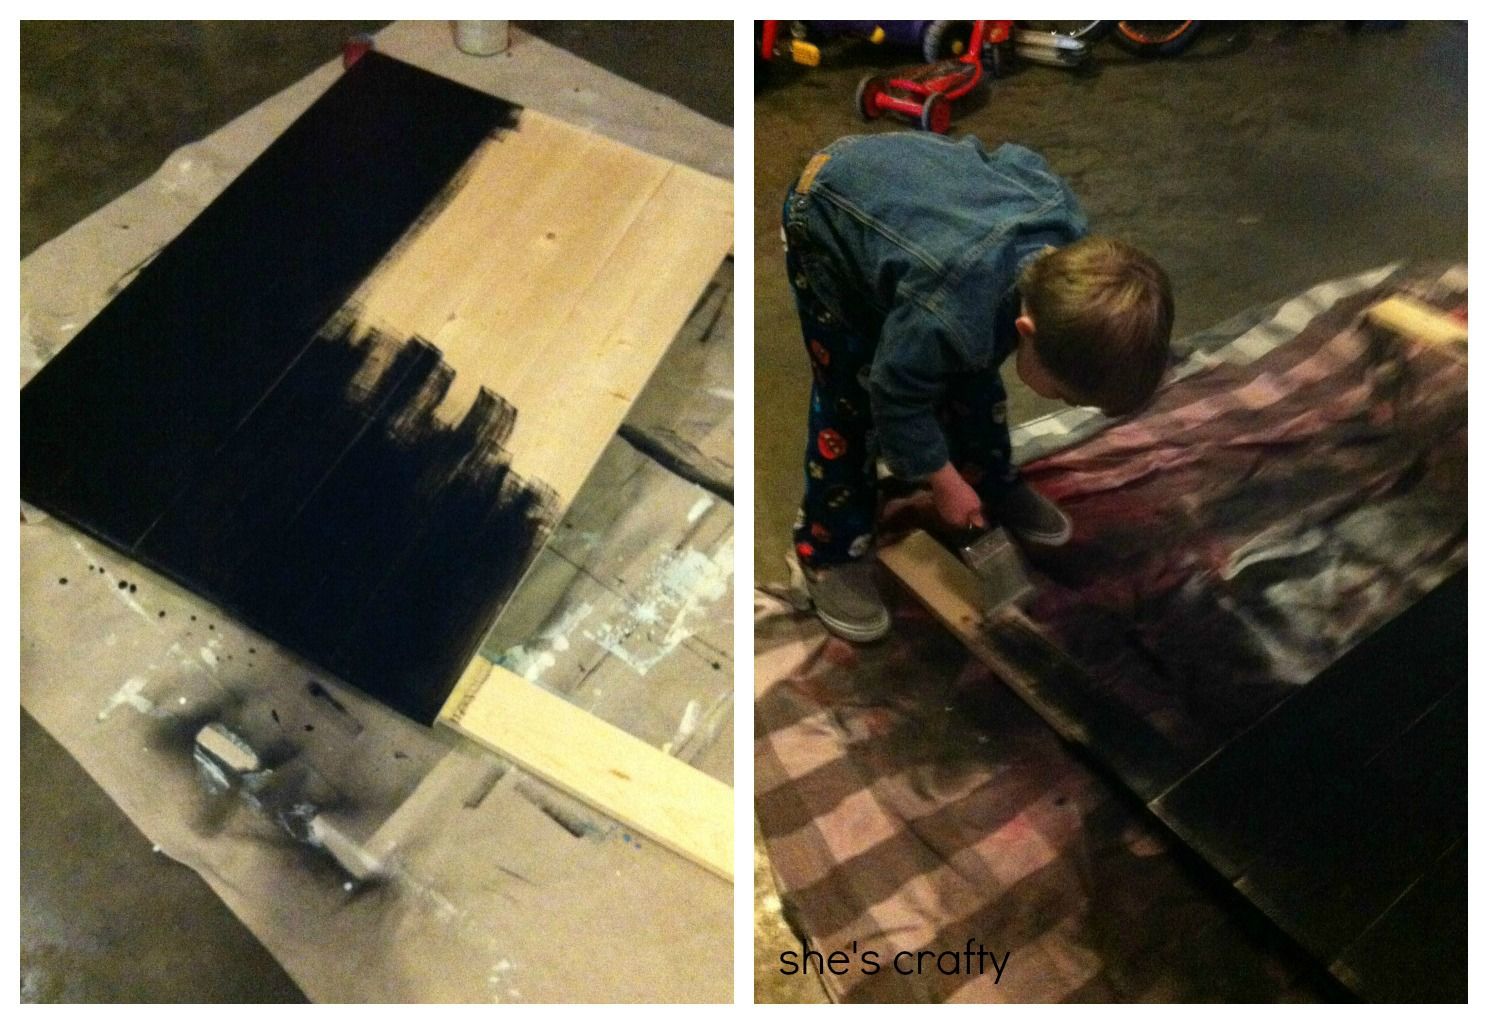
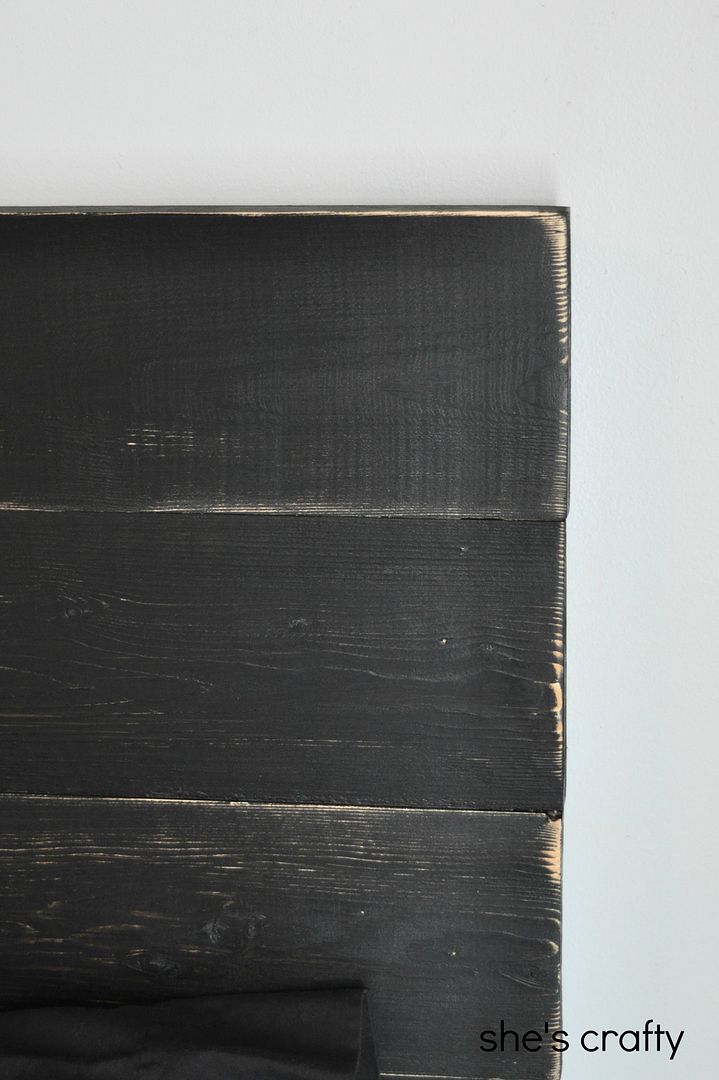
My little guy took full ownership of his headboard and helped me paint, sand the edges and then varnish it with polyacrylic (amazon affiliate link)
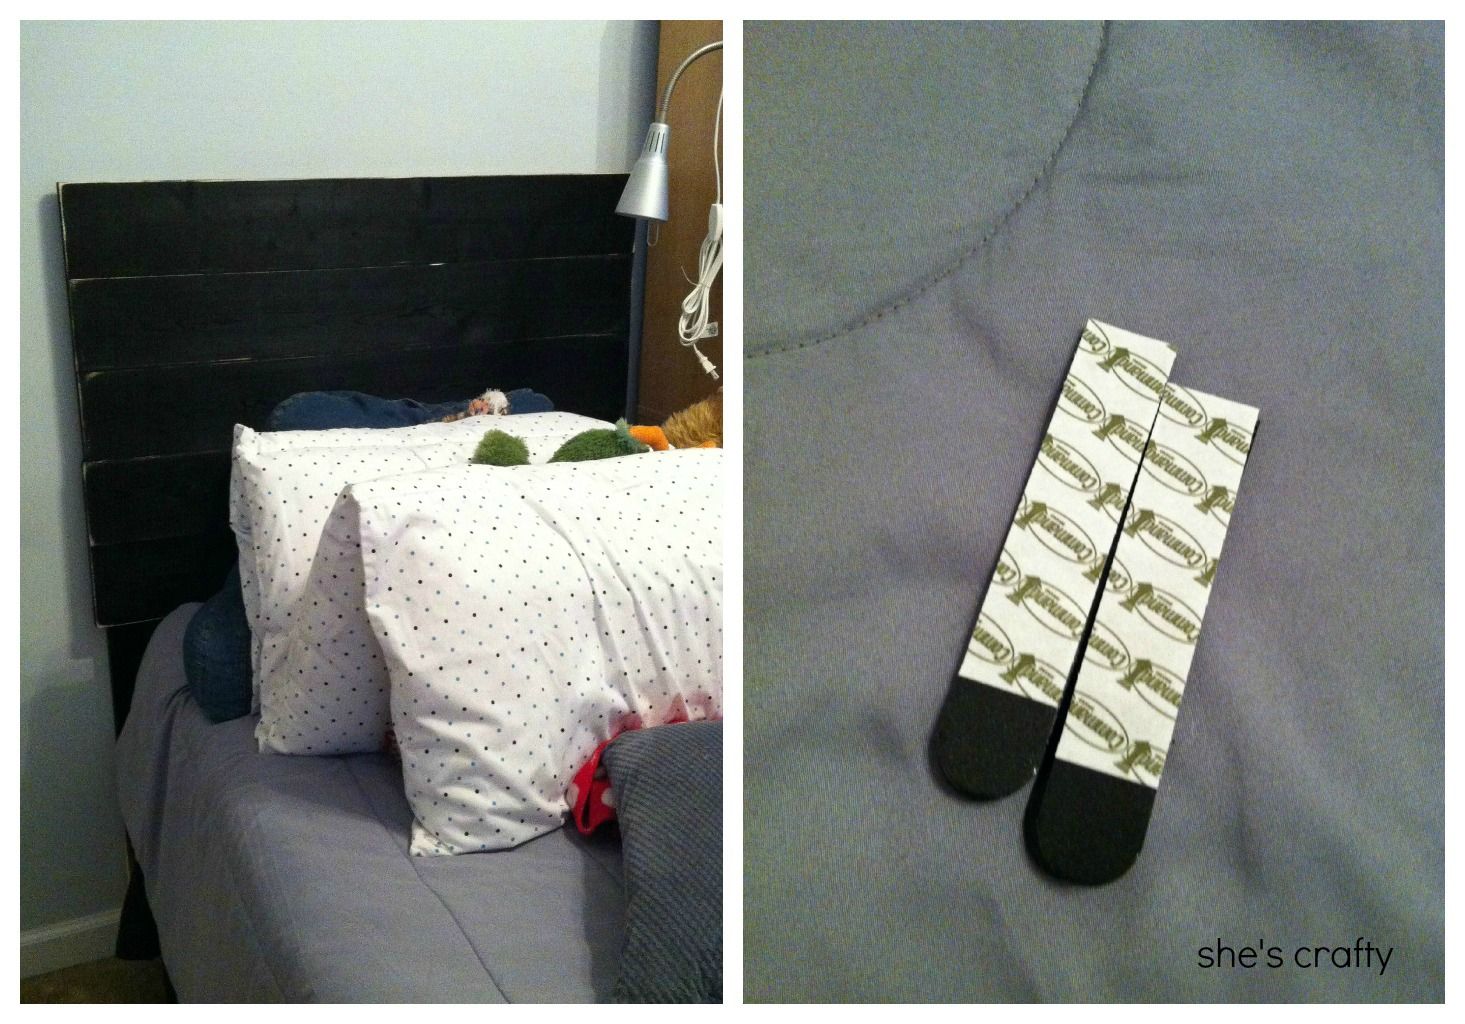
When everything was dry, I lugged the headboards into their room and set them in place. Since the legs support the weight by going all the way to the floor, I just used used 3M velcro to hold them securely to the wall.
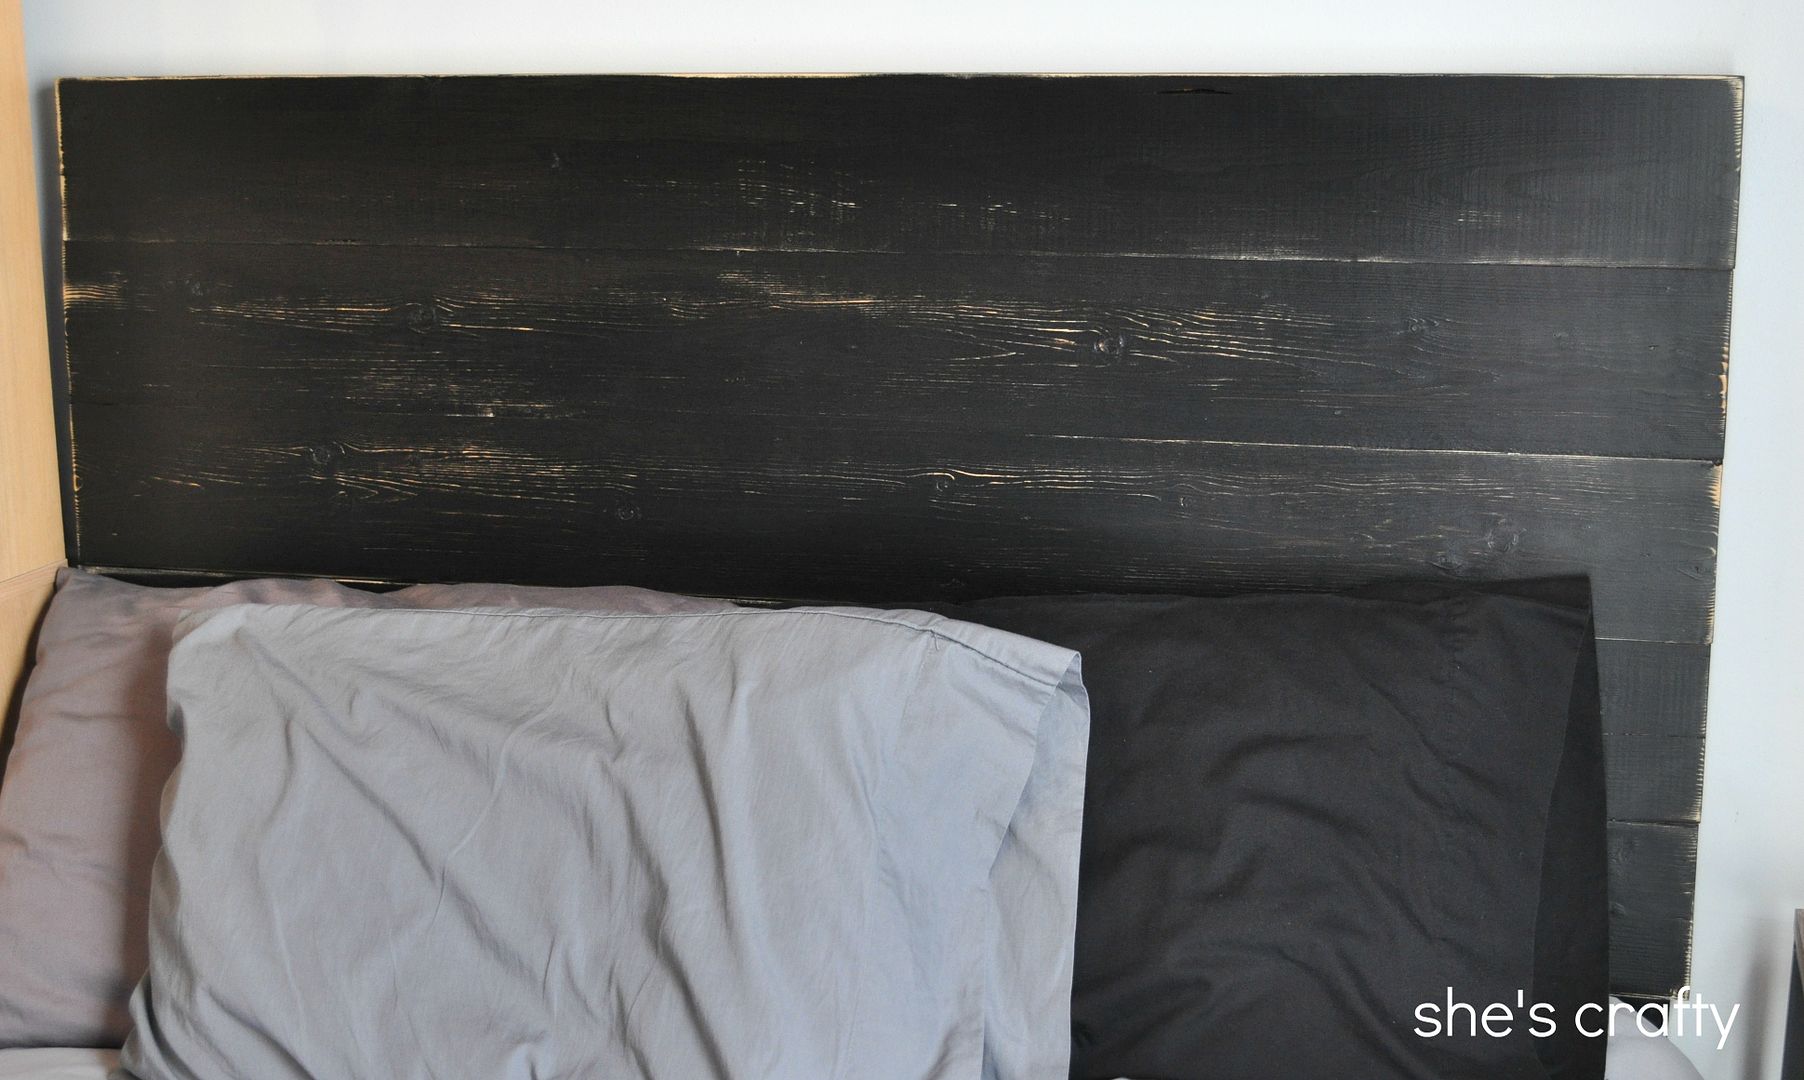
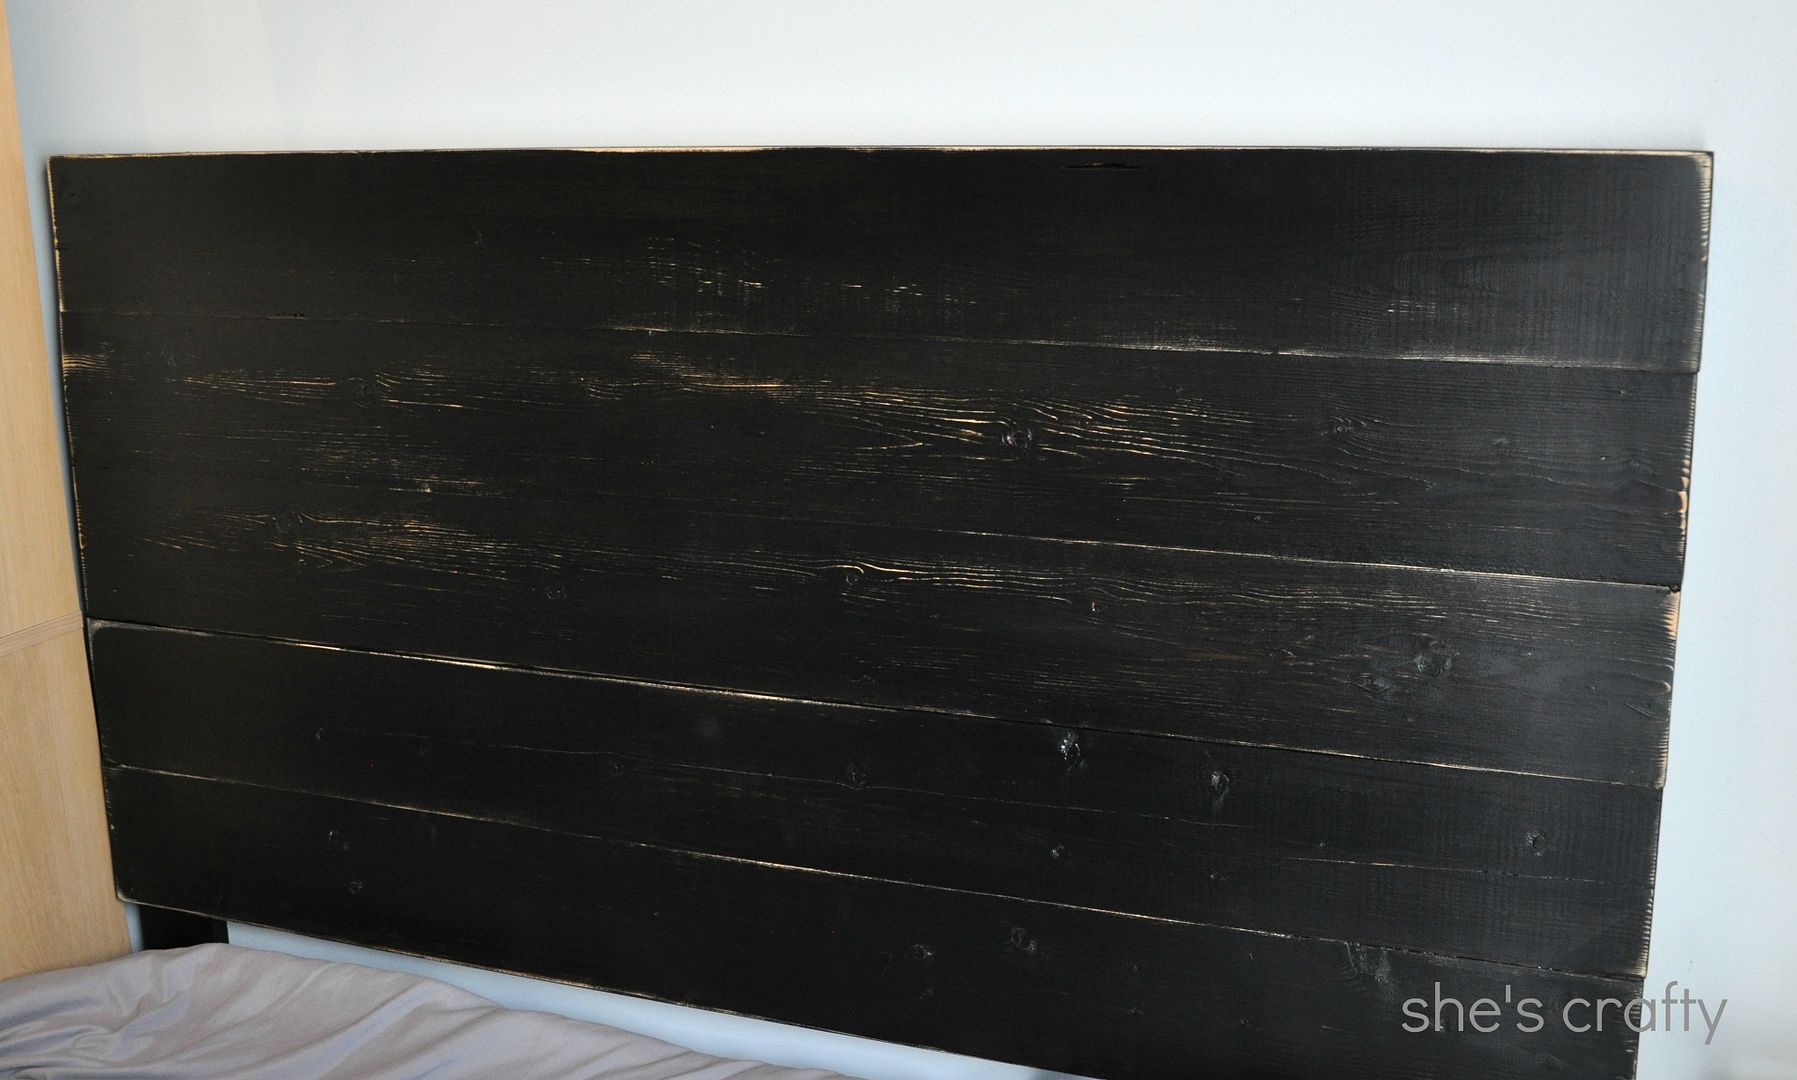
I'm so happy with the way the headboards turned out. They are simple looking.
And the distressing, which I'm sure would also happen naturally since this is a room houses 2 rowdy boys, adds so much character.
Thank you for checking out this tutorial. I'm off to go make pillows and pull the rest of the room together!
linking up to: The Shabby Nest, Tatertots and Jello, Little inspiration, House of Rose, Primp, Lil Luna, the 36th Ave, House of Hepworths, Somewhat Simple, DIY Home Sweet Home, My Uncommon Slice of Suburbia, DIY Showoff, Jennifer Rizzo
linking up to: The Shabby Nest, Tatertots and Jello, Little inspiration, House of Rose, Primp, Lil Luna, the 36th Ave, House of Hepworths, Somewhat Simple, DIY Home Sweet Home, My Uncommon Slice of Suburbia, DIY Showoff, Jennifer Rizzo