
I like to decorate and redecorate the spaces in my house.
It's one of my favorite past times!!
So when I decided that my kitchen needed more storage space, it gave me a
new place to think about and work on.
I wanted something that would give my small kitchen more storage space.
I decided to build an open shelving display/storage unit.
The supplies I used are:
4- 1" x 8" cut to 30"
2- 1" x 8" cut to 36"
1- 1" x 4" cut to 30"
screws
wood stain
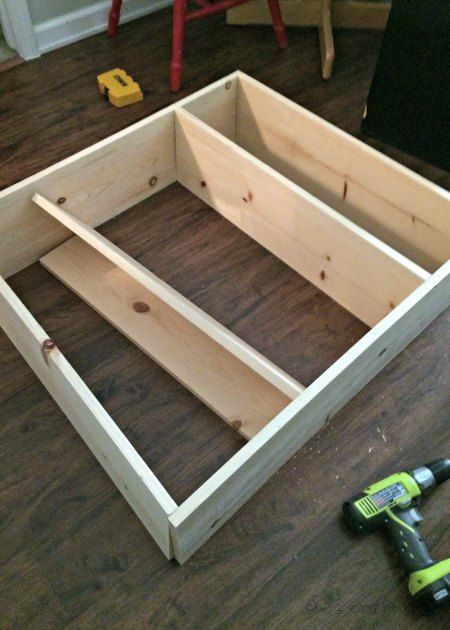
I built the frame first.
I made a rectangle with 2- 30" pieces on the top and bottom and the 36" pieces on the sides.
I butted the pieces up to each other, no fancy mitering.
I used wood glue and wood screws.
I went with a rustic look so I didn't countersink the screws.
But if you want a more polished look, you could countersink and then
cover the screws with wood putty.
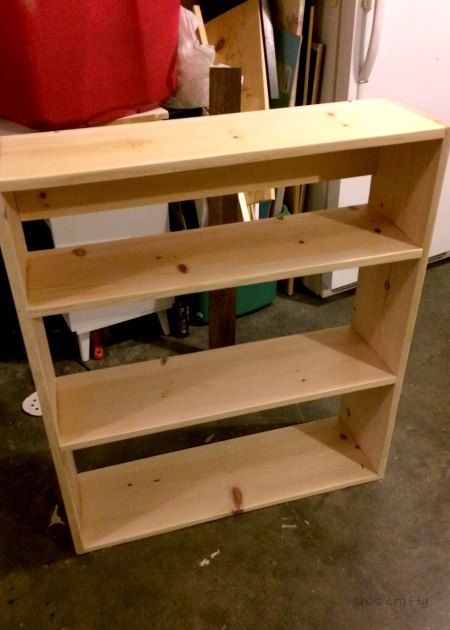
After the frame was built, I added the shelves.
I wanted the top one to be a different height than the other ones.
The top shelf is 8" down.
The other ones are 12" down each.
I used wood glue and wood screws for these too.
I wanted a secure way to hang the shelf, so I added a 1x4 to the back side to hide the
hanging hardware.
After the shelf was built, I sanded it really well, then gave it 1 coat of
Minwax red mahogany stain.
Then waxed over the top of it with Minwax finishing paste.
(amazon affiliate links)
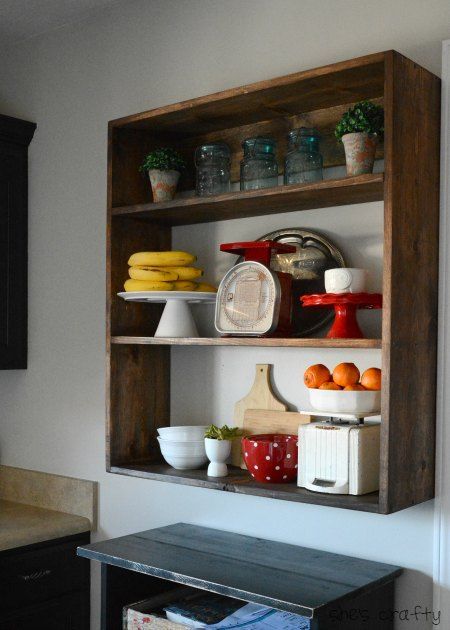
After everything was dry, I hung it with a cleat system similar to this.
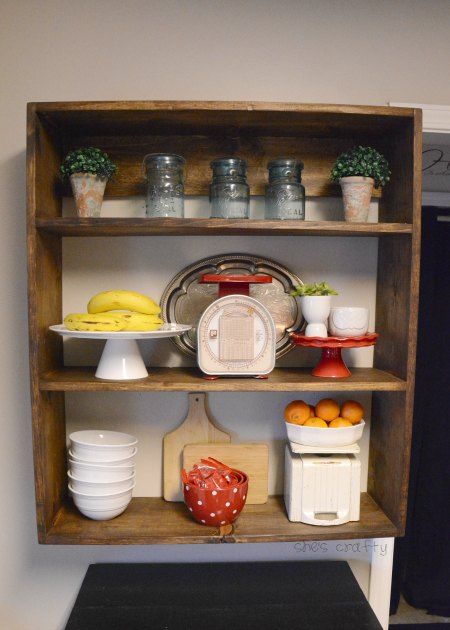
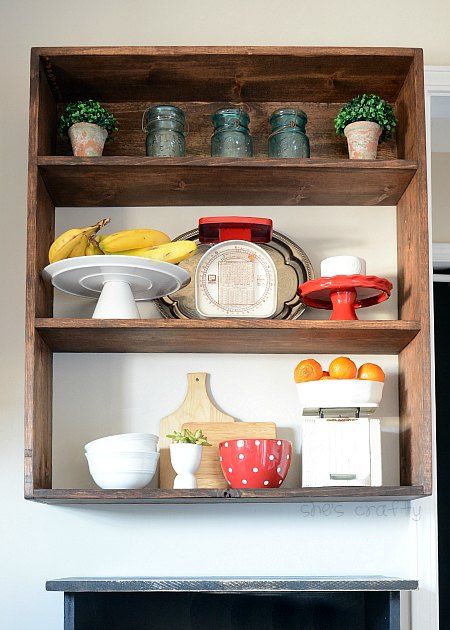
Then came the fun part- accessorizing.
For now, I'm using this open shelving to store fruit, cereal bowls. some wooden cutting boards, cake stands, a few of my vintage scales and some fun polka dot dishes. This will be a fun place to change out with the seasons.
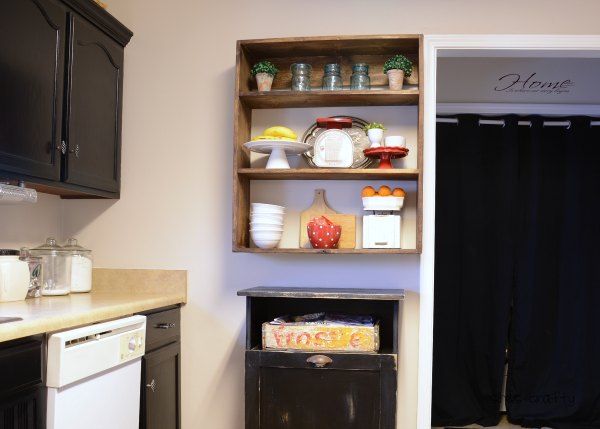
This shelving unit added a ton of storage space to our pretty small kitchen.
I'm happy with how it turned out!
linking up to: Home Stories A-Z, The Dedicated House, Talented Tuesday, The Style Sisters, The Shabby Nest, Craft Frenzy, Show Me Saturday