
It seems like we get new stockings every year. What can I say? I get bored with the same things every year. I had a spare drop cloth laying around so I decided to make some myself.
They turned out simple- just the look I was going for.
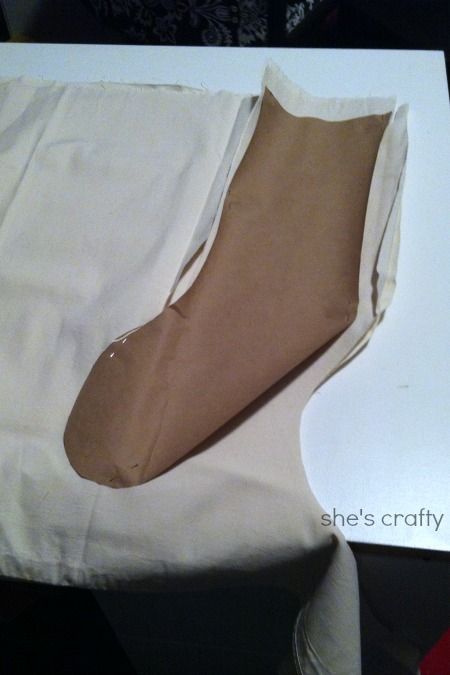
I hand drew a stocking shape on kraft paper. I pinned the pattern onto a double layer of drop
cloth fabric and cut the shape out.
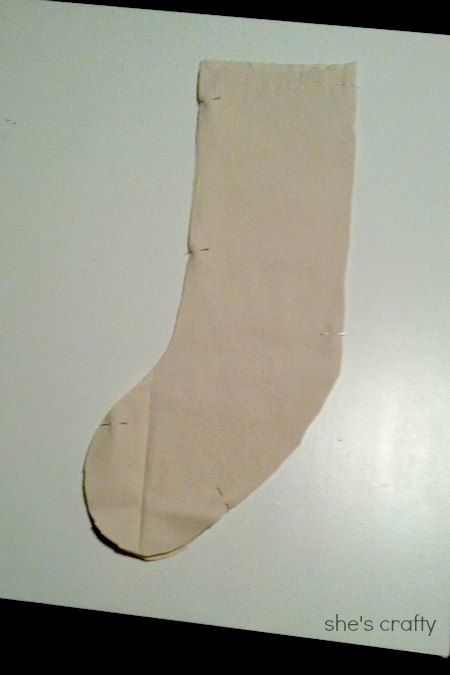
Once I had the 2 stocking shapes cut, I pinned them together. First I double folded the top, open edge of the stocking and sewed it to make a hem for the opening. Then using a straight stitch, I sewed all the way around the stocking, leaving the top open.

I cut small slits all the way around the stocking so when I turned the stocking right side out,
the hem would lay nicely.
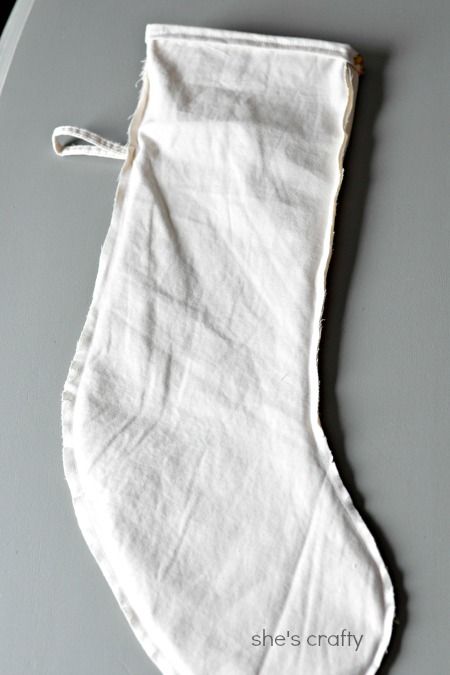
For the hanger, I used the pre-sewn hem of the drop cloth. I cut the hem off of the drop cloth, then cut a piece that was about 6 inches or so. Then I folded it in half to make a loop and sewed it to the
outside of the stocking.
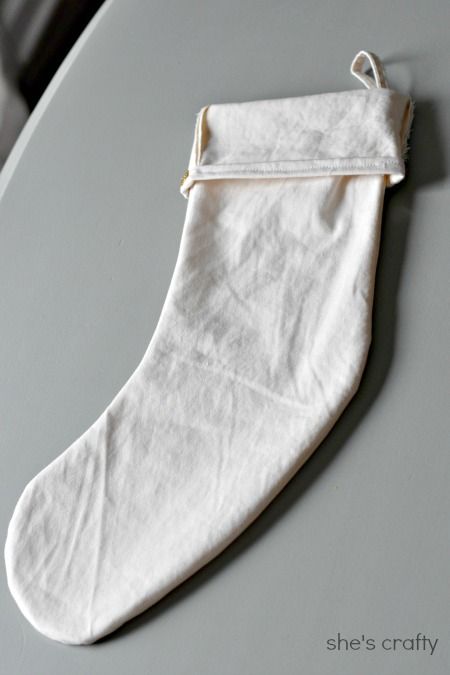
I turned the stocking right side out and rolled the cuff down. I'm ok with the raw seams hanging out on the cuff. But if you're not, you could easily add some contrasting fabric to the cuff to cover the seams. The loop hangar is on the inside so it makes the stocking hang nicely.
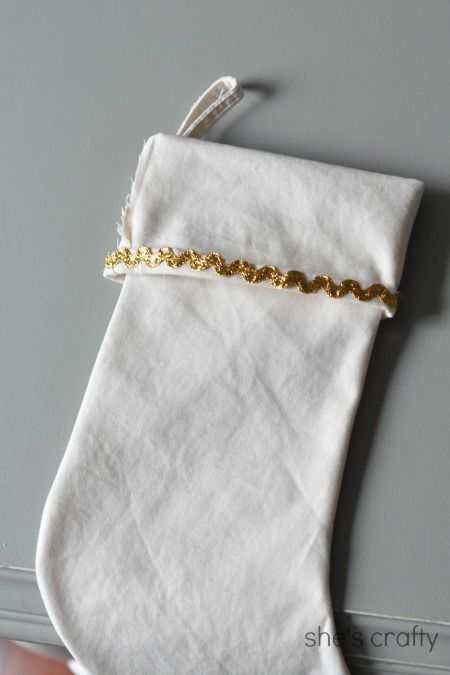
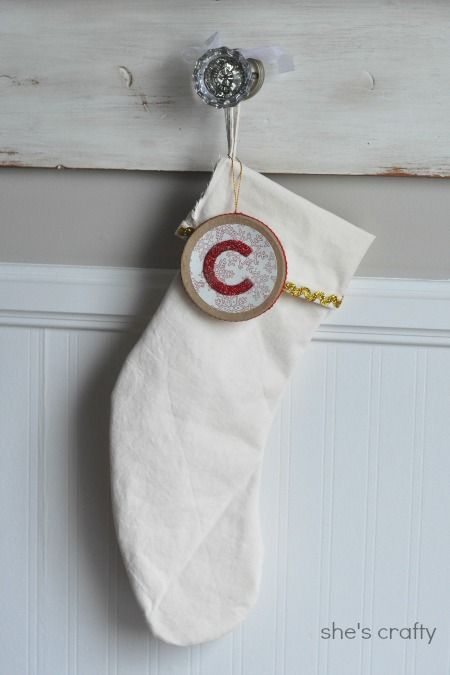
I thought of many different ways to decorate these stockings such as painting a pattern like stripes or polka dots, adding ribbon or fabric to the cuff, monogramming them, etc. In the end, I decided to glue on a simple piece of gold ric rack.
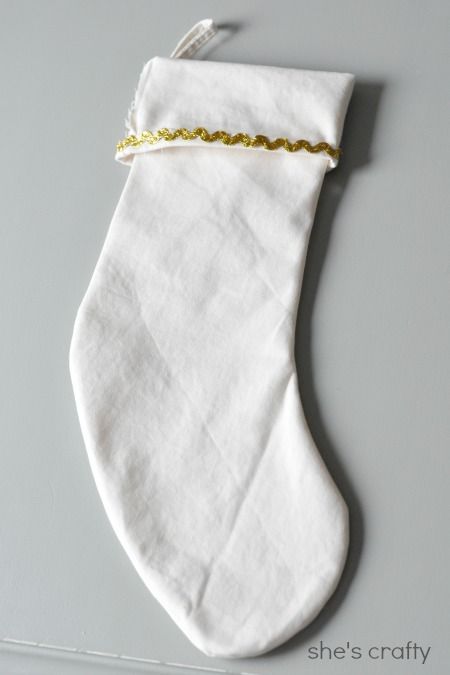
It's a simple touch for a simple stocking. I like the way they turned out lots!
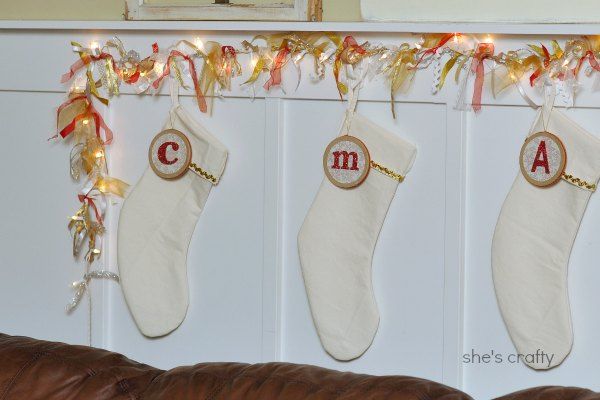
My son was concerned that Santa wouldn't be able to figure out which stocking was his. So to ease his little 6 year old mind, I added some monogrammed ornaments (tutorial coming soon) to the stockings. He was happy when he saw his initial. I hung the stockings from command hooks (amazon link) underneath my lighted ribbon garland.