
It's the beginning of a new year- the time we all try to get more organized.
Today I have a project to help with that-
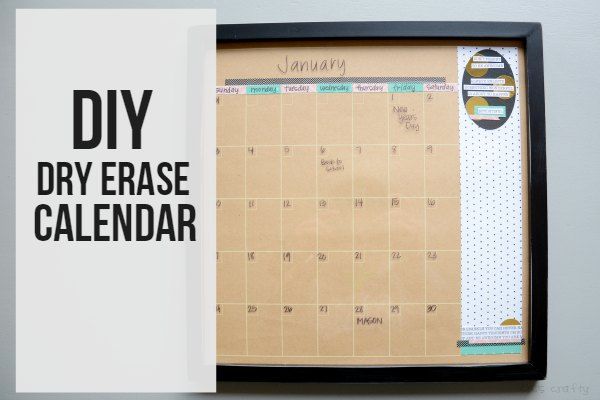
a dry erase calendar that's DIY.
this idea originally appeared (with some changes) on Tatertots and Jello
this post also contains amazon affilliate links
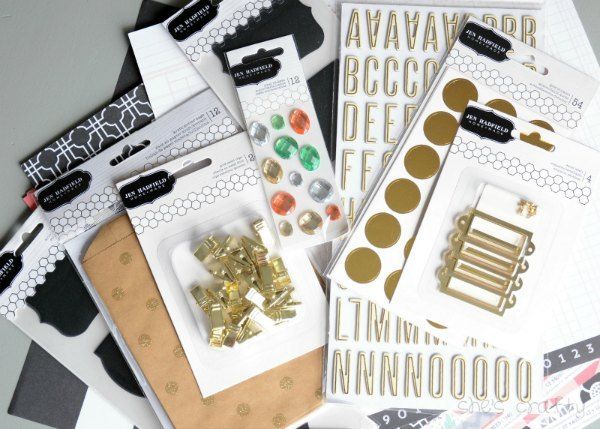
I was sent a big box of Jen's Home Made products from American Crafts.
I had a hard time narrowing down what project I wanted to do since all of the
products are so beautiful!

When I saw the calendar paper I knew that I wanted to make a dry erase calendar.
I picked up a 12 x 12 frame from Hobby Lobby.
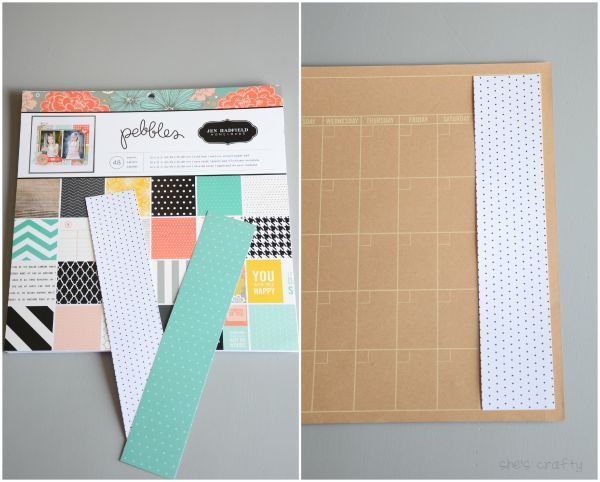
I pulled out some of the cute patterned papers from the stack and made a border
along the side of the calendar.
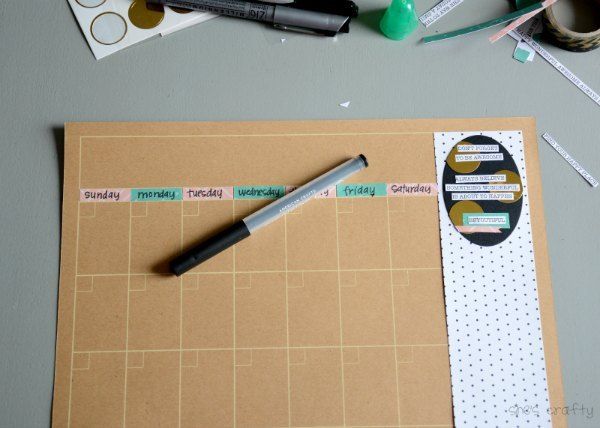
I took other papers and embellishments and made the days of the week...
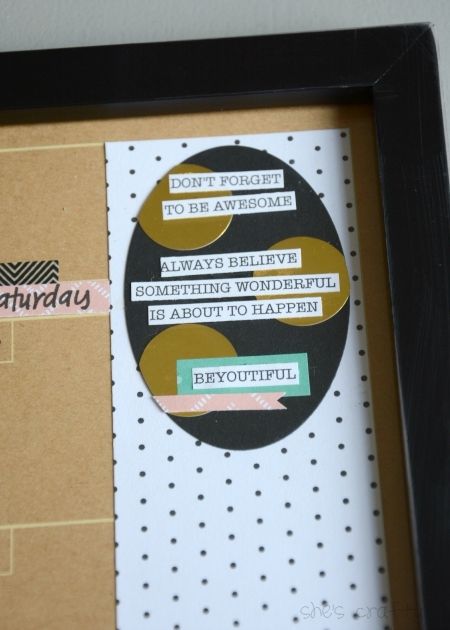
and the message along the side.
One of patterned papers had all of the words on them. I just cut them out
and arranged the way I wanted them.
I put them on top of the gold stickers and a chalkboard sticker.

Then I put it all inside the frame.
I wrote the month and dates with sharpie directly onto the glass.

To add the monthly activities I wrote with a dry erase marker.

If I need to change an activity,
the dry erase maker will wipe off without taking the date (that's written with sharpie)
off with it.

When I'm ready to change the month, I'll use a magic eraser and the sharpie
with come right off the glass, easy peasy!

I have my little calendar on the wall in my craft room.
Hopefully it will help me to keep up with all of the important dates in our family!