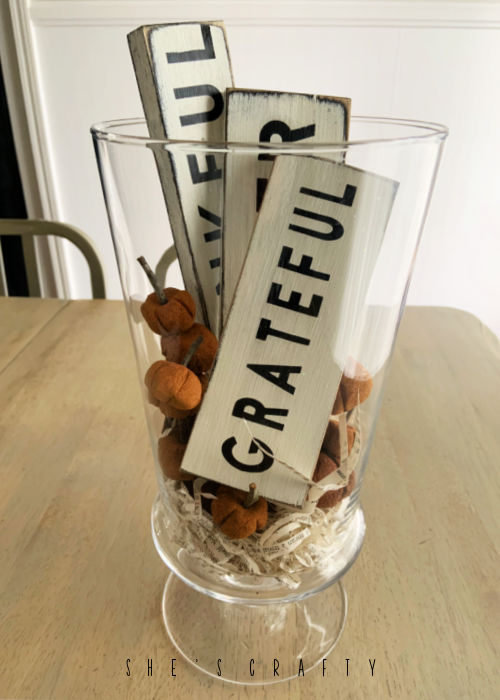
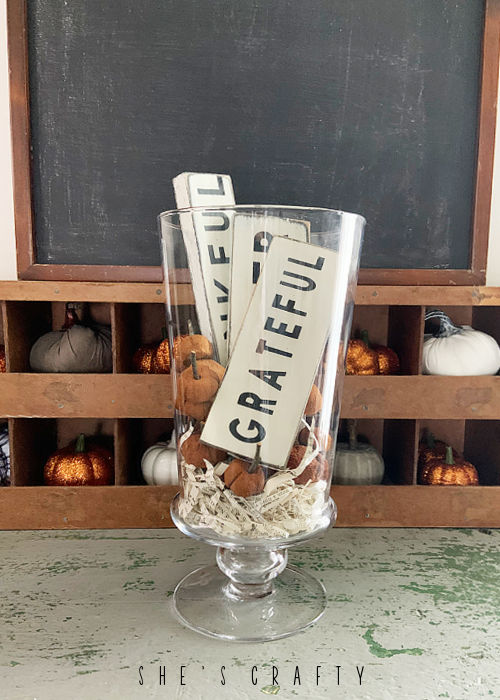
If you're looking for a centerpiece idea for your Thanksgiving table, I have an idea for Fall Signs Thanksgiving Centerpiece.
this post contains affiliate links
It's November so that means that it's time to start thinking about Thanksgiving. It is also the season to think about what you're grateful for. With this project you can combine both of these things with this idea for an easy centerpiece to put on your Thanksgiving table.
How to Make Fall Signs
To make the signs, you need wood pieces. I had a bunch of wood scraps leftover from various projects in my stash. They were about 1" x 2" and 0.5" x 2.5" that I cut down to 6-8". I sanded them slightly and then painted them with black paint. wood pieces | electric sander | black chalk paint
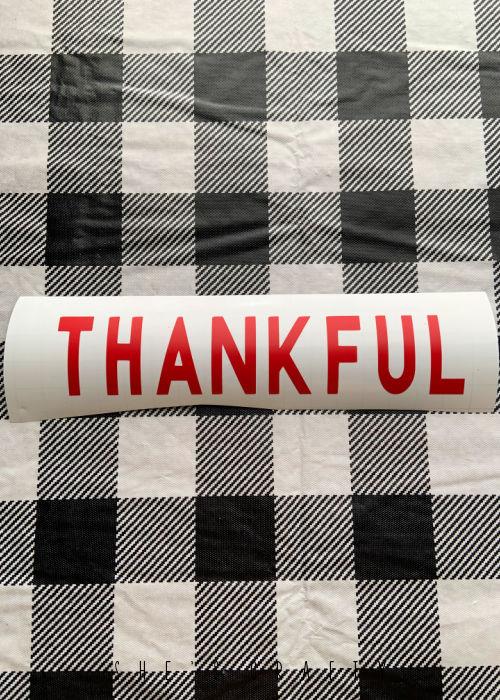
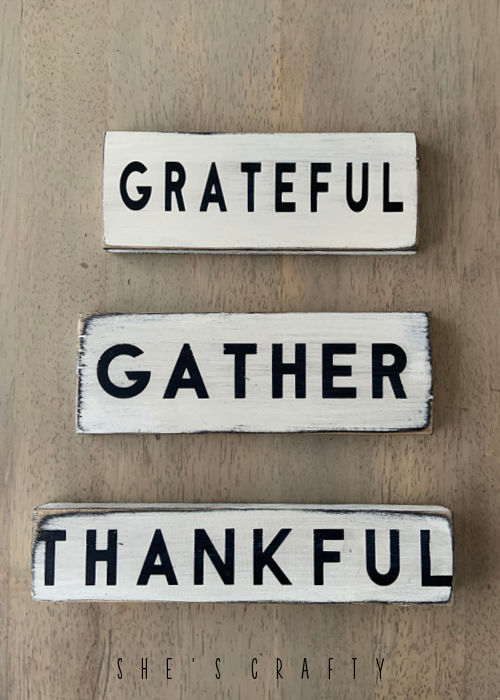
Type various Thanksgiving-y words like Thankful, Grateful and Gather in the Silhouette design software and cut them out of removeable vinyl. See the directions for using vinyl as a stencil. I always use a bold color of vinyl to help see it better.
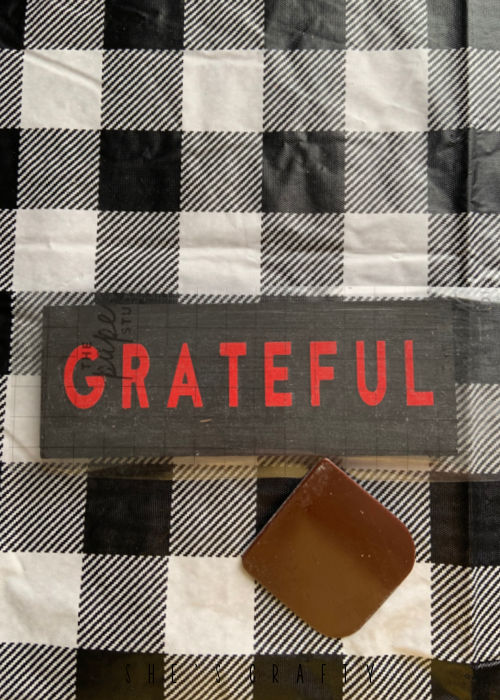
After cutting the vinyl, weed it with the poker also called a weeding tool. Then apply transfer tape over the top of the vinyl and move it to the wood. Rub all over the top of the wood with the pan scraper before pulling off the transfer tape. Be careful that all of the vinyl is stuck to the wood as you gently pull off the transfer tape. Silhouette | removeable vinyl | transfer tape | pan scraper | vinyl weeding tool
Paint over the top of the vinyl with a contrasting color of paint. I always use black on the bottom and white paint on top. After the paint dries, remove the vinyl- which is my most favorite part. Use the vinyl weeding tool to carefully pull up an edge of the letter, then peel it off. Repeat until you have removed all of the vinyl. white chalk paint
Once the vinyl is peeled, admire how pretty the words are. Then distress the little signs with the sander again. I go around all surfaces of the sign with the sander and especially the edges. Once it's sanded, wipe the dust off with a cloth. Then go over the signs with a water based top coat.
How to Make a Centerpiece with Fall Signs
Now that the signs are done, you can put together the centerpiece.
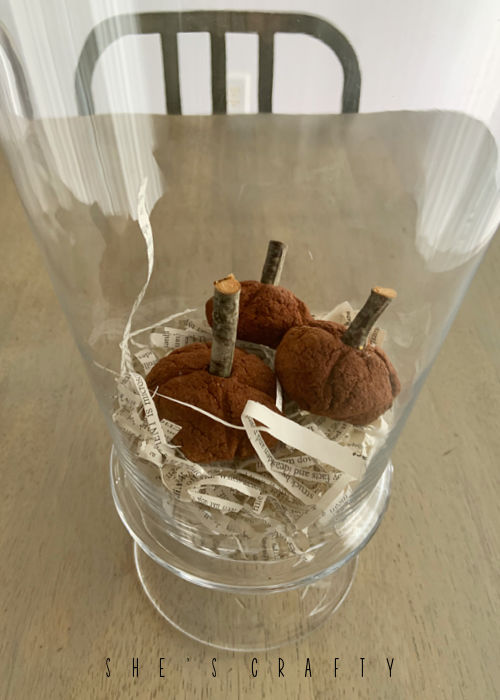
First you need a large glass vase. I found a large lidless glass apothecary jar in my stash to make the centerpiece with. The bottom of the jar needed some cushion, so I cut up some old book page paper and crinkled it up.
On top of the paper shred, I placed some cinnamon pumpkins to add a little bit of charm. I just love those pumpkins! I have made a few batches this season and they smell amazing! You can whip some up in no time at all!
On top of pumpkins, carefully arrange the signs so you don't mess up the pumpkins. But don't arrange too much because they are supposed to look a little haphazard sitting in the jar. How's that for great instructions!
This is such a fun and simple Thanksgiving Centerpiece made with Fall Signs. It would be a super easy to make and add some fun farmhouse charm to your table or Fall Home Décor.
linking up to: Wow Me Wednesday Party in Your PJ's Wonderful Wednesday Tuesday Turn About Creative Crafts Inspire Me Tuesday All About Home


