If you've ever seen artwork at the thrift store that you liked the shape of but not the color, I'm going to show you How to Update Thrift Store Artwork.
this post contains affiliate links
Picture this: you are strolling down the aisles of the thrift store looking for all of the treasures. You see a darling piece of artwork that you consider purchasing, BUT the color of the frame and/or photo mat doesn't fit your current style. So you leave that cutie on the shelf and walk on. What a bummer!
Guess what? There are a lot of things you can do to change thrift store artwork. Today I'm going to show you how to update the wooden frame and the photo mat of a darling piece of artwork.
I found this darling artwork on one of my many thrift store trips. I was completely captivated by the little boy playing on the beach with little ducks. But I didn't care for the green and burgundy photo mat or how beat up the frame is (I like things artfully distressed, not beat up). As I stared at it for a while, I decided I could fix the things I didn't care for and even highlight the darling artwork.
How to Update Thrift Store Artwork
Remove Backing. Turn artwork over on your work surface. If the artwork has been professionally framed, the back will most likely be covered by thin paper or paper tape. Use a hobby knife or a snap off knife to slice through the paper, then remove it.
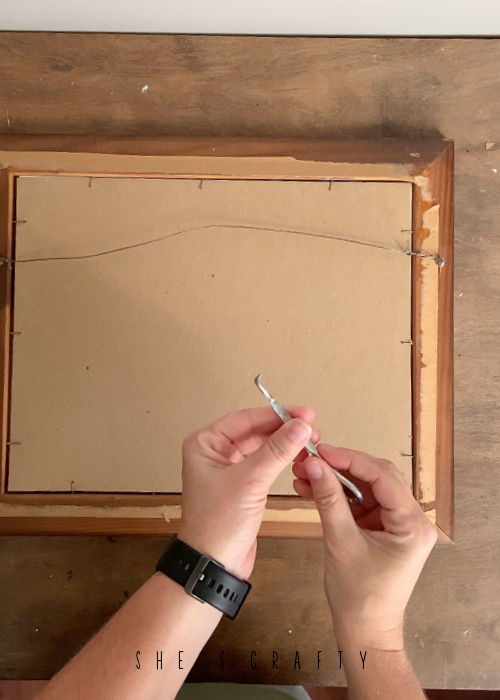
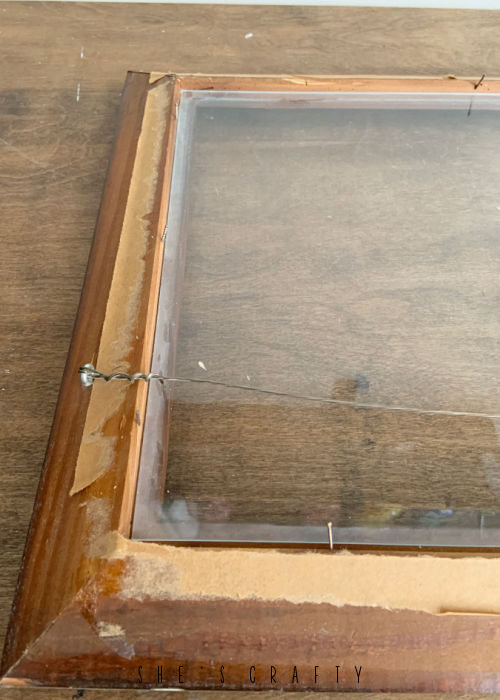
Lift framers nails. Most artwork is held in a frame with nails or glazier points. Use a flat tip screwdriver or a like I did to lift each of the nails. This is a tedious job. The nails are usually pretty securely holding the artwork into the frame and it can take some finesse to lift them. I try to bend the nails instead of removing them so I can bend them back to holding the artwork once I'm finished updating it.
Clean Glass. Once you have lifted all of the nails, you can remove the back piece, remove the art and take the glass out of the frame. Be careful with the glass because the edges are very sharp- ask my index finger how sharp. Clean the glass (I use paper towels and Windex) and set it to dry while working on the frame.
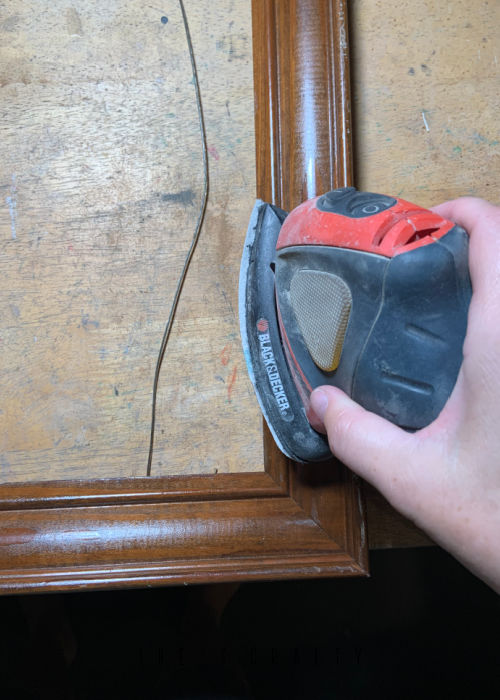
Update the Frame. You can paint the frame if you'd like. I liked the stained wood on this frame, I just wanted to add some artful distressing. So I used my mouse sander to add artistic wear and tear to the frame. Wipe the sawdust off the frame. This frame had a really rough texture after sanding so I brushed on some matte sealer.
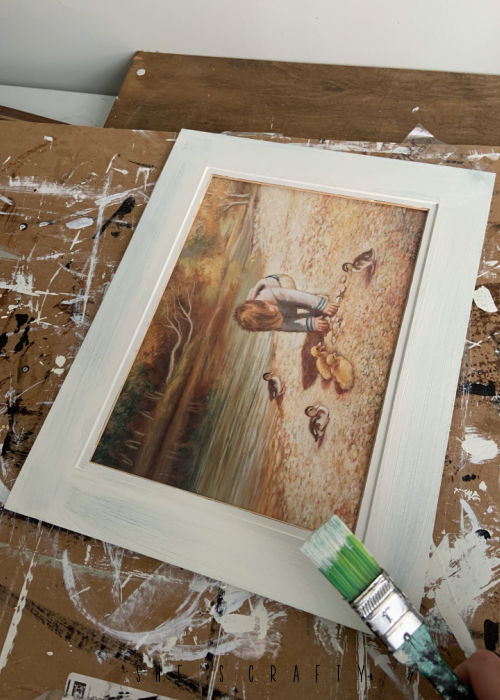
Update Photo Mat. Did you know that you can paint photo mats? Well you can, and I did. I painted the green and burgundy photo mat an off-white color. I used a small brush to cover the inside of the mat without getting paint on the art and used a 1 inch brush on the outer part of the mat. Let the paint dry overnight.
Reassemble the Frame with Artwork. Once the frame and the photo mat have had time to thoroughly dry, reassemble. Lay the frame with the back side up on your work surface, the carefully slide the glass into the frame. Place the artwork on top of the glass (make sure the right side is facing up - ask me how many times I've put artwork in upside down) and then put the back piece in place. Once everything is back in the frame, carefully push the nails back down to hold everything in the frame.
With it's freshly distressed frame and painted photo mat, this looks like an entirely new piece of art. The white photo mat keeps the focus on the cute little boy playing with the ducks.
The next time you see artwork at the thrift store, you now know you can Update the Frame and the Photo Mat to look more in line with your style.
linking up to: Wonderful Wednesday Tuesday Turn About Creative Crafts Creatively Crafty Morning Cup of Joe


