Are you a vintage lover and looking for the perfect thing to hang on your wall? I'm going to show you How to Frame a Found Vintage Sugar Sack.
this post contains affiliate links
In the world of vintage home décor, it can be easy to fill your walls with lots of stuff. I am a maximalist at heart, so it's extra easy and I really have to show some restraint to not hang everything I love. But I know that without blank space for the eye to rest, lots of decorations can get very busy. So anyway, this is a long winded way of saying that I try to be careful of what I put in my home and hang on my walls.
A few months ago in my picking travels, I came across a fabric, vintage sugar sack.
It has the best typography on the most beautiful muslin fabric with the perfect amount of fading! I was so pumped to find it and knew I wanted to keep it and do something special with it. I hung onto it - aka shoved it in my stash. As I was cleaning last week, I found the sack and decided to make wall decor with it.
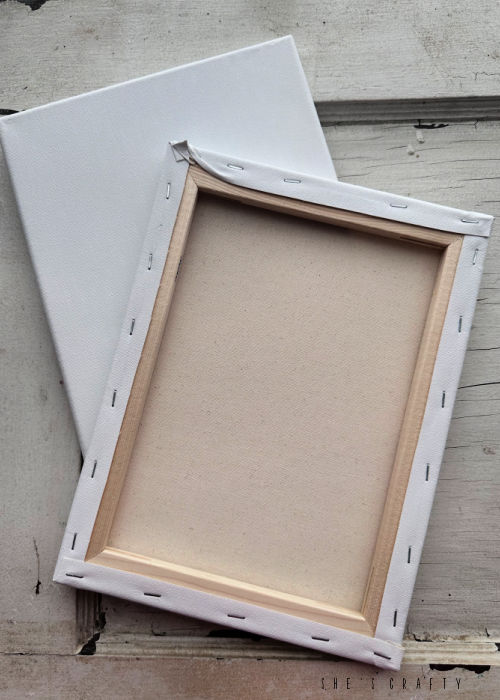
I loosened the staples on the back of the canvas with a flat head screwdriver. Then I pulled out the staples with needle nose pliers. To do this, clasp the loosened staple with the pliers, clamp them closed and roll them out, gently prying the staple out. If you try to just pull the staple straight out, it will probably break off.
Once the canvas was removed, the wood frame was a little rough so I sanded it really well with a mouse sander and 120 grit sandpaper.
Rather than stain the frame, which takes so long to dry and I'm too impatient, I brushed on watered down craft paint and wiped the excess off with a paper towel. Once that was dry in just a few minutes, I distressed the frame by sanding it with the above mentioned mouse sander. Then I gave the frames a coat of matte finish spray to seal it.
 |
fabric scissors |
While waiting for the frames to dry I worked on the sugar sack. I wanted to frame both the front and the back, so I carefully cut it in half with sharp scissors. I then ironed the sacks to get the wrinkles out.
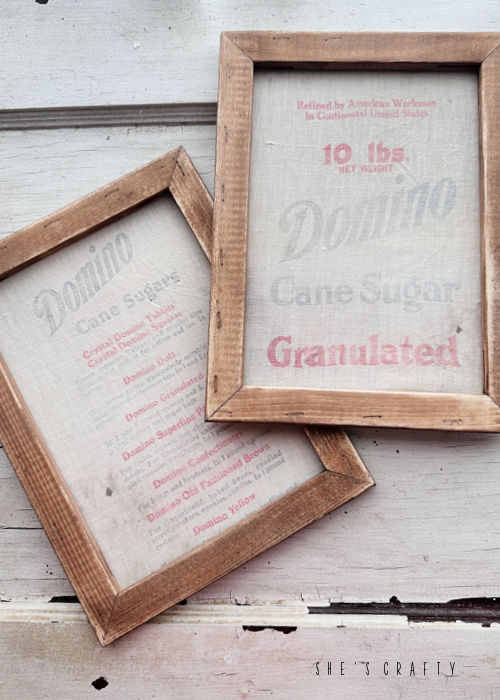
I centered the frame over the sugar sack, then attached it with a staple gun. I carefully pulled the sack outward and used staples all around the edges to secure the fabric to the frame. Then I trimmed off the excess fabric with scissors.
At this point you could put a back on the frame. You could use cardboard, poster board or matteboard if you'd like it to be less opaque, but I like the see thru quality of the vintage fabric.
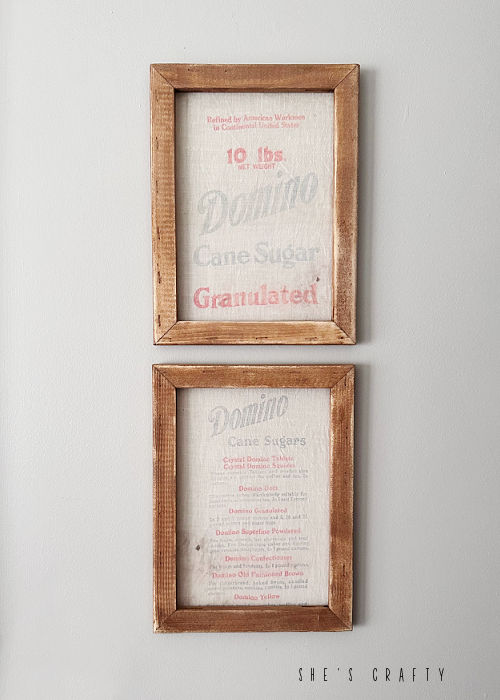
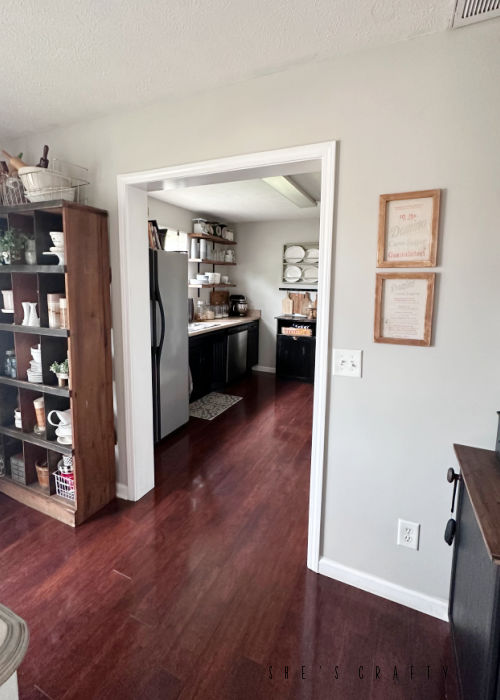
I hung the super lightweight frames on the wall in my dining room with velcro strips. Since they hardly weigh anything, I only used one strip. But make sure to check the package instructions for usage instructions.
The Framed Sugar Sacks make the perfect addition to my vintage home décor. I love how simple they are, but that they add some fun and a tiny bit of whimsy to the space!


