personalized utensils and potholders

How about a quick and simple project to spruce up your kitchen? 


Personalized utensils and potholders.


For the utensils, I purchased some bamboo spoons.   


 I made these for a friend, so I stamped the initial of her last name onto the handle using staz on ink (amazon link)  The staz on is a solvent ink so it penetrates the wood.  I'm not sure it will hold up to repeated washings, but it will stay on there for a while. 


For the potholders, I bought some plain black ones and sewed some chevron ribbon all the way around the edges.

Super simple and personalized gift!!


DIY planked headboard

My boys' room is getting a makeover.  They got new beds (a twin for my little guy and a full for my huge pre-teen) back in November.  And that's as far as the makeover went at the time because I couldn't figure out what to do with the room.  I was patient and waited until inspiration struck.  After browsing Pinterest in the last week or so,  I found a ton of great ideas and decided to start their room with headboards.    


I custom built 2 matching planked headboards and it was super easy.  Here is how I did it.


I drew a rough sketch and then went to get the wood. I told the gentleman at Home Depot my measurements and he cut the wood for me.  


Back at home, I laid everything out on the floor in my garage.    The planks are made with 1x6's and the support legs are made with 1x4's.  I also added a support bar down the center (not shown) with a scrap piece of wood.  It was so simple to put together with a drill and wood screws. 


Once I had the full sized one done, I made the twin sized headboard as well.


My little guy took full ownership of his headboard and helped me paint, sand the edges and then varnish it with polyacrylic (amazon affiliate link)


When everything was dry, I lugged the headboards into their room and set them in place.  Since the legs support the weight by going all the way to the floor, I just used  used 3M velcro to hold them securely to the wall.  


I'm so happy with the way the headboards turned out.  They are simple looking.

And the distressing, which I'm sure would also happen naturally since this is a room houses 2 rowdy boys, adds so much character.


Thank you for checking out this tutorial.  I'm off to go make pillows and pull the rest of the room together!

linking up to:   The Shabby Nest, Tatertots and Jello, Little inspiration, House of Rose, Primp, Lil Luna, the 36th Ave, House of Hepworths, Somewhat Simple, DIY Home Sweet Home, My Uncommon Slice of Suburbia, DIY Showoff, Jennifer Rizzo

Polka Dot Canvas Bag

At the start of the year, I needed a new bag to haul all my stuff to church! After searching around for a while and not finding what I wanted, I did what I always do- made my own. 

Ok, well I didn't exactly make my own, but I did foof up a purchased bag.


I got this big plain canvas bag from Hobby Lobby.  It was only $4.99 and I used my 40% off coupon to make it super inexpensive!!


I used fabric paint and a circular sponge brush


to add polka dots to the pockets of the bag.  (I put some paper in the pockets just in case the paint bled through)

I glued some ric rac to the edges of the pockets.


Then I tied on some ribbon and pinned on a little flower made from some fabric scraps.


Now I have a big bag to hold all of my church stuff!!


It holds so much stuff I'm going to have to start lifting weights to carry it when it's full!!


Tinsel New Year's wreath

It's  new year and time for a new project!!


A New Year's wreath!


I used a straw wreath and some gold tinsel I got on clearance!!  I just wrapped the tinsel around the wreath until all of the straw was covered.  It took 2 packages of tinsel.  I pinned the end with a stick pin.  That way it's removable when I decide to change the wreath.


I then tied a big sloppy bow and a hanger with some gray chevron ribbon.


For the sign, I took a small rectangle of wood (from Hobby Lobby) and put 2013 onto it using letter stickers.


Then I sprayed it with Color Shine (amazon associate link) by Heidi Swapp


I love how glittery it is- even though it doesn't show up well in this photo.


Then I filled in the inside of the numbers with glossy accents.  (amazon link)


Then I glued a silver pipe cleaner around the edges of the sign and a gold one to the back to tie it onto the wreath.


I love the mix of gold and silver and the gray chevron. 


It's so shiny and sparkly.  Perfect to bring in the New Year!!
 
 
linking up to:  Tatertots and Jello


a catch up post

The past month has been a whirlwind!!  It seems like all I did was blink and here it is January 2013. 
 
Here is what we have been doing for the past month or so:
 
 
My dad came from Nevada for a visit.
 
 
While he was here, we went to see ICE at opryland
 
 
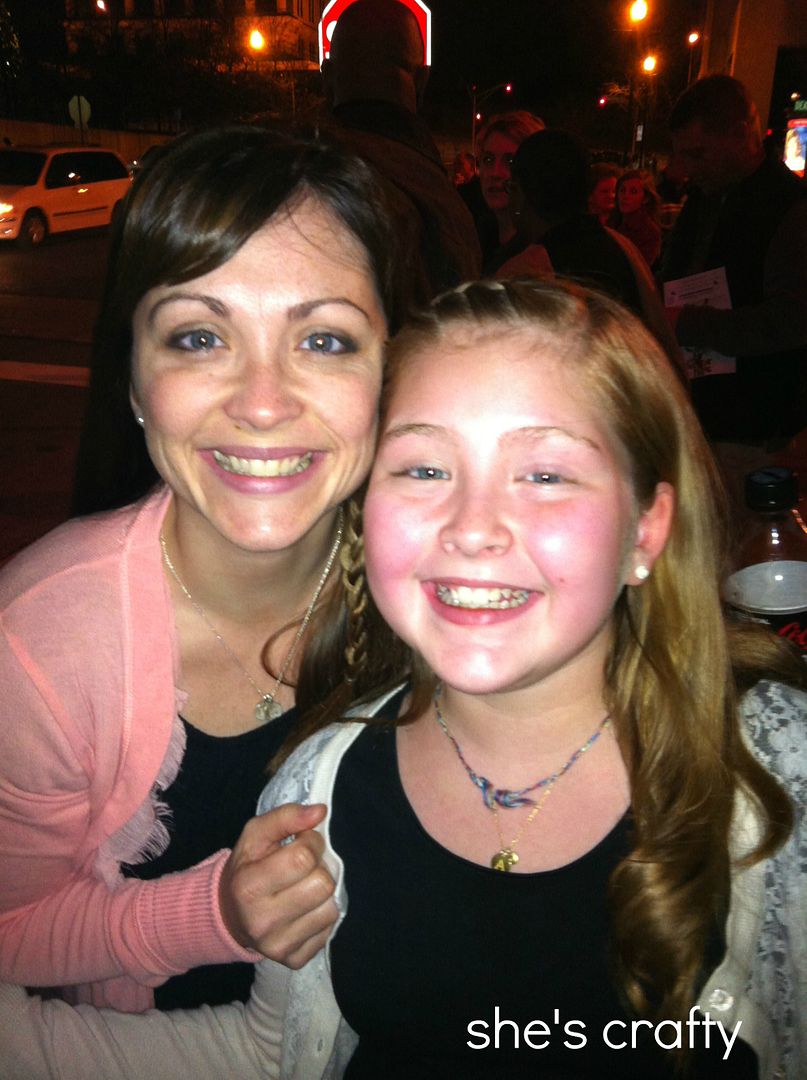
My daughter and I went to see the Nutcracker.


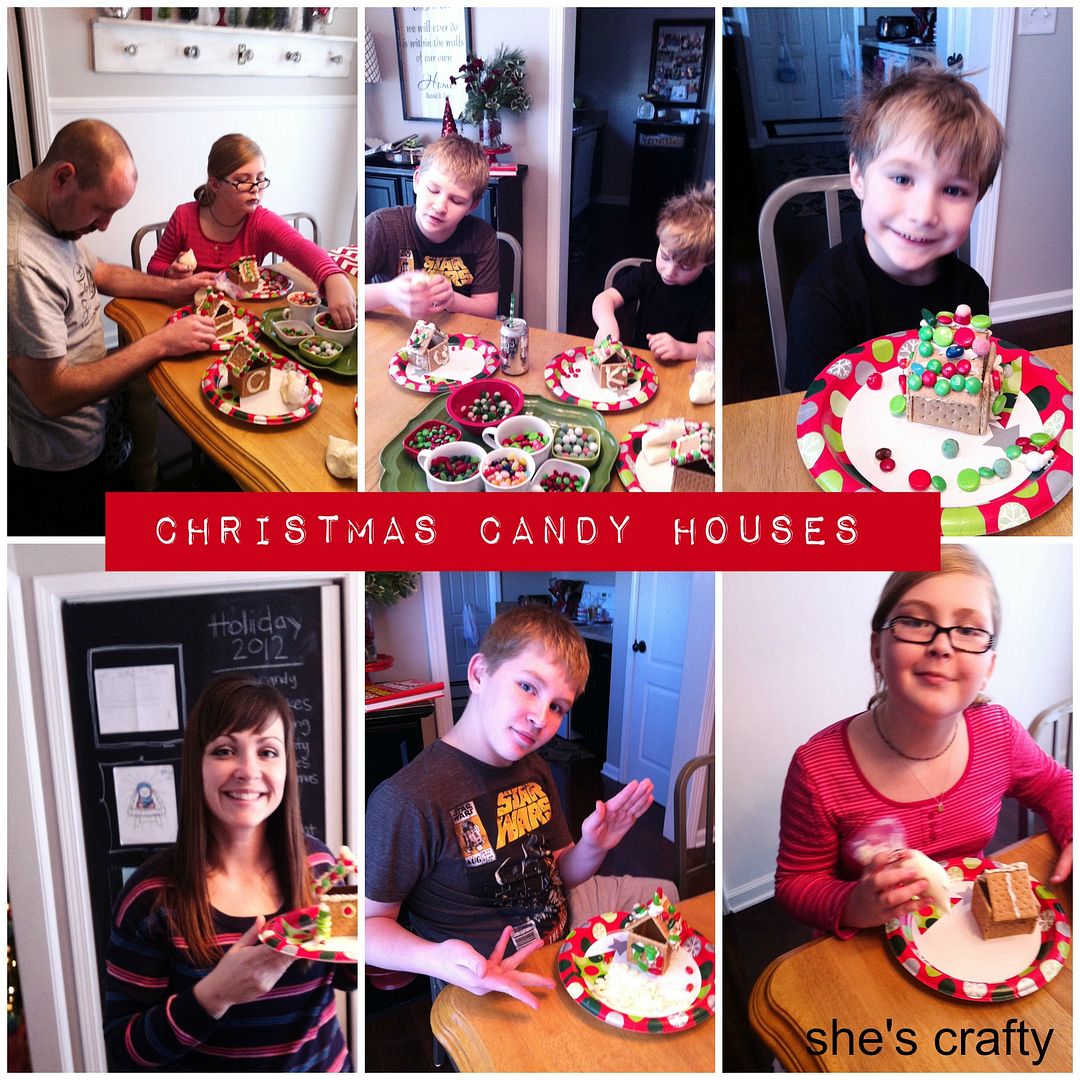
We made our traditional candy houses.  One of the best things I've found to do is to use graham crackers hot glued together to form the house.  It gives a sturdy foundation for the ton of candy that gets put on them.  My kids never eat the graham crackers from the houses so I don't worry about the glue not being edible.
 
 
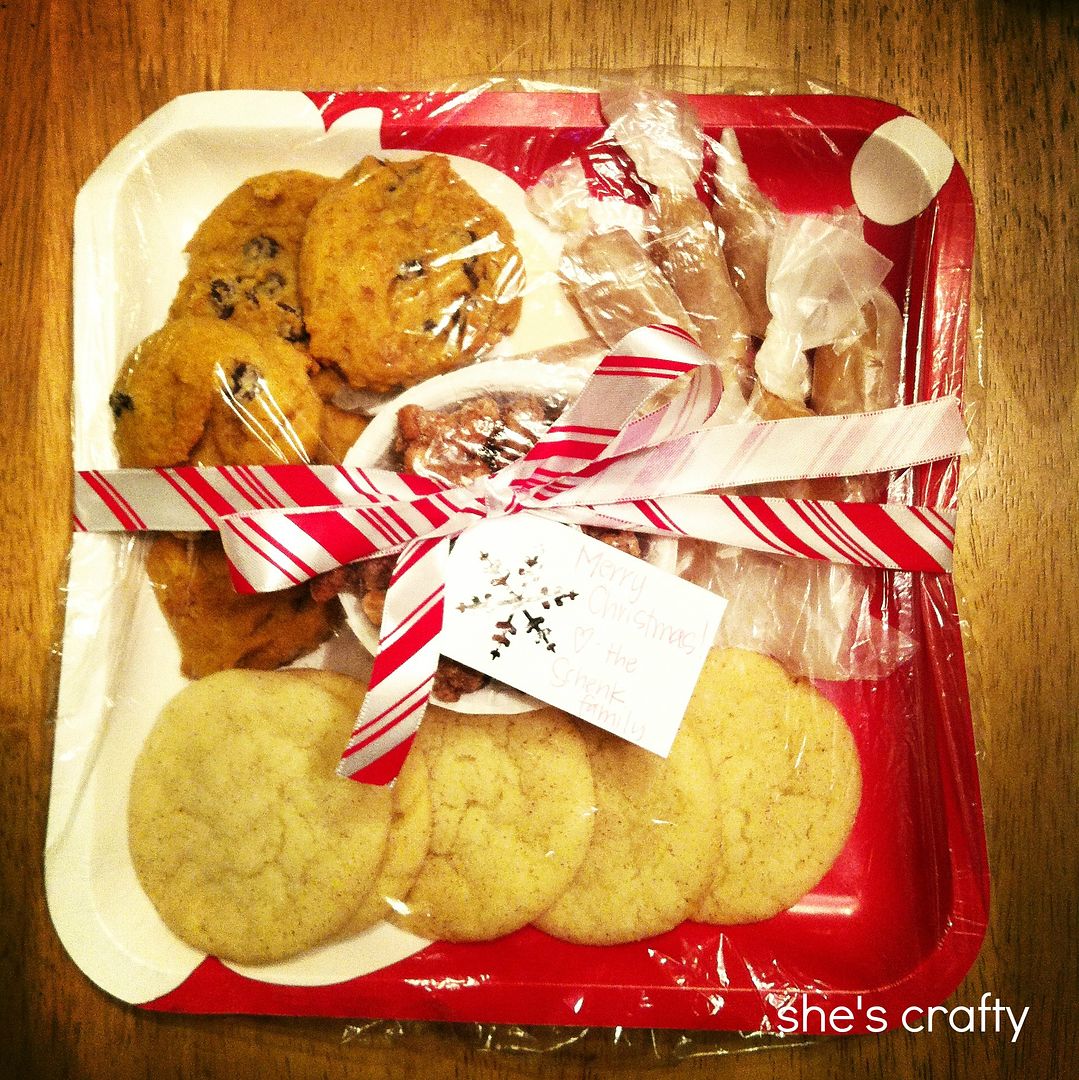
We made and delivered  plates of treats (pumpkin choco chip and snickerdoodle cookies, candied nuts and homemade caramels) for our friends and neighbors.
 
 
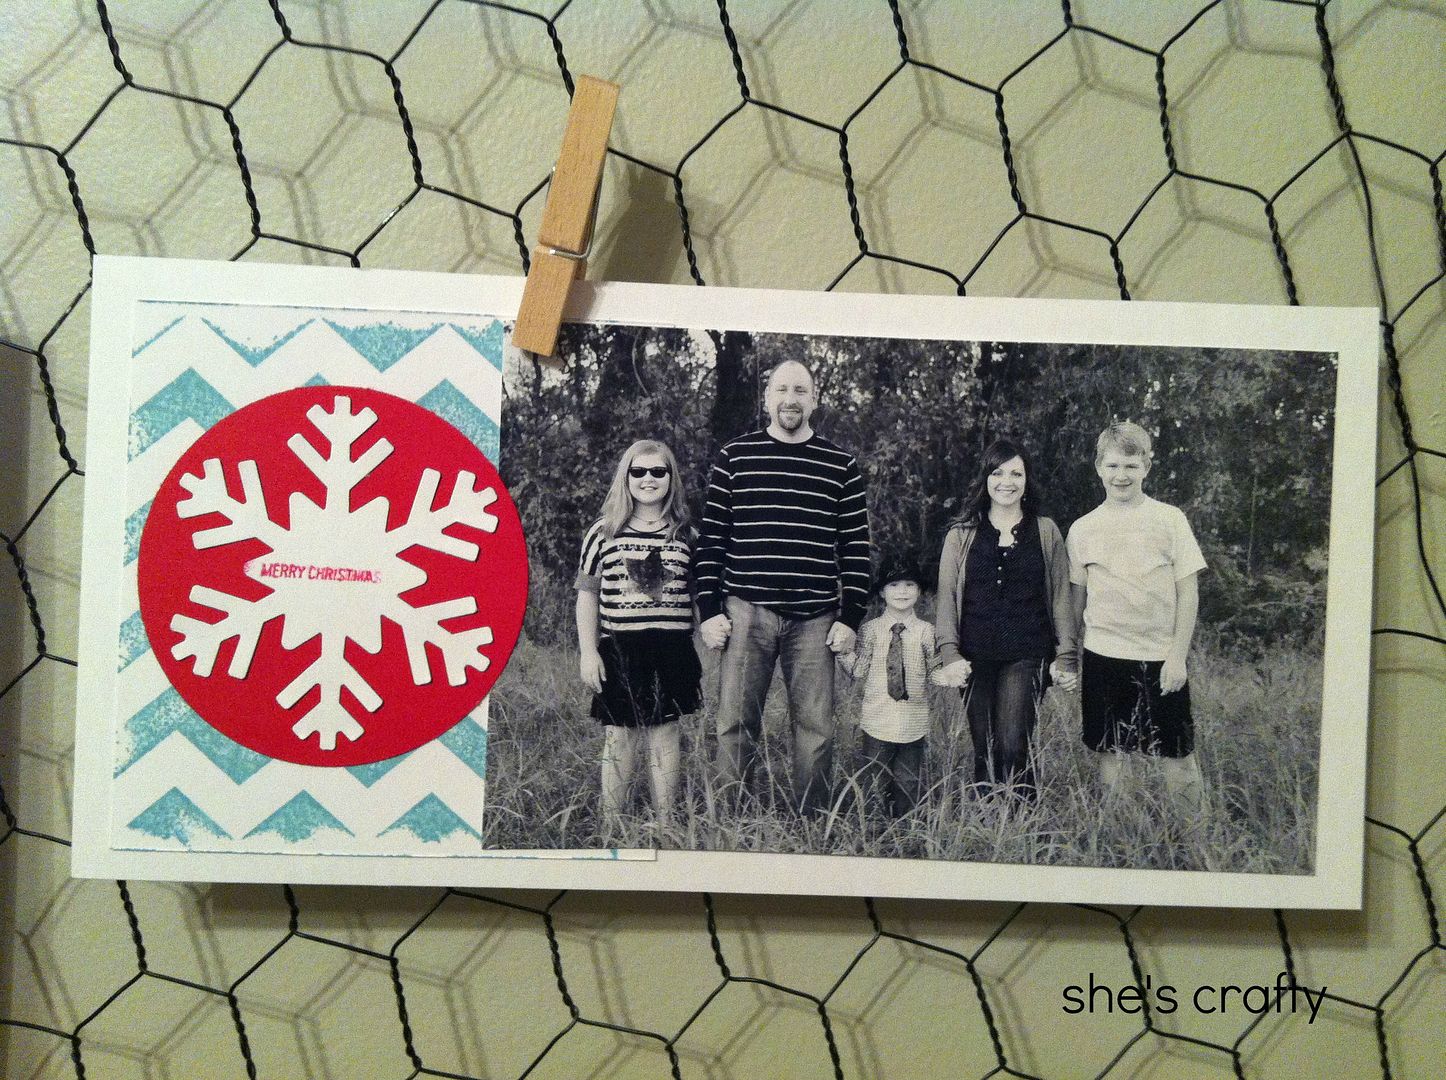
I finally finished our Christmas cards and got them mailed.  My list was buried in my dead computer so I had to go by on old address book.  I probably missed lots of our friends and family.  Sorry if I missed sending you one!


We all got really spoiled on Christmas! 


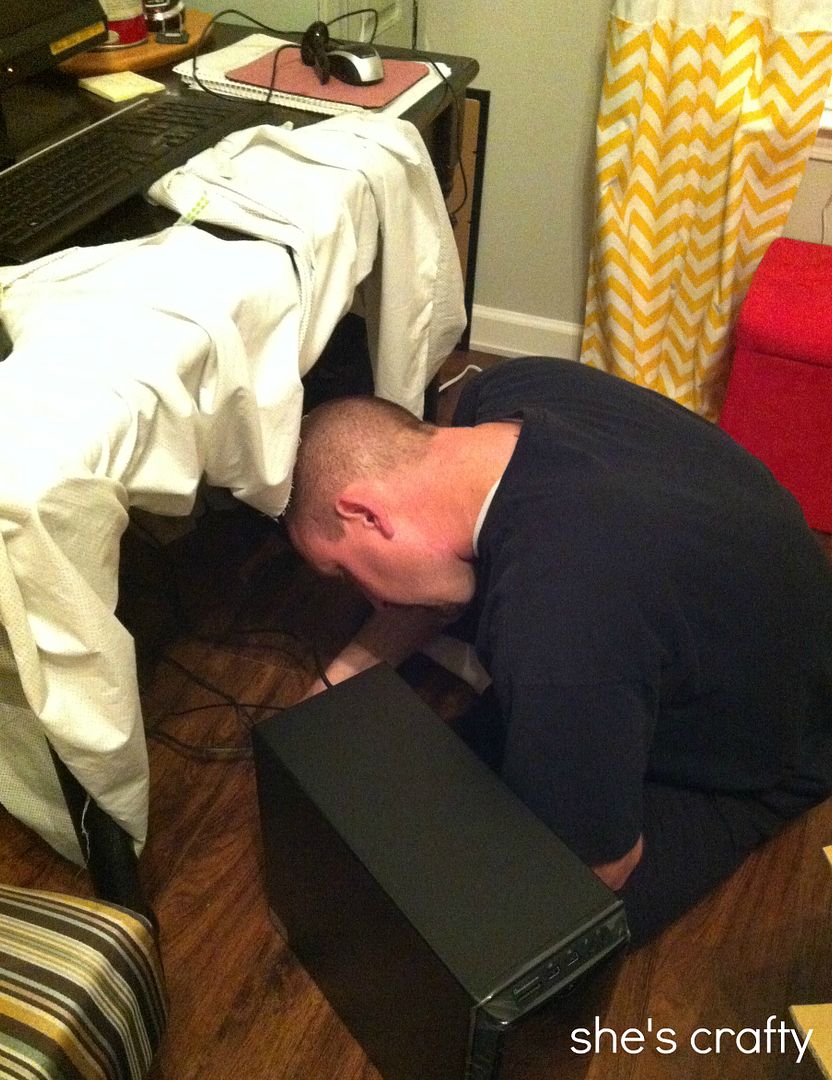
I finally got a new computer.  Mine crashed at the beginning of December.  It was very sad and I'm still trying to get this new one all broken in.  Luckily I back up my photos and most documents on my external hard drive so I didn't loose too much.
 
 
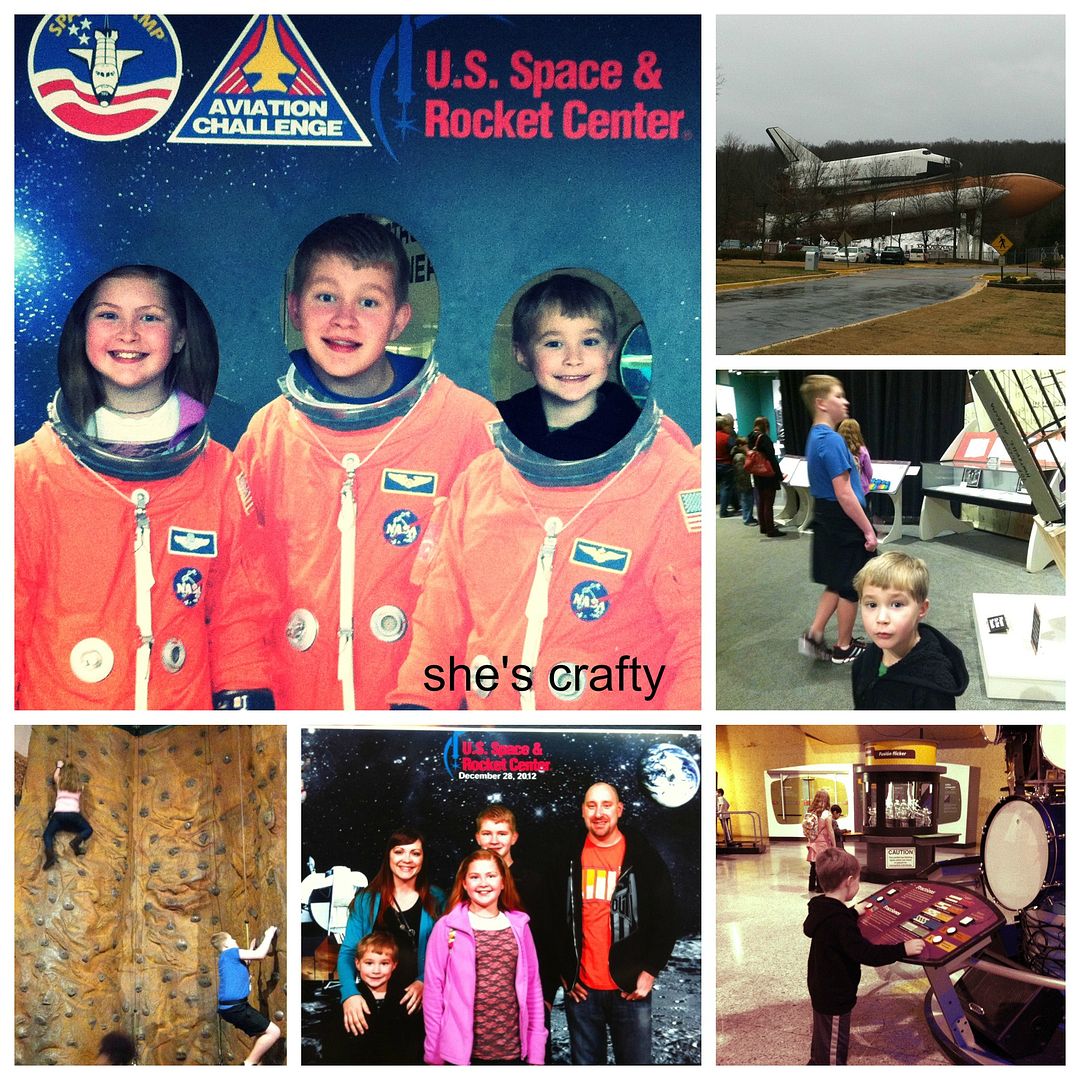
We did lots of fun stuff on our Christmas break including going skating 2 times...

 
and we went to the Space and Rocket Center in Huntsville, Alabama. 


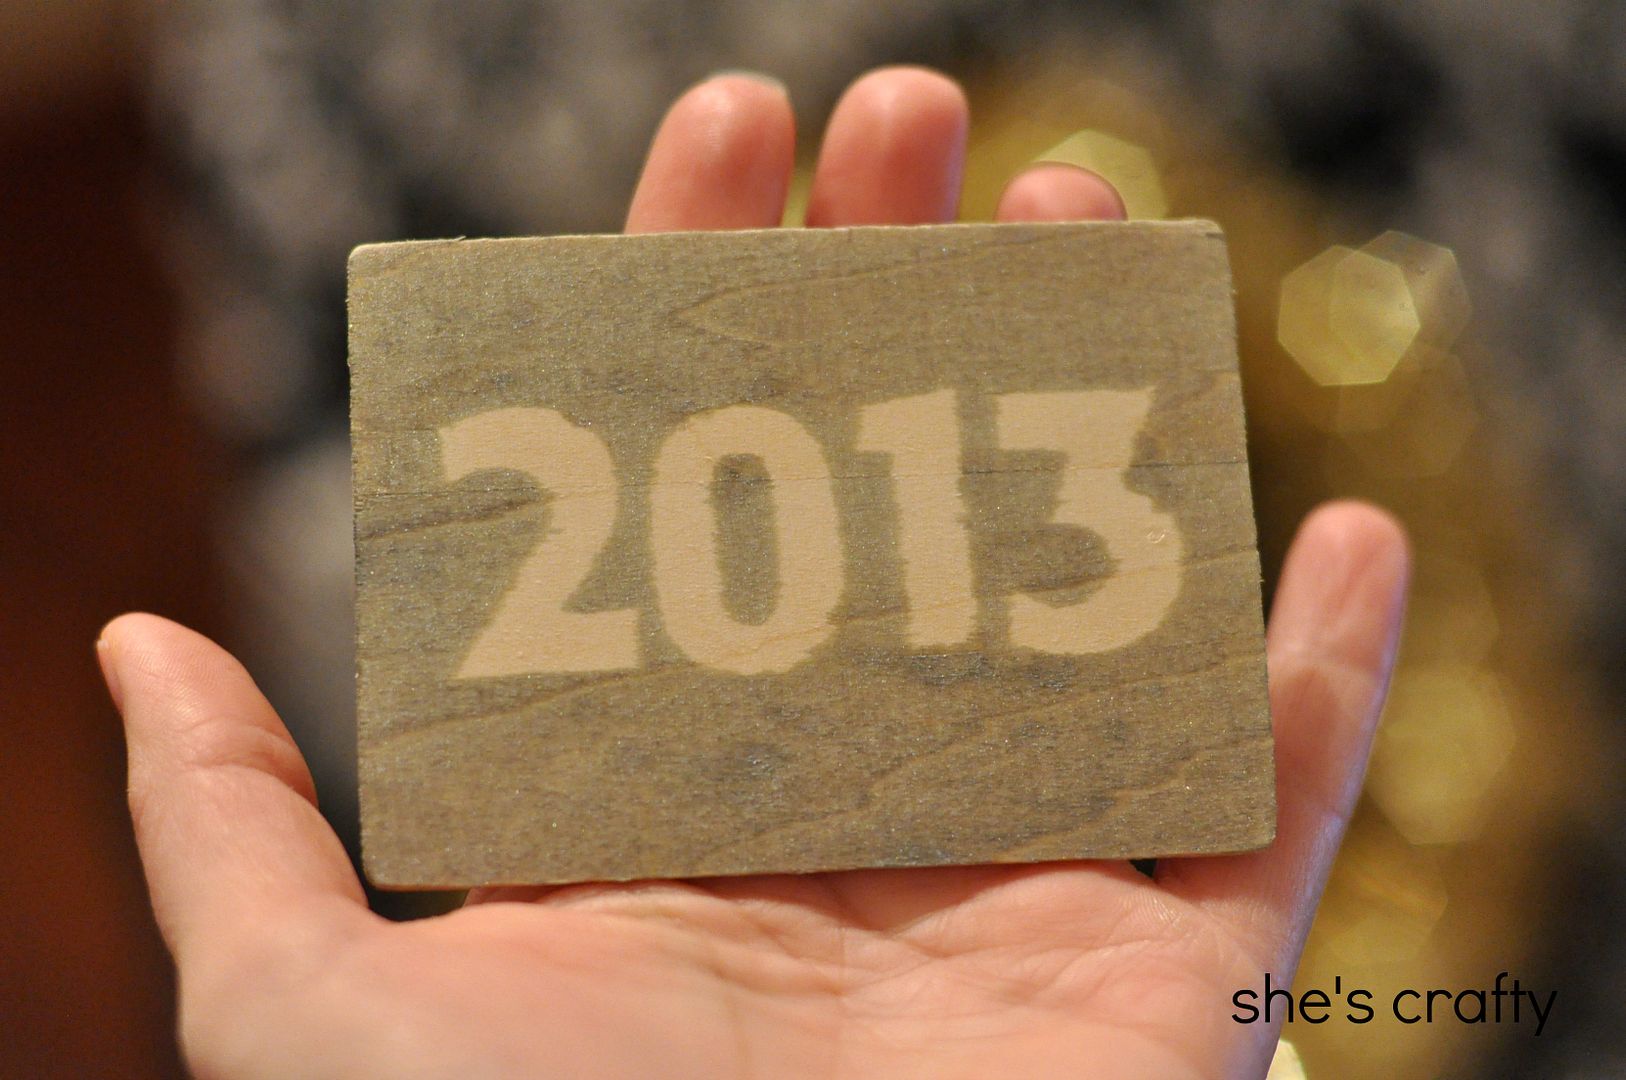
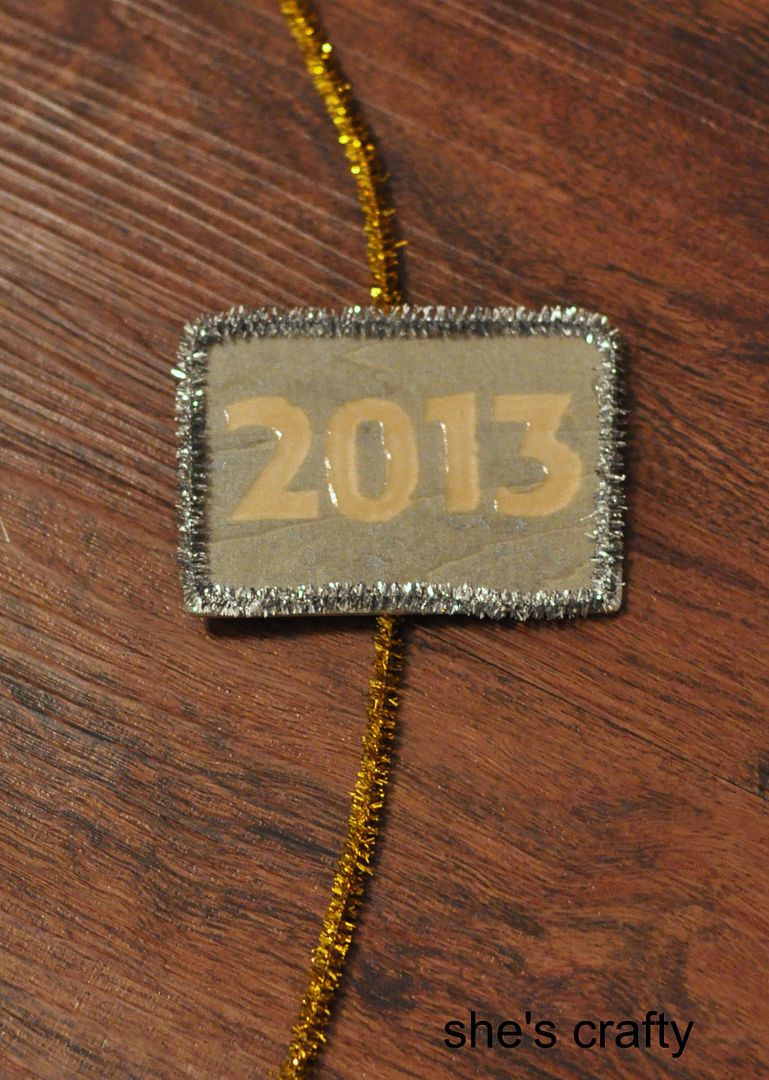
Then we rang in the New Year. 


Happy New Year   to everyone!!