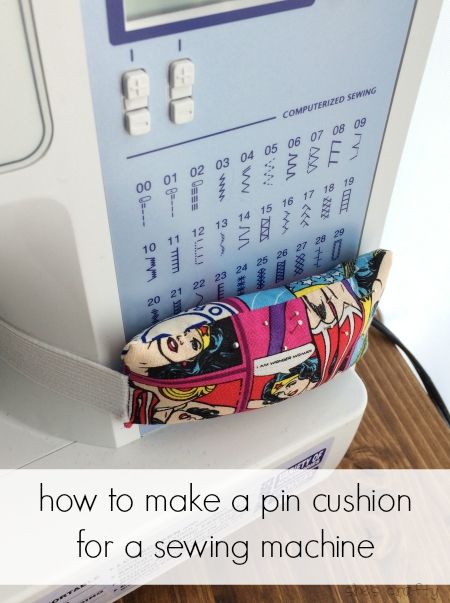
Guys I've done it- I've solved a major problem!! I figured out how to keep from losing my pins when sewing, I made a Pin cushion that attaches to my sewing machine.
I do a tiny bit of sewing. I say a tiny bit because I am no seamstress. I can't follow a pattern, don't use technical terms and make stuff up as I go. But when I do sew those simple projects, I lose my pin cushion all the time.
To solve that problem, I made a pin cushion that will stay put. The directions are very simple so you can make a sewing machine pin cushion too.
supplies needed for sewing machine pin cushion:
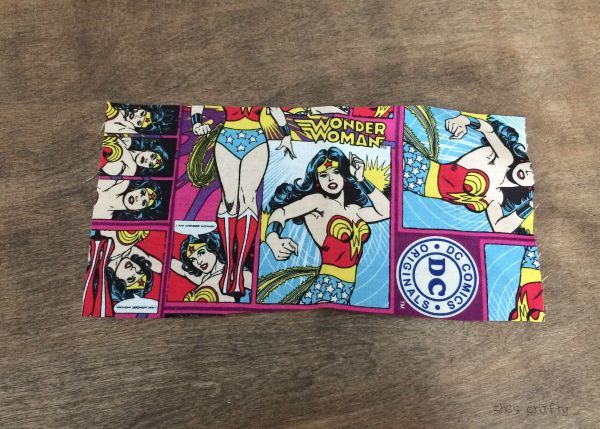
scrap of fabric (mine is approximately 3" x 4")
1 inch elastic- 2 pieces (approximately 9 inches each)
sewing machine - this is the one I have. It is a good basic sewing machine!
needle and thread
How to make a pin cushion for your sewing machine
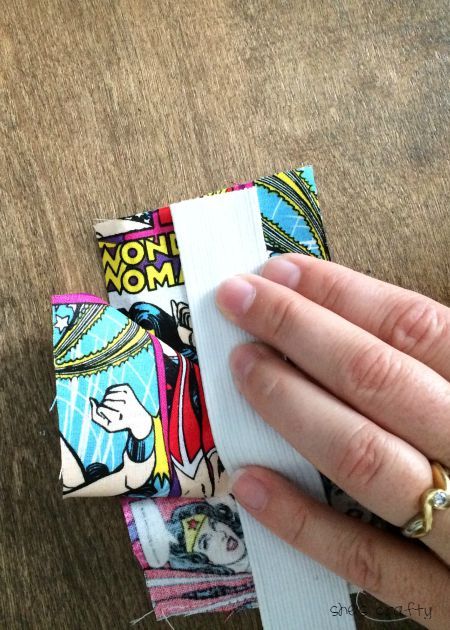
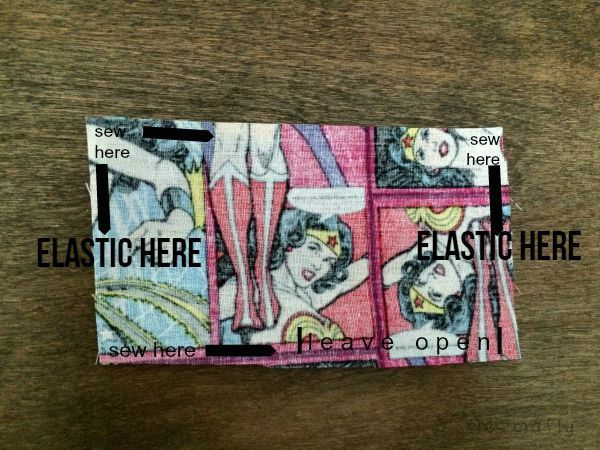
- Place right sides of the fabric together, then put the elastic edge right up to the edge on the short side of the fabric.
- Sew all the way around the fabric, leaving a 2 inch opening.
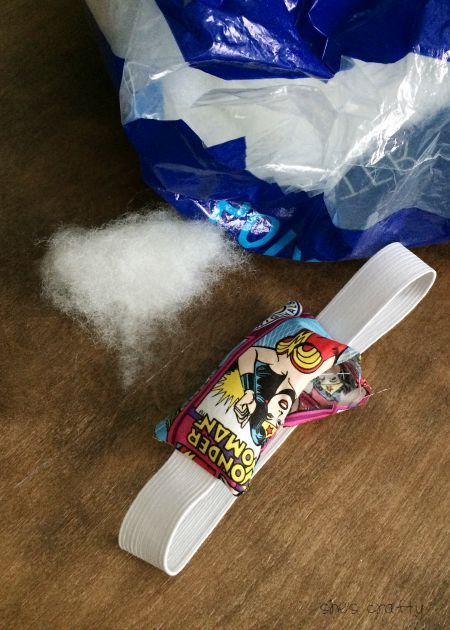
- Turn the fabric right side out and stuff the cushion until it is full.
- Hand stitch the opening closed.
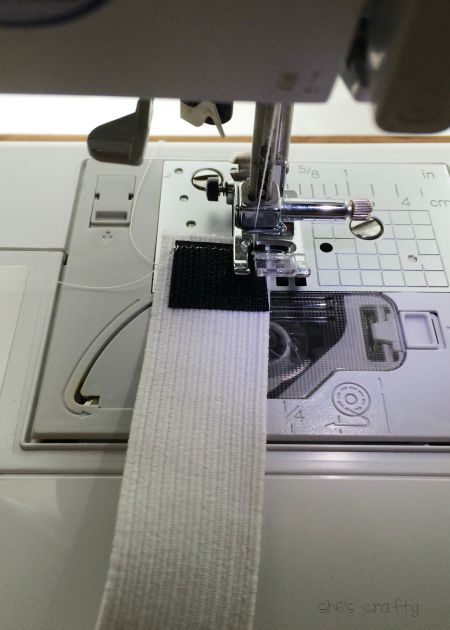
- Sew a small square of velcro at the end of each piece of elastic.
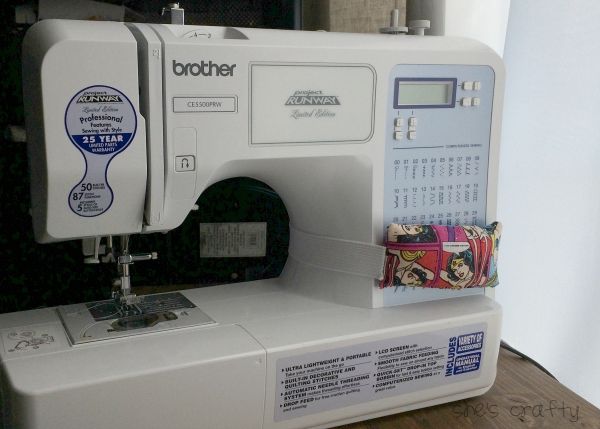
- Wrap the elastic around the sewing machine and connect it with the velcro. The elastic holds the pin cushion on and is removable if needed.
This Pin Cushion that is attached to my sewing machine is so handy! It keeps pins right where they are needed!


