this post contains affiliate links
It's Spring here in TN. That doesn't necessarily mean it's warm all the time. Just this week we've gone from 60 degrees down to 40 degrees and back up to 80 degrees- kinda experiencing all of the seasons in one week. Each morning when I get dressed, I have to check the weather to see what season we are in today. Ah, good times! But inside my house, it's full on spring and I love it!
Lately I have been drawn to neutral colors, which includes neutral in my Spring Décor. I love the look of wood and whites and cement along with the green of plants. So in my my spring home decorating, that is the theme I went with.
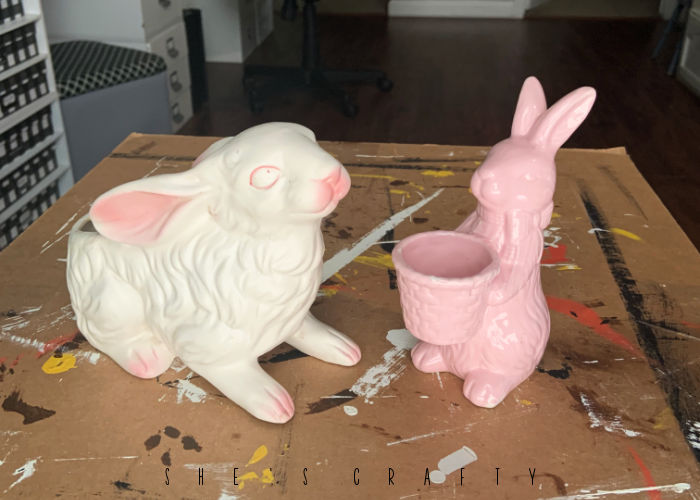
In my recent thrifting adventures, I found a few ceramic bunnies that had adorable shapes, but less than attractive finishes. I knew they would make an excelling addition to my theme, if I could change what they looked like a bit.
How to Make Cement-like Bunnies with Paint
I did some experimenting with paints and finishes to come up with the technique to give ceramic bunnies a natural cement look.
This bunny isn't terrible, but I knew it could be better.
The bunny planter is actually a little scary looking! But no matter, I purchased it, along with his pink friend, and decided to give them a makeover. When looking at figurines, just concentrate on the shape, you can adjust the finish quite easily. To prep the bunnies for their makeover, simply wipe them down with a disinfecting wipe.
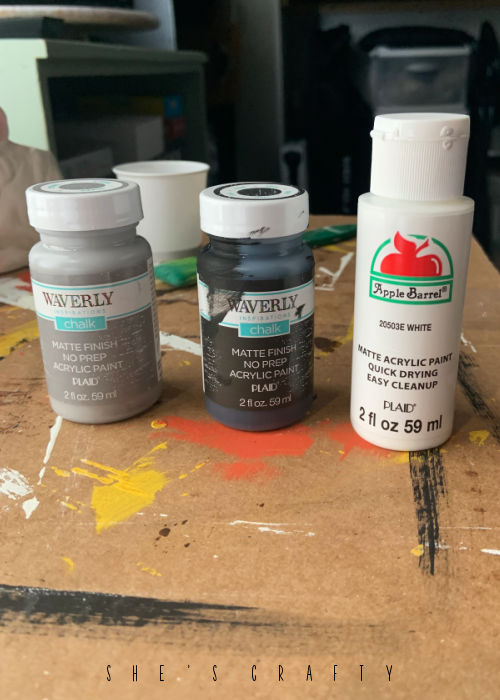
chalk paint (similar) | white craft paint
The most inexpensive way to give just about anything a makeover is with paint. I used gray and black chalk paint, as well as white craft paint.
Chalk paint is great to use for this project because it has thick, matte coverage, and requires no coat of primer. To achieve complete coverage, you may have to coat the bunny two or three times, letting each coat dry completely in between.
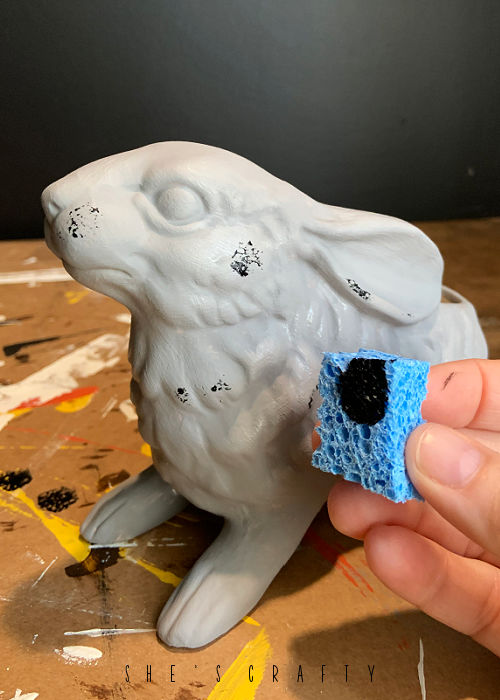
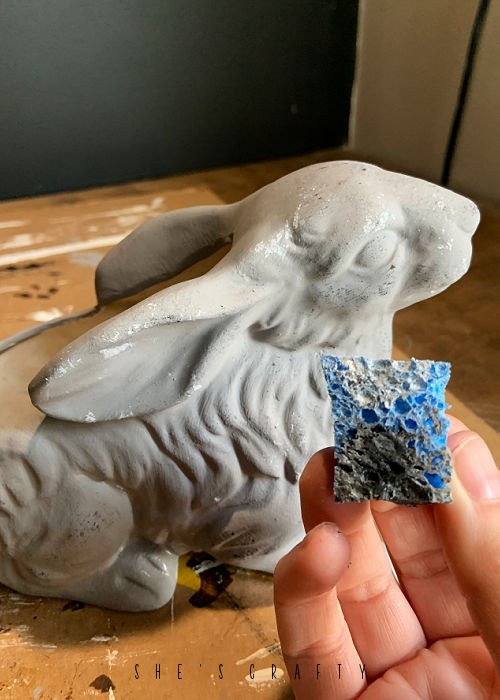
Once the gray paint is dry, stipple the black paint onto the bunny using a small piece of sponge. To do this, dip the sponge into the black paint, pounce most of the paint off onto a paper towel and then dab it randomly onto the bunny. Spread the marks out and use a lighter and heavier touch with each pounce.
Dab a little bit of white paint onto the sponge and dab it onto the bunny over the top of the black to mute it a little. Then use some of the gray paint to go back over all of the pounce marks to fade them a bit. Continue until it looks the way you want it to.
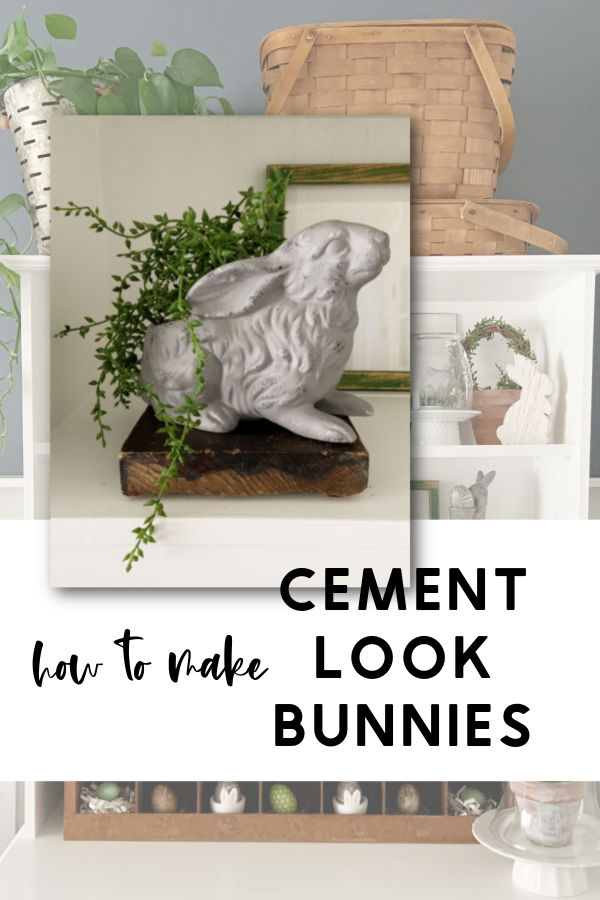
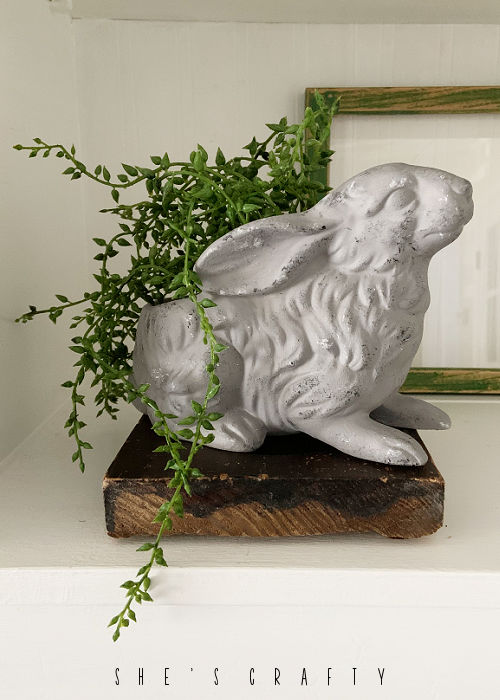
All of the bunnies I painted with this technique turned out perfectly - they look just like cement. The combination of the chalk paint, sponge pouncing and matte finish spray give them the feel of cement as well.
The bunnies look like they have been sitting outside, aging naturally and gracefully. Only you and I know that they are actually thrift store ceramic bunnies that have been given a new life.
I gathered all of the bunnies I painted, along with a few other spring décor items into the cabinet in my living room. I was able to use my DIY Cloches and the Wooden Bunny Art.

