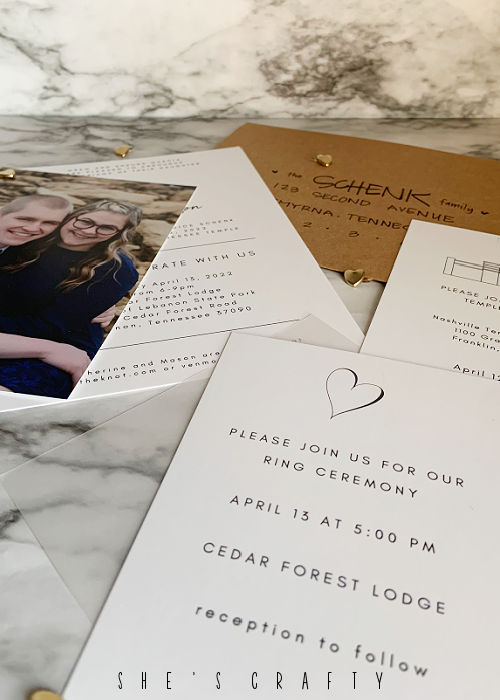
Weddings are the most important day of a bride and grooms life, so being on a budget is one of the last concerns. But if you're looking for a way to have beautiful wedding announcements without breaking the bank, today I am sharing How to Make Wedding Announcements on a Budget.
My son recently got married so I know first hand that there are many, MANY details to attend to. It actually is a little bit overwhelming thinking of everything to be done. But I promise that there is a way to accomplish everything without losing your mind- I am here as proof to that. My biggest tip is to have your child marry into an awesome family that's excellent with wedding details! haha!
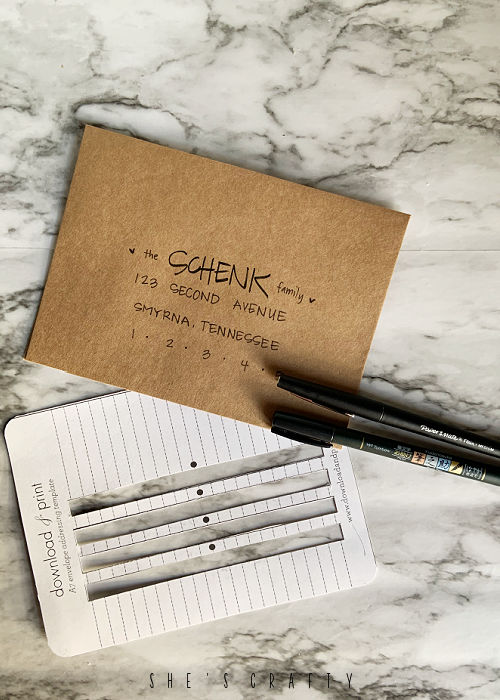
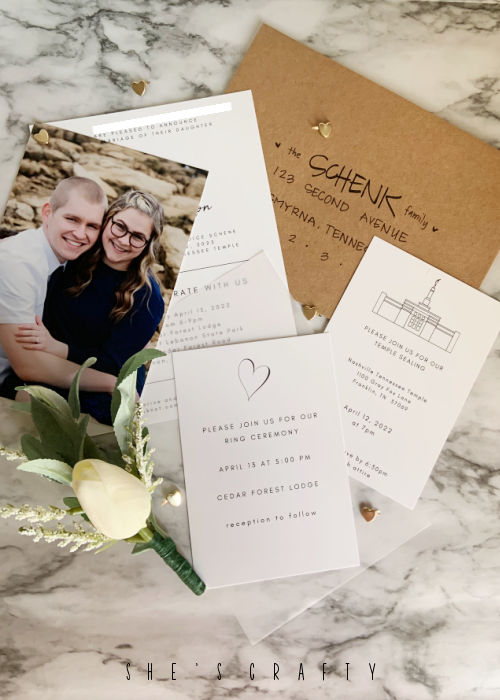
For real though, my son's in laws are amazing and took care of almost everything. I did get the opportunity to do a few projects, starting with the announcements. If you've looked into announcements, you'll know that they can be very pricey. Between the paper, envelopes, enclosure cards, other embellishments and postage - it can all add up very quickly. But I found a budget way to get beautiful invitations and everything that goes with them, without spending a ton of money. In today's post, I'm going to share every bit of it with you.
How to Make Wedding Announcements on a Budget
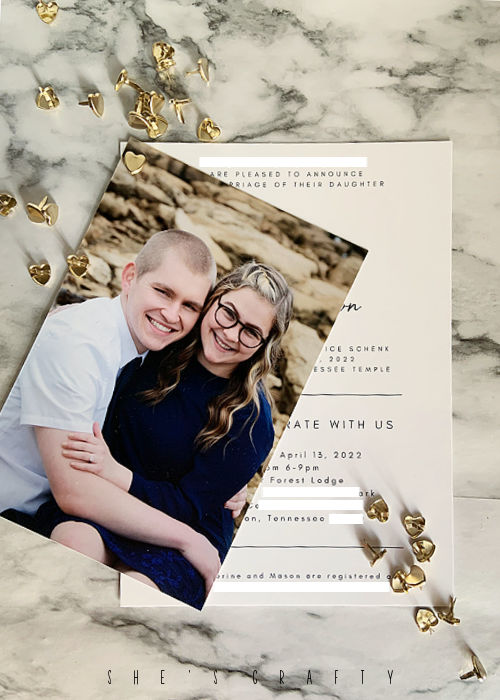
How to Make an Invitation in an online editing program
- Download fonts to be used (I got mine here) and install them on your computer.
- Open blank 5 x 7 canvas in editing software.
- Type wording and format it how you would like it to appear. I create a text box for each sentence to make moving them around easier. Picmonkey has an alignment setting to make all of the text centered.
- Try out a bunch of different fonts. I like to use upper case fonts and lower case fonts along with a script font. Fonts I used Handmade Wanderlust Thin Regular for the uppercase, Avocado Sans Thin Regular for the lowercase and script is Forever Soulmates Script Font Regular.
- If there is a lot of information to include on the invitation, create a line to divide the information. I used a black rectangle squished down and thinned out into a line.
- Save the invitation several times a long the way so that you can go back and fix parts at any point.
- When you think you are finished double check the spelling. Then invite someone else to check for spelling and grammar errors. Ask me how I know that.
- Save the invitation as a .jpeg and/or a .pdf.
How to Make an Enclosure Card for Wedding Announcements
- Open a 3x5 canvas.
- Type all pertinent information with same fonts as announcement.
- Use simple images to accompany the cards - I purchased this temple image.
- Save the cards as .jpeg or .pdf.
Printing Tip for Invitations
- The invitation is a 5 x 7 single sided invitation on 14pt cover stock. I uploaded the invitation .jpeg (that I created as shown above) to the site. I chose to have #500 printed even though we could have gotten by with way less, because the cost between 250 and 500 was about $10 more. So the invitations were less than $100. Can you believe that?
- The enclosure card is a 3.5 x 5 single sided invitation on 14pt cover stock. The lowest number I could get was #100 so that was more than enough. The enclosure cards cost about $60.


