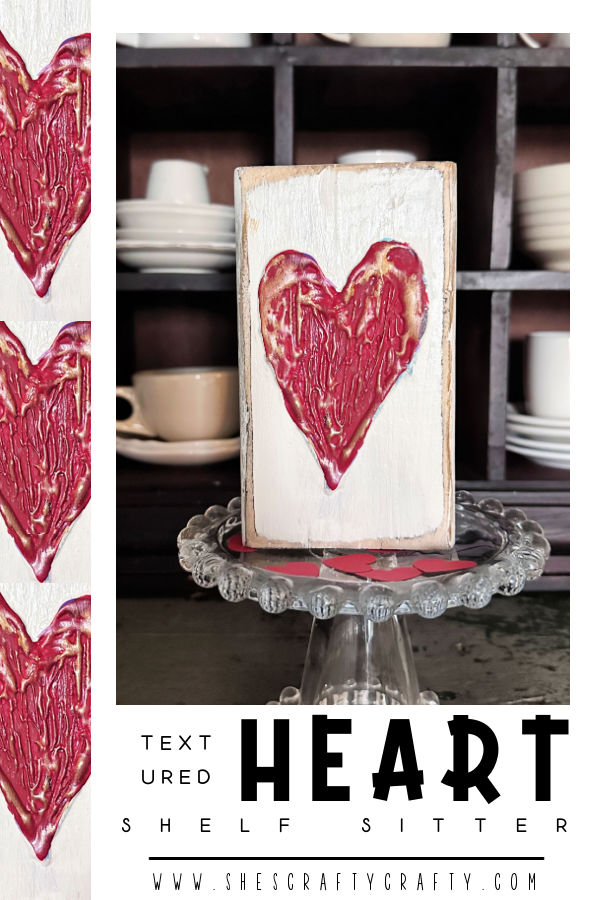
Sometimes simple crafts turn out so cute! And that is the case for this Textured Heart Shelf Sitter. Read on and I'll show you how I made it.
this post contains affiliate links
I am constantly looking for inspiration. I recently saw a super cute heart on a piece of wood and decided I need to make one for myself.
How to Make a Textured Heart Shelf Sitter
I started by grabbing a spare piece of wood from my garage. I know not everyone has a jillion pieces of wood sitting in their garage, so remember that 2 x 4's (that I used in this project) are easy to find at the home improvement store and the workers will cut it for you.
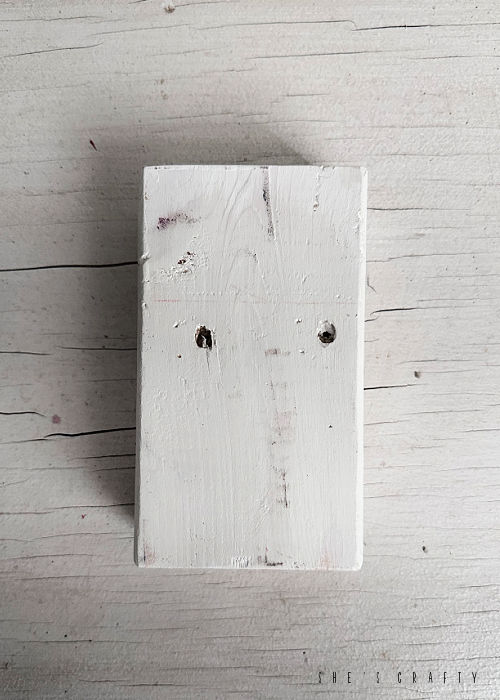
Paint 2 x 4. I used a 6 inch piece of 2 x 4 that is reclaimed from another project, so it has lots of character (aka holes and imperfections). I painted it off white with chalk paint.
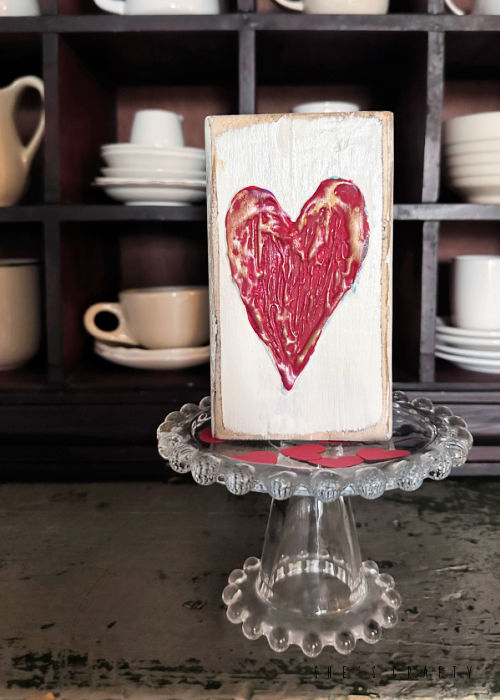
Draw a heart with a glue gun. Once the paint is dry, then it's time to use your glue gun to draw a heart on the wood. If you need to, you can draw a heart outline with a pencil. I outlined the heart with the glue gun, then filled in the heart with glue gun scribbles. It was kinda fun to messily fill it in like that.
Paint the heart with craft paint. Using various colors of craft paint to give some dimension to the heart, slap some paint on there. If you want the wood to be distressed, take a little bit of sand paper to the edges after painting the wood white and before painting the hearts.
Paint the heart red. Once the under colors have dried, paint the heart with red paint. Again, this doesn't have to be precise. I like the look of the paint when it's a little bit imperfect.
Use Rub n Buff to highlight the heart. Using your finger or a small paint brush, rub on a small amount of rub and buff to highlight the texture of the heart. I also brushed a tiny bit onto the wood. Let that dry for a while, then give the entire thing a coat of sealer.
Then it's all done and your heart is ready to go sit on a shelf and look all cute for Valentine's Day!
linking up to: Craftastic Monday Inspire Me Monday Happiness is Homemade


