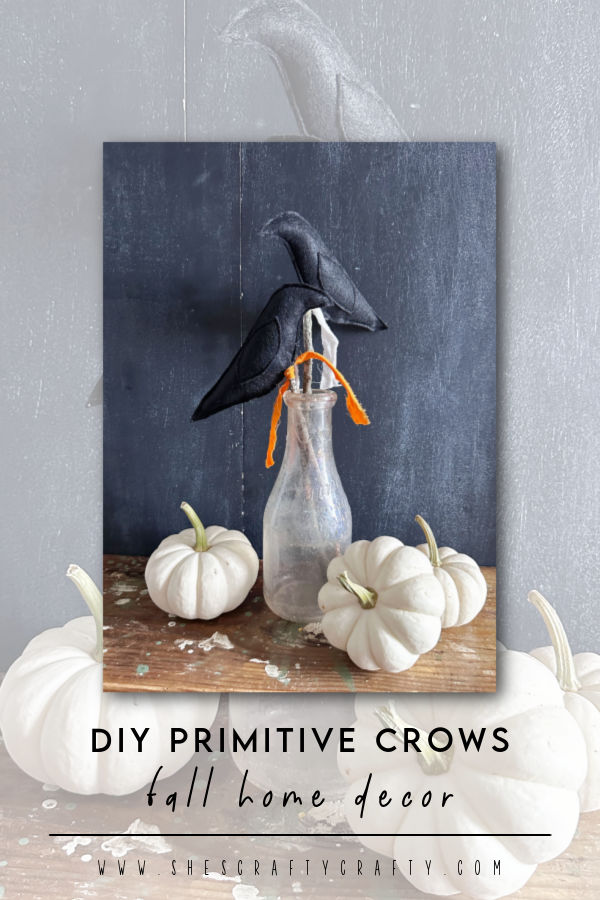
Are you looking for a one of a kind fall décor piece for your home? Are you a fan of primitive style? Then you've come to the right place. Today I'm sharing a tutorial for DIY Handmade Primitive Crows that are the perfect addition to any fall decorations.
this post contains affiliate links
Back in the early 2000's I was a big fan of primitive décor. I used to pour over magazines (pre-Pinterest days) and come up with homespun touches for my house. Then I kind of moved away from primitive for a while. But I'm back baby! I'm back to my roots of loving primitive touches in my home, especially for fall.
I am also having a moment with crows, as seen here. I can't seem to get enough of those cute little birds! So it makes sense that I would combine the two and make primitive crows.
How to Make Primitive Crows for Fall Home Décor
This is actually a super easy and inexpensive craft to make.
Supplies Needed to make Primitive Felt Crows
- black felt. You can even use the super cheap felt squares you can get at any craft store.
- poly fill stuffing
- sewing machine with black thread or you can hand stitch with a needle
- crow pattern. Right click the above image and save to your computer. Then print it out on regular printer paper.
Use the crow pattern above to cut out the crow body and wing. Cut 2 of each. To do this: I folded the felt in half and placed the pattern on the felt and pinned it down. Then I cut around the body and the wing. Since the felt was folded it half, 2 pieces were cut out at once. Work smarter not harder!
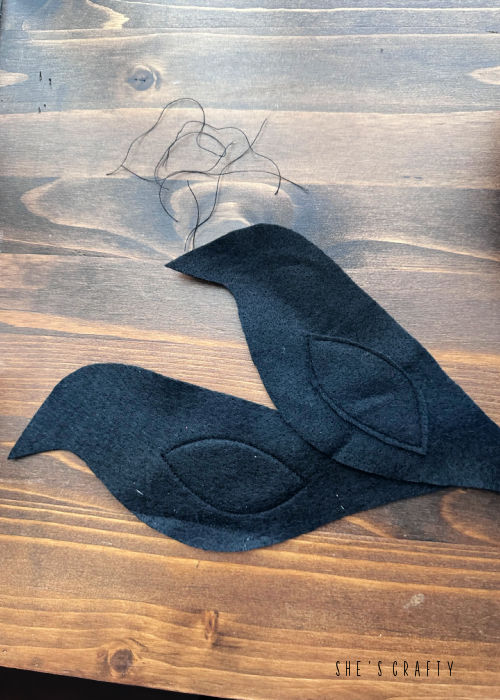
Using your sewing machine (or needle and thread), sew each wing onto the crow body first. You'll want to make sure you sew one wing on each side of the crow so you have a wing on the front and the back once the crow is put together.
The crows will look like this with the wings sewn on. The top one has the wing sewn on one side and the bottom crow has the wing sewn on the other side.
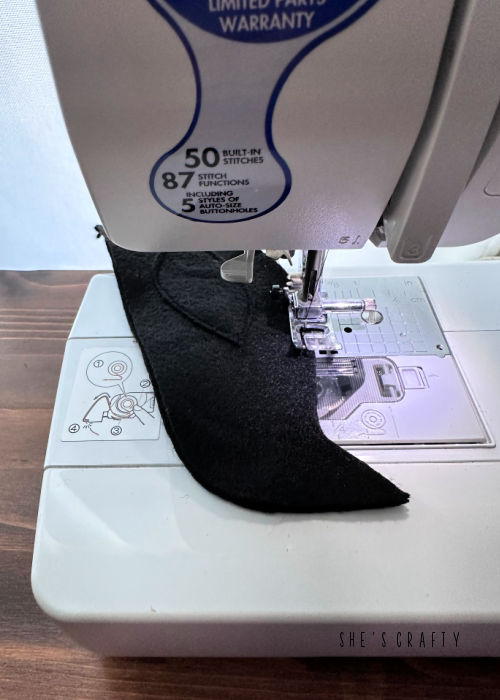
Once the wings are on each side of the crow, place the crows together, right sides out, and stitch along the edge all the way around. It isn't hard to do this with a sewing machine - I promise. I am not a seamstress at all. Just go slowly all the way around and carefully turn the crow to sew around the edges. Once you get to a corner like the beak and the tail, place the needle down into the crow, lift up the presser foot of the machine and flip the crow to sew in the other direction.
When sewing, you'll want to leave a 1.5 inch opening at the bottom so you can stuff the crow.
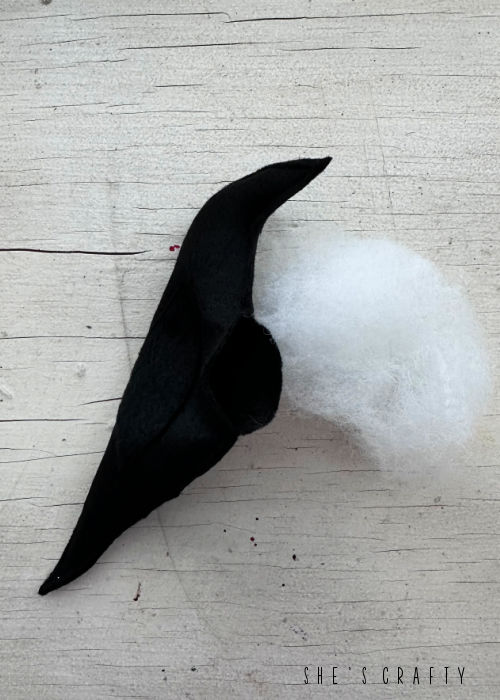
When stuffing the crow, do the beak and the tail first. Take a tiny bit of stuffing and use a pencil to shove the stuffing into the narrow places. Then you can stuff the rest of the crow as full as you like it.
At this point you have 2 options:
- If you want your crow to sit in a bowl of basket, you can stitch the hole closed with a needle and thread.
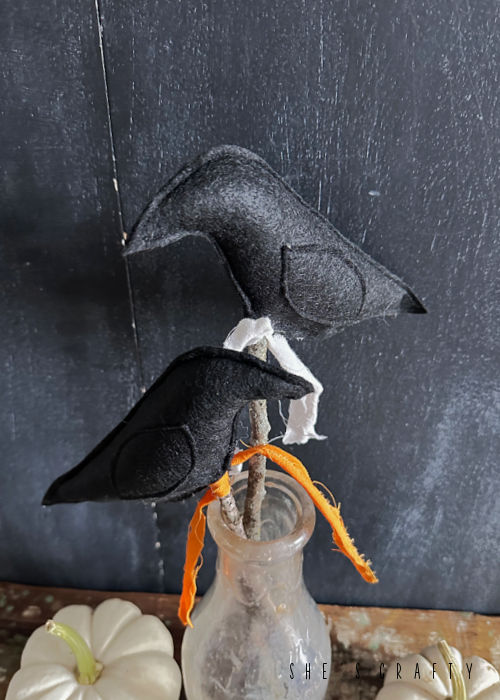
- Or you can place it on a stick to stand. I used actual stick from my yard that I cut down to size (about 12-15 inches). I placed a dollop of hot glue on the end of the stick and stuck it inside the crow through the opening. Then I glued the rest of the opening closed, around the stick.
Then I tied a scrap of fabric onto the stick where it meets the crow. To make the fabric look primitive to match the crow, I tore it into strips.
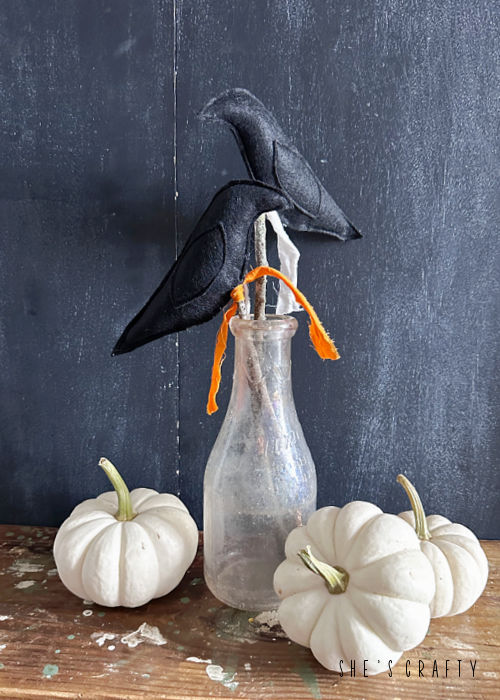
I placed a couple of crows into a crusty old jar and am thrilled with how they look.
linking up to: Craftastic Monday Happiness is Homemade

