
Today I'm sharing these tissue paper flower pots I did with my kids!

This post originally appeared on Design Dazzle.
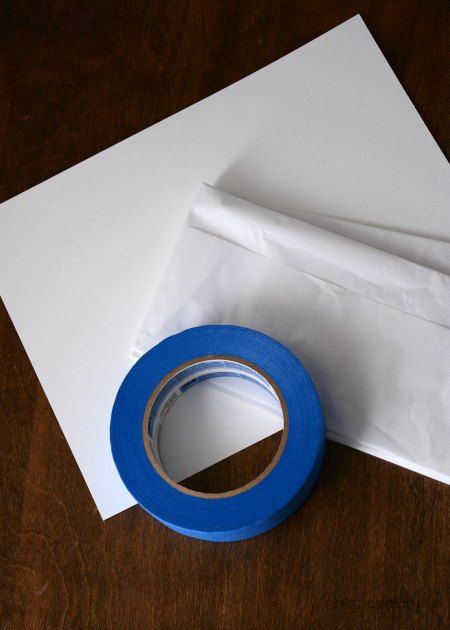
For this project, the supplies needed are tissue paper, cardstock, painters tape,
and white clay pots.
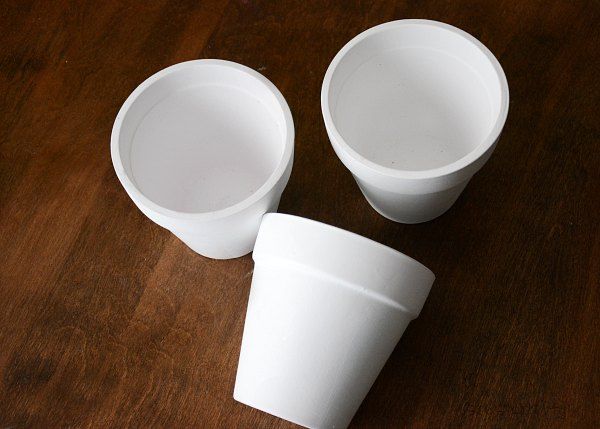
My pots came already painted white but if yours are not,
you will want to paint them white.
I wanted to personalize the pots by covering them with paper.
I knew tissue paper would work very well with mod podge,
but finding tissue paper in the patterns I wanted is next to impossible.
So I made my own.
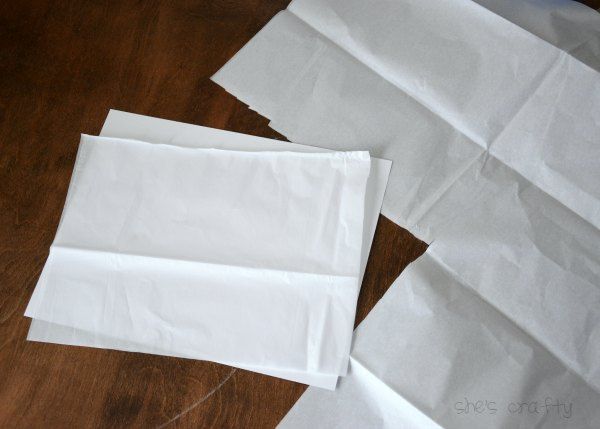
First, I cut some tissue paper down to 8.5 x 11 since that's the size that
would go through my printer.
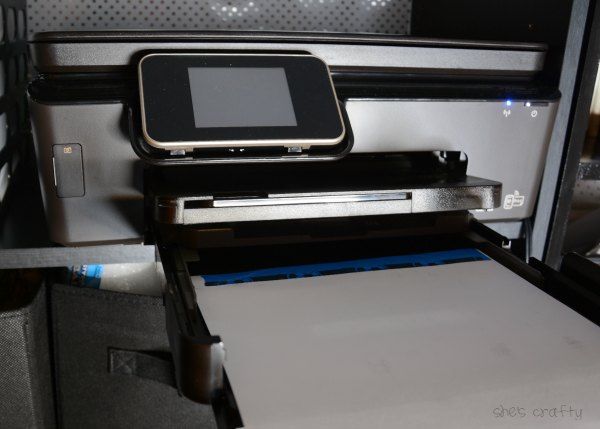
Then I taped it to a piece of cardstock and feed it face down into my printer.
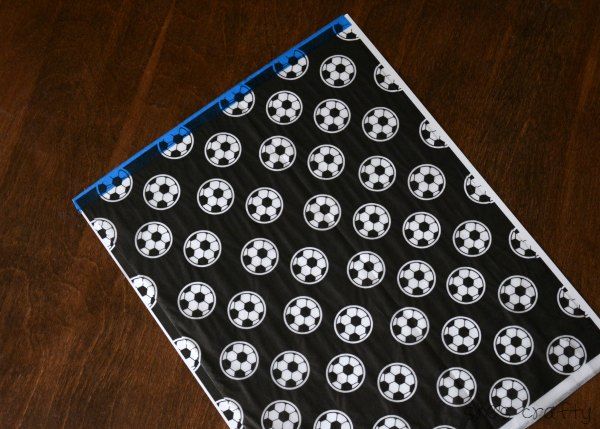
For the design, I purchased digital soccer paper from here.
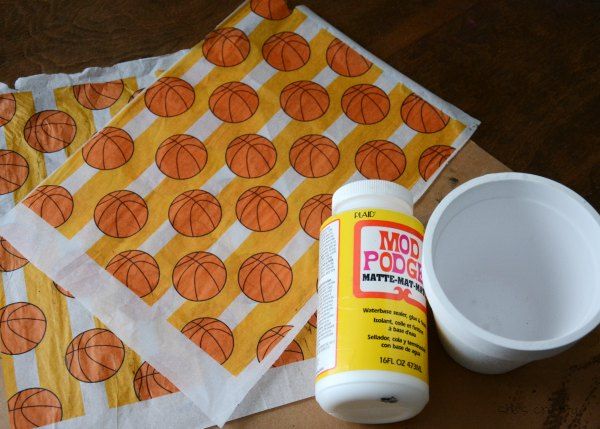
I made the basketball paper.
You can get it for free here.
I cut the tissue into small pieces and glued them onto the pot.
The first piece was about an inch thick to go around the rim.
Then I used approximately 4 x 6 pieces to cover the bottom of the pot.
Tissue paper is very fragile, so I had to be very careful.
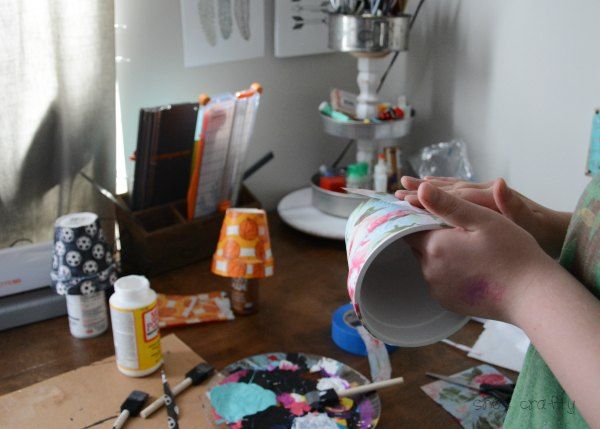
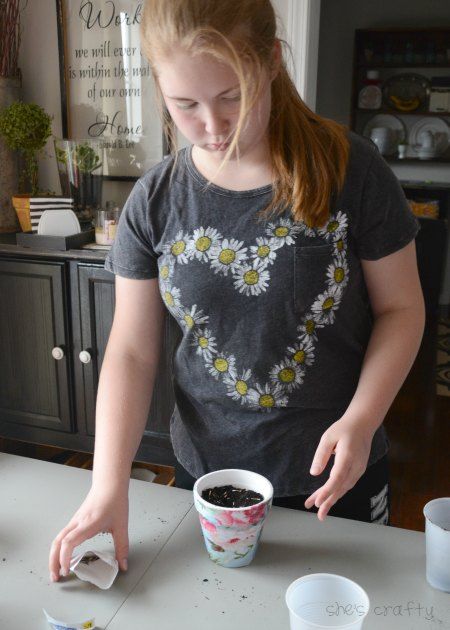
My daughter, who likes to do crafts with me, decoupaged her own pot.
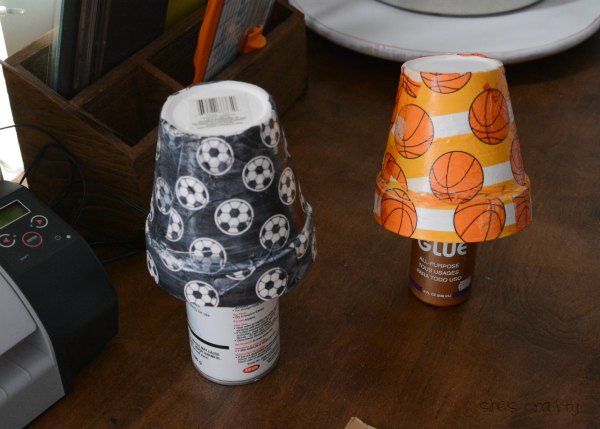
We let them dry upside down on some tall glue bottles.

After the glue was dry, we got to work planting flower seeds.
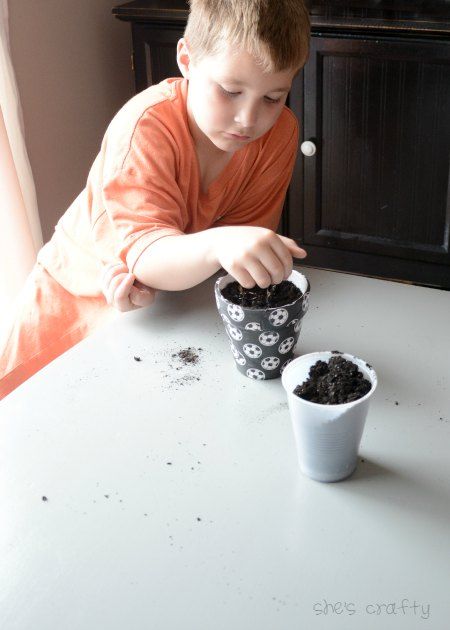
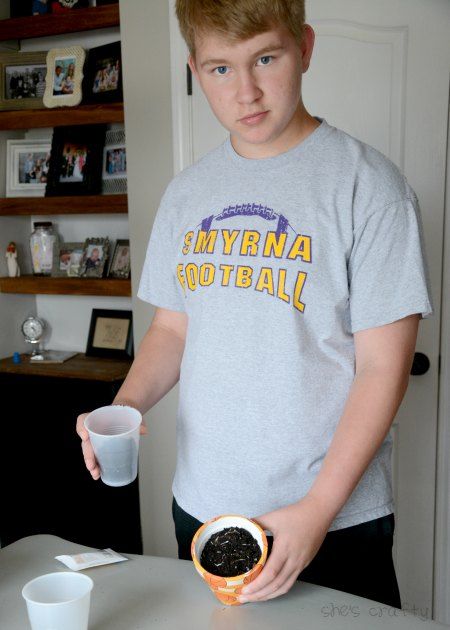

Now we will water them and watch them grow!
linking up to: The Creative Circle