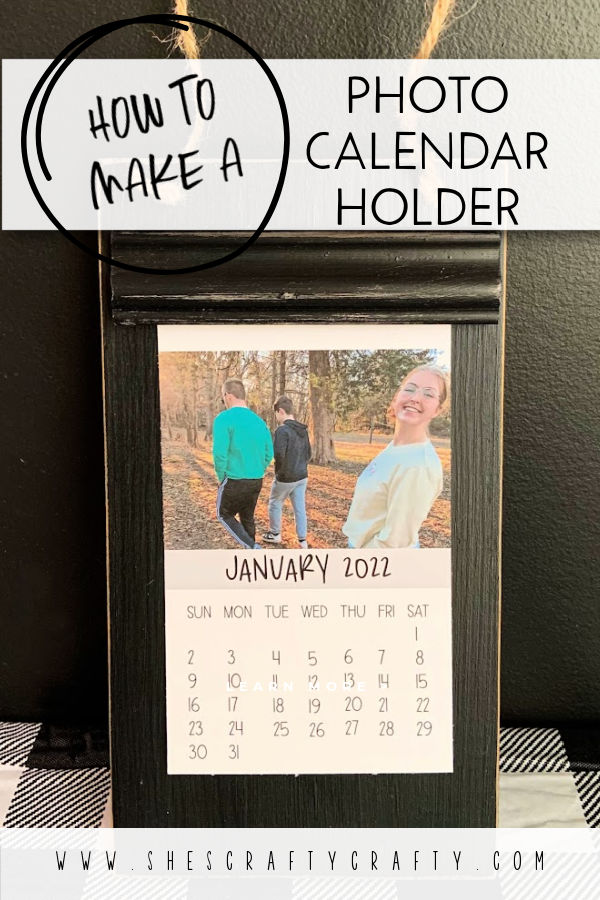
If you're looking for a cute 2022 calendar, I have instructions to make a Photo Calendar Holder.
this post contains affiliate links
One of the things I usually make for my family at Christmas is a photo calendar. Check out Personalized Photo Calendar and Photo Calendar with Wooden Base. A photo calendar makes such a great gift because it combines 2 things that everybody likes: family photos and monthly calendars.
How to Make a Photo Calendar Holder
This photo calendar is a really quick and simple project and it takes just a few supplies.
Supplies Used:
- 1 x 6 wood - cut to 12 inches
- molding - cut to 5 inch pieces
- black paint
- poly acrylic sealer
- magnet tape
- photo calendar
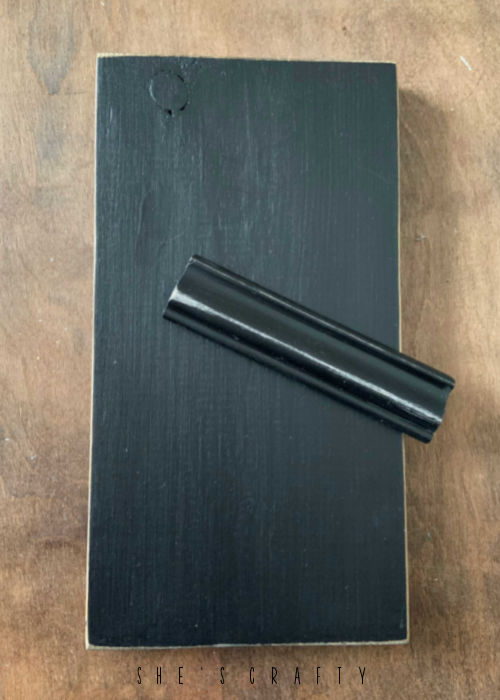
Cut the 1" x 6" wood down to 12 inches. Cut the molding into 5 inch pieces. Paint the wood and molding with black chalk paint and let it dry. Distress the wood and molding with sand paper. Seal with poly acrylic top coat.
Cut 2 pieces of magnetic tape to the same size, slightly smaller than molding. Put the right sides together of the magnetic tape. Take the backing piece off one of the pieces magnetic tape and place it onto the wood piece then do the same with the molding.
The adhesive on the tape might not hold up, so use hot glue or other glue to make sure the magnet tape is adhered.
Drill 2 holes at the top of the wood piece and thread twine through the holes. Tie knots in the ends of the twine to hold it in place.
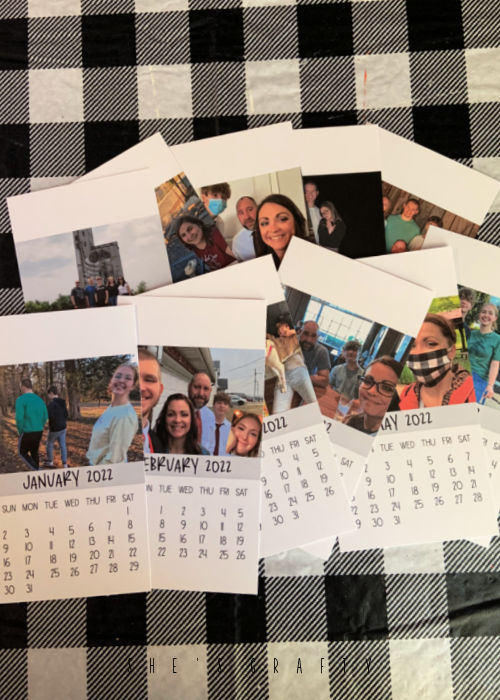
Download the calendars. In a photo editing program (I use Pic Monkey), open a blank 4"x6" blank canvas. Add the calendar to the bottom of the canvas. Resize a photo to fit in the blank space of the canvas. Either send the photo calendars to be printed as photos, or print them on your home printer on cardstock.
Put the printed out photo calendar on the holder by placing it in between the magnets on the wood and the molding.
linking up to: Wow Me Wednesday Thursday Favorite Things Tuesday Turn About Creative Crafts Creatively Crafty


