Today I have an easy tutorial to share with you. It is How to Make Cement Look Pumpkin Treat Cups.
this post contains affiliate links
If there's one thing I love this time of year it's pumpkins. And if there's another thing I love all year long, it's crafting. So it's especially fun to combine 2 of my loves and make something awesome.
How to Make Cement Look Pumpkin Treat Cups
Have you checked out the holiday decor at the dollar store this year? They are killing it. I ahve been super impressed with all the Fall/Halloween goodness I have been able to find this year!
I have done several
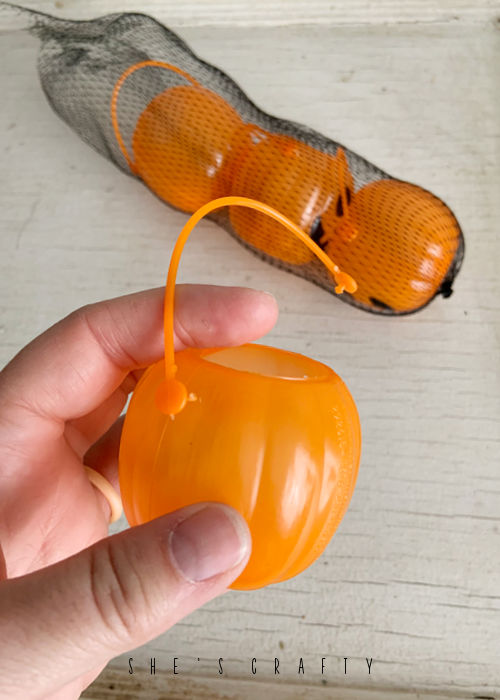
cement look projects with paint this year so in keeping with that theme, I decided to do some pumpkins. I found a pack of 4 pumpkin treat cups at the dollar store. I removed and discarded the handle and got the pumpkin ready for some paint.
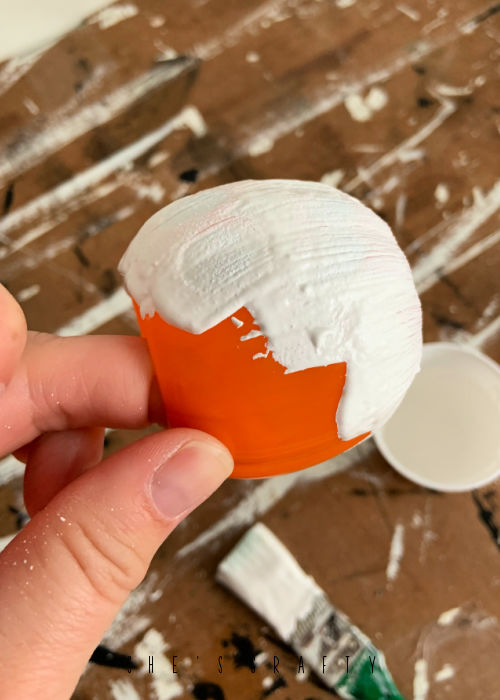
I poured some regular ol' craft paint into a small cup and mixed in baking soda. I kept mixing until it was a consistency between mashed potatoes and pancakes.
Paint the baking soda mixed paint onto the pumpkin cup with a brush. You can just slap it on there and not worry too much about brush strokes or anything. The cement look is very imperfect. You may need to do 2-3 light coats of paint to get the coverage that you want.
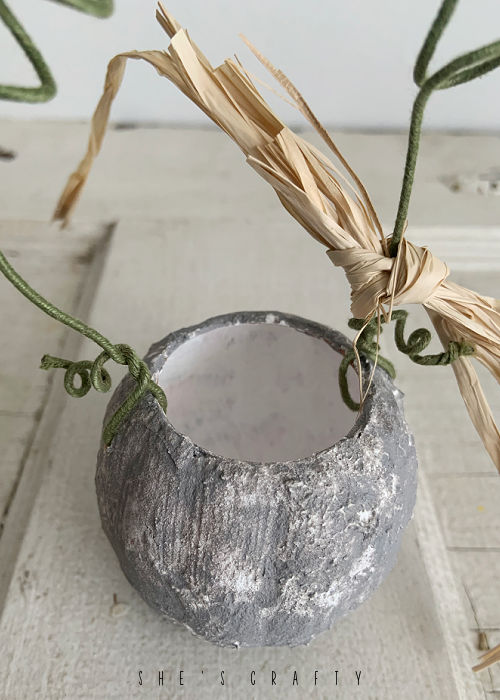
Paint the inside of the cup too. With the inside of the cup being painted, I would not put unwrapped candy into the cups. Use candy that is in the wrapper or better yet, just use some non edible greenery.
Once the white paint is dry, brush on a tiny bit of gray chalk paint. Then pounce it off with a paper towel. Keep applying and pouncing until your pumpkin has the look you want.
Let the paint dry for several hours. Or get impatient like me and put a fan in front of the pumpkin to speed up the process because noonehastimetowaitforpainttodry!
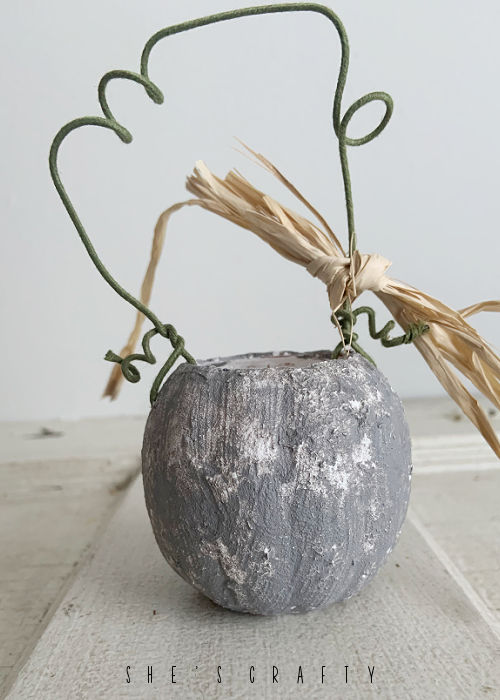
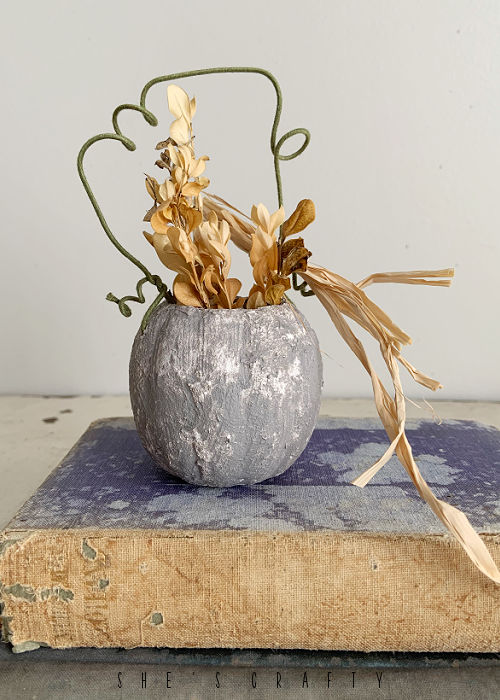
Use the holes that are already in the pumpkin from the discarded handle. Feed an end of the floral wire through one of the holes. Wrap it around itself and curl it around a small screwdriver to make the curlicue. Wrap the center of the wire (that will make the handle) around a pencil in a few places to make curls. Then feed the wire in the hole on the other side of the pumpkin and make the curlicue again.
Take a small bit of old school raffia and tie it around one side of the handle. I am totally into raffia again after taking a long hiatus from crafting with it. I have actually used an entire package this season. It's so fun to decorate with.
I placed a small bit of dried boxwood into the pumpkin cup. Cement Look Pumpkin Cups are so easy and make a fun little accent piece sitting on a rustic book for the season.
Wait don't go yet - my blogging friends and I got together a bunch more pumpkin themed projects!
Transform your mantel with simple supplies from the Dollar Tree with Michelle of Michelle’s Party Plan-It. Her Pumpkin Mantel Décor is elegant enough to leave up all season long.
Beth with the Ruffled Daisy shows us how to create an Aged Metal Pumpkin with simple supplies and a full tutorial.
Styrofoam balls and yarn go along way with these simple DIY Yarn Pumpkins for your mantel or tablescape. Diana from the Girl Creative is sharing her instructions.
Marissa from Rae Gun Ramblings has created a complete tutorial covering all of her Painted Pumpkin Tips and Tricks, so check them out today.
Learn how to Create a Pumpkin Landscape by Color Matching Paint and Markers with a full tutorial from Jenny of Jenny’s Crayon Collection.





.jpg)