If you're looking for a simple shelf to make for your home, I have the best, easiest tutorial for you. It's How to Make an Easy Wooden Shelf.
this post contains affiliate links
One thing that is constant about me is that I constantly change things around in my house. I love decorating and redecorating. I had a spot in my living room that needed a change. I consulted my shop, aka garage, for supplies and decided to make a Simple Wooden Shelf.
How to Make an Easy Wooden Shelf
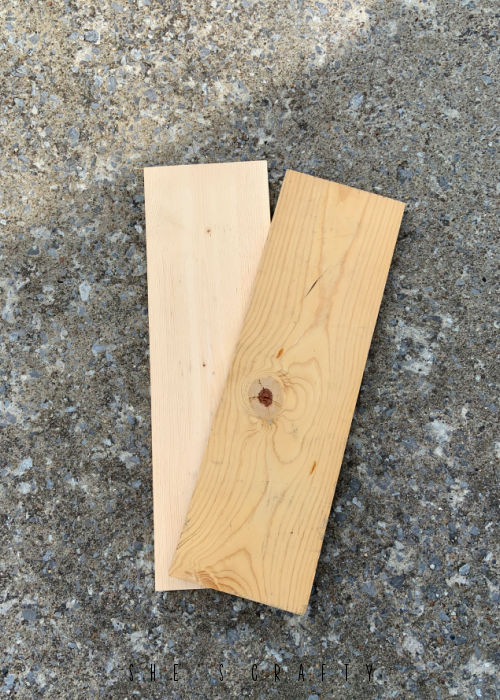
Find 2 wood pieces. Either use wood that you have on hand, or purchase some. I found #2 1" x 8" pieces of wood in my garage that were about 24 inches long. Well, one piece was 24 inches long and one piece was 23.5 inches long.
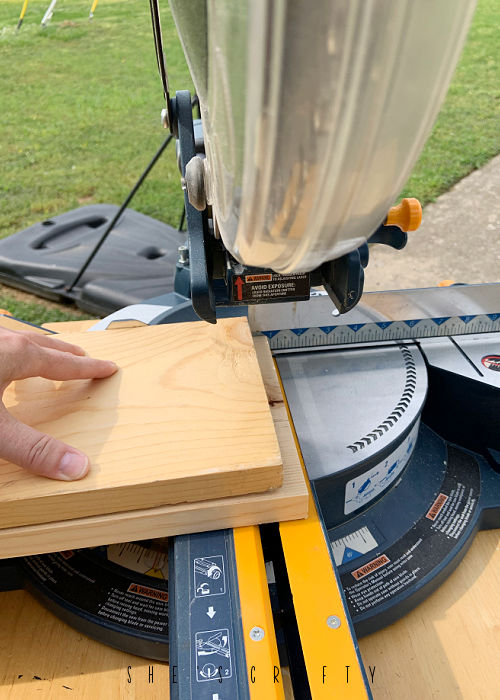
Cut boards to same length. In order for this shelf to work, the wooden boards have to be the exact same size. Since my boards were slightly different lengths, they had to be cut down. I stacked them on top of one another and squared them up. I cut a little bit off of both pieces of wood so they would be exactly the same size.
Drill pilot holes. Using a drill bit slightly smaller than the width of your wood screws, make a pilot hole in 3 spots along the wood where the 2 pieces meet. Then use wood screws to attach the wood pieces together.
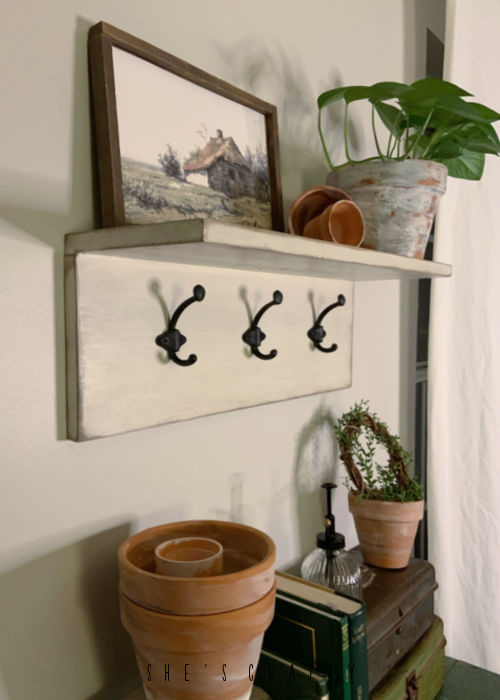
Paint the Shelf. Use the paint of your choice to paint your shelf. Chalk paint in "plaster" is my paint of choice. It's a slight cream color and is just the perfect off white. I use this color with all of the signs I make.
Sand to distress. Using a sander or even sand paper, sand all of the edges of the shelf. I went over the corners and the top several times.
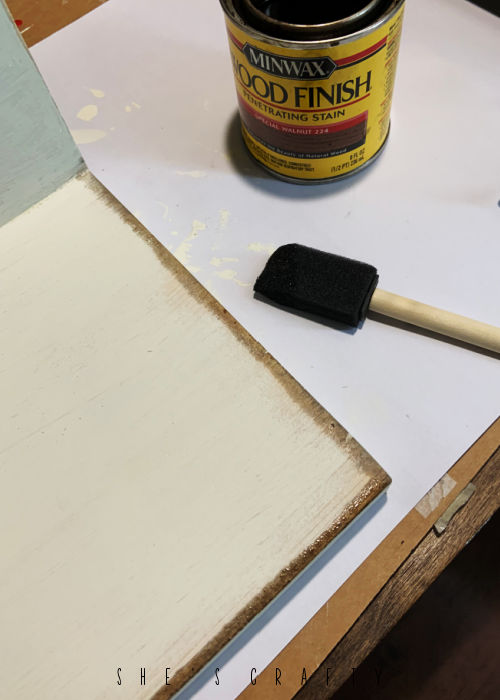
Stain Edges. To highlight the distressing even further, I used a little bit of wood stain. To do this, dip the edge of a sponge brush into the stain and brush it onto the edges of the shelf. Use a rag to wipe the extra stain off and rub it in. Once the stain has dried according to the instructions on the can, brush the shelf with polyacrylic top coat and let it dry.
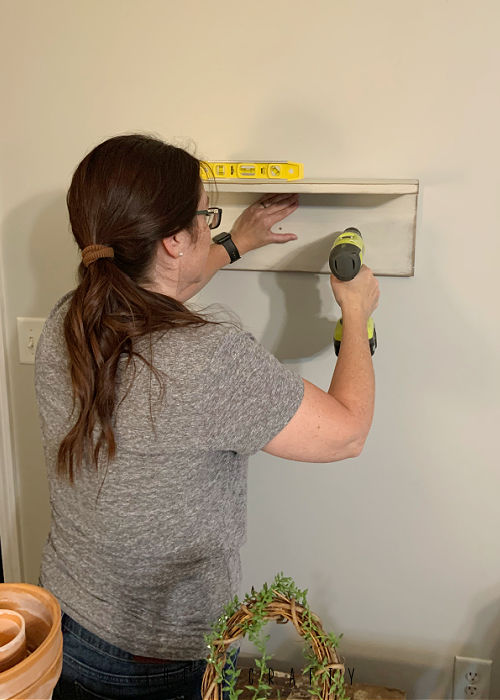
Hang the Shelf. I drilled 3 pilot holes on the lower part of the shelf. I placed it up on the wall, making sure it was level. Then I screwed the shelf to the wall with wood screws. I did that just to measure where to put the drywall anchors. I took the shelf back down and used dry wall anchors (full tutorial here). I was able to use large wood screws and hang the shelf with the screws going into the anchors.
Mount hooks. I mounted black hooks over the top of the screws used to attach the shelf to the wall. I used regular silver screws to attach the hooks so I went back in with black paint and covered the silver screws.
I styled the shelf with clay pots, plants, gardening books and other garden style decorations.
Making a DIY Easy Wooden Shelf is so easy, you can make one for any spot in your home.
If you liked this post check out:
linking up to: Craftastic Monday Inspire Me Monday Happiness is Homemade Inspire Me Tuesday All About Home Wonderful Wednesday Tuesday Turn About


