Photo organizing and printing

I take a ton of photos!!
Not only of my family, but other families as well.
I am passionate about capturing memories and moments of life!
 But with all those photos, how does one organize, store and print them?
Well-I will tell you how I do it.

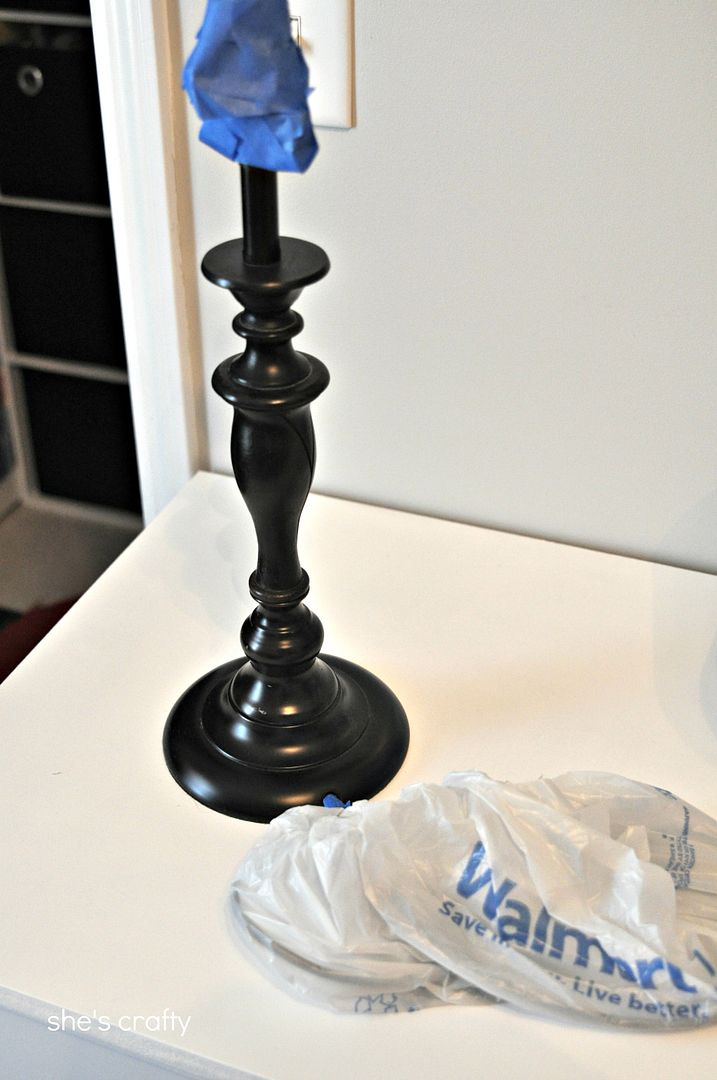
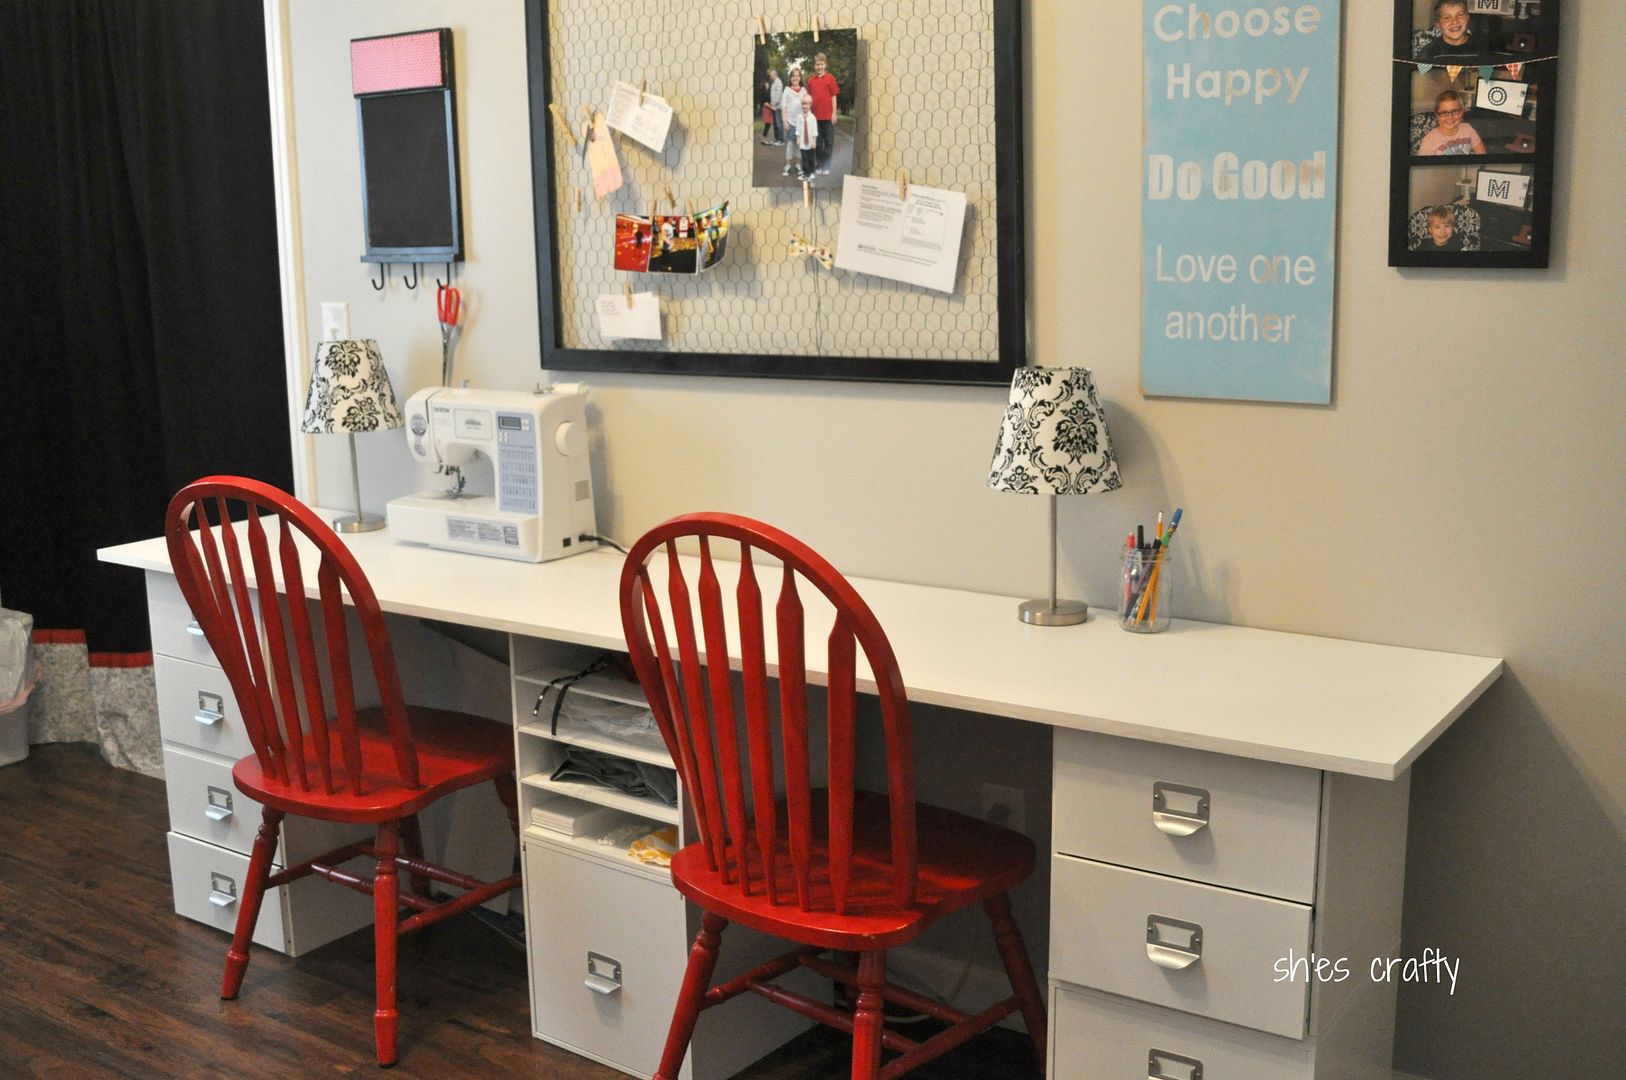
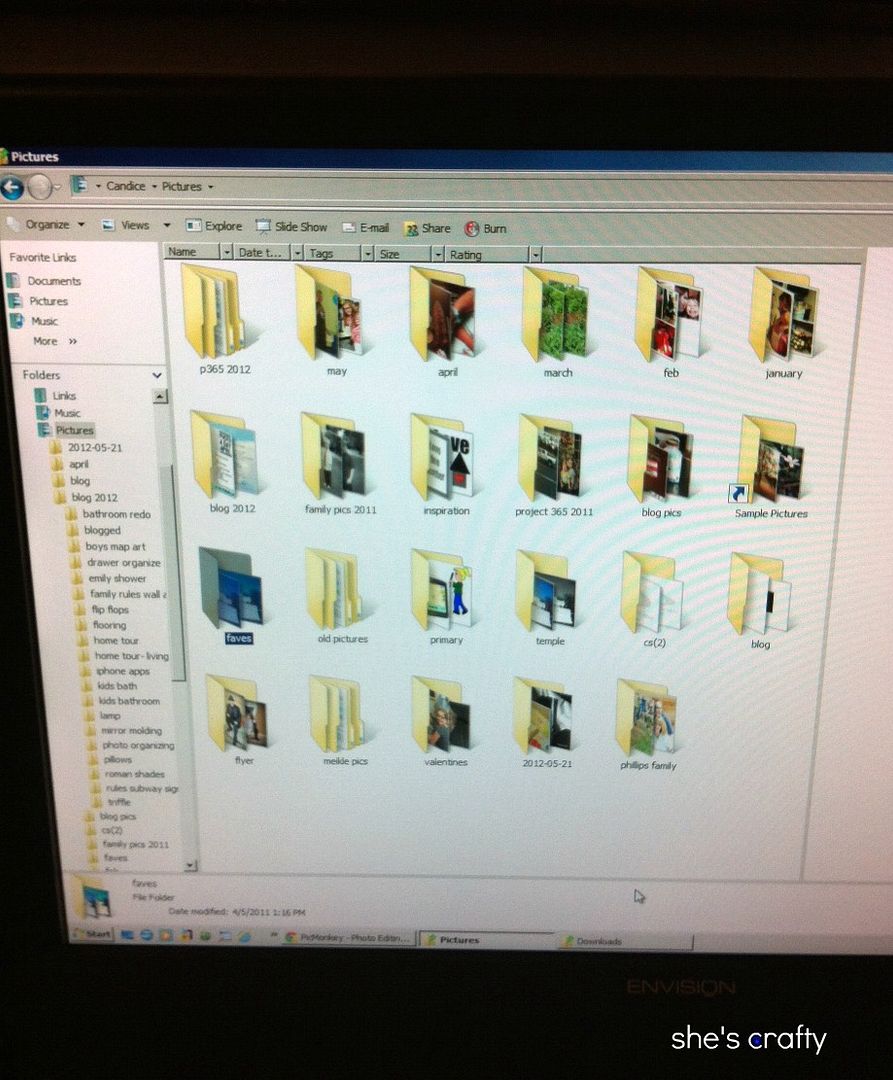
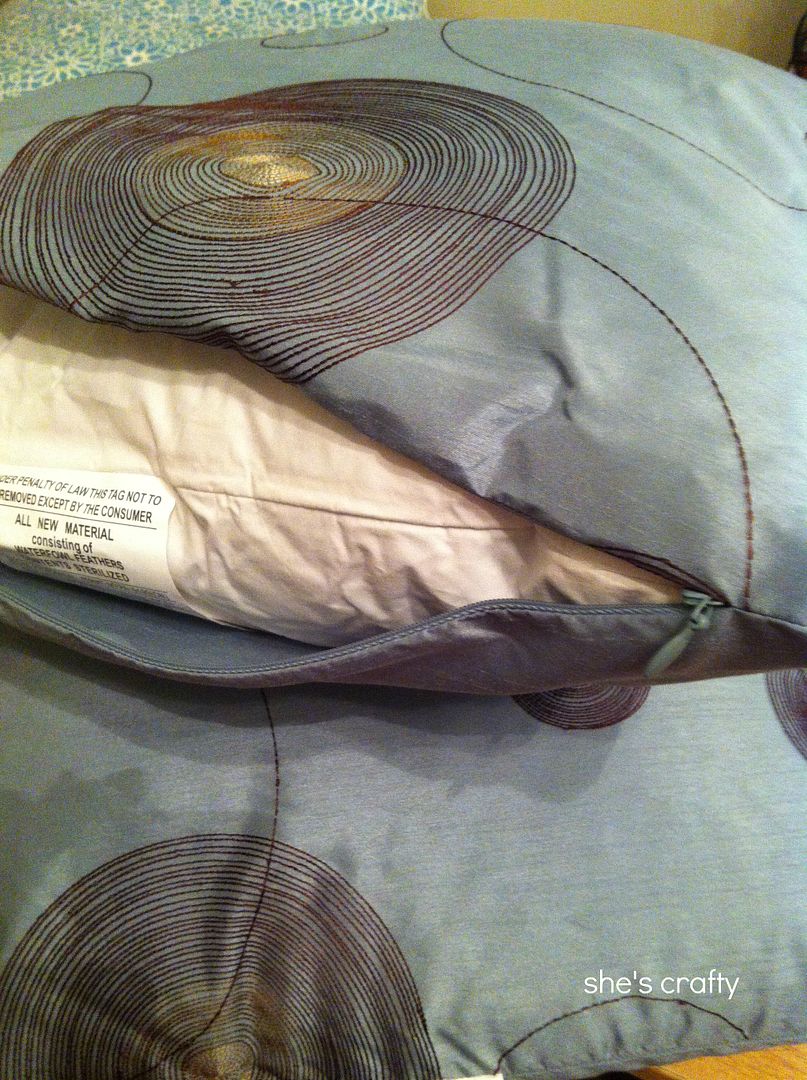
please excuse the poor photo, I should have done a screen capture instead
First of all, I download my photos to my computer.  
For photos taken with my big girl camera, I pop the SD card right in the slot my PC has.  
With the photos I take with my iPhone, if it's only 1 or 2 I want to download, 
I email them to myself and save them on my computer from my email program.  
But every week or so, I do a big download and hook my phone up to my computer.  
I make folders in My Pictures.  
I sort them by year and month.  
Then within the month, I use separate folders for each of my kids, 
events and/or holidays and sometimes by date.  
I don't rename any of my photos until I edit them.  
That's how I keep track of those that still need to be edited.  
For basic editing I use PicMonkey.  
For major editing I use Paint Shop Pro but I'm thinking of taking the leap to Lightroom.


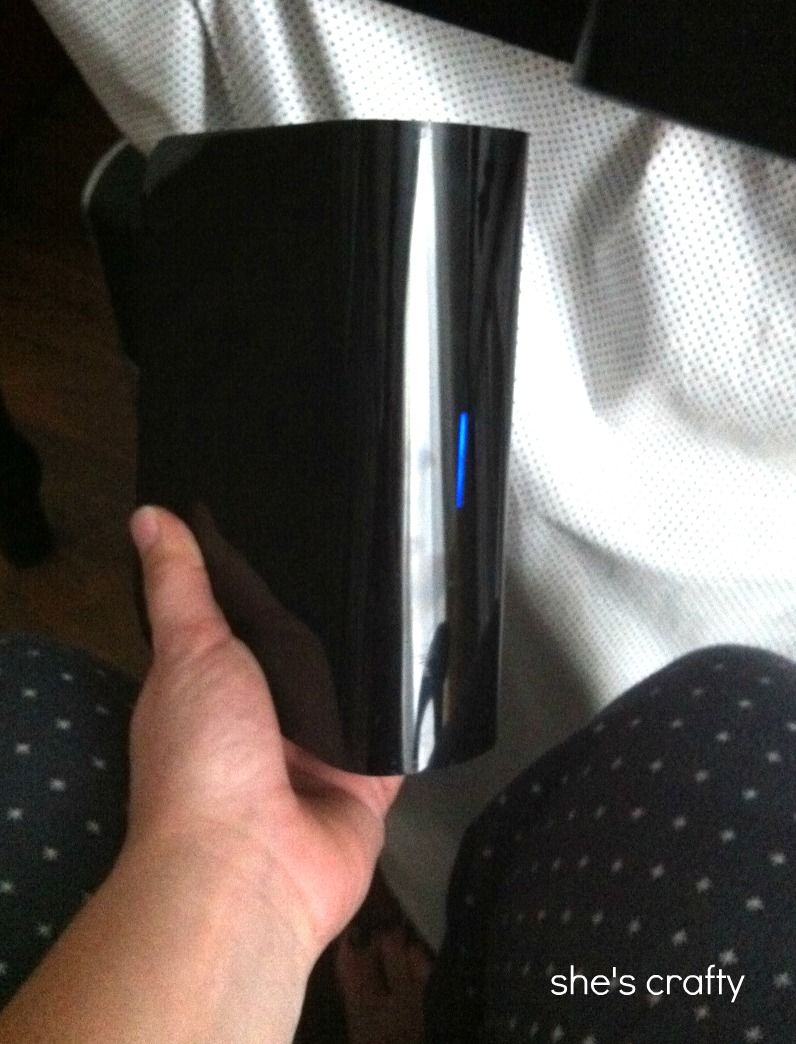
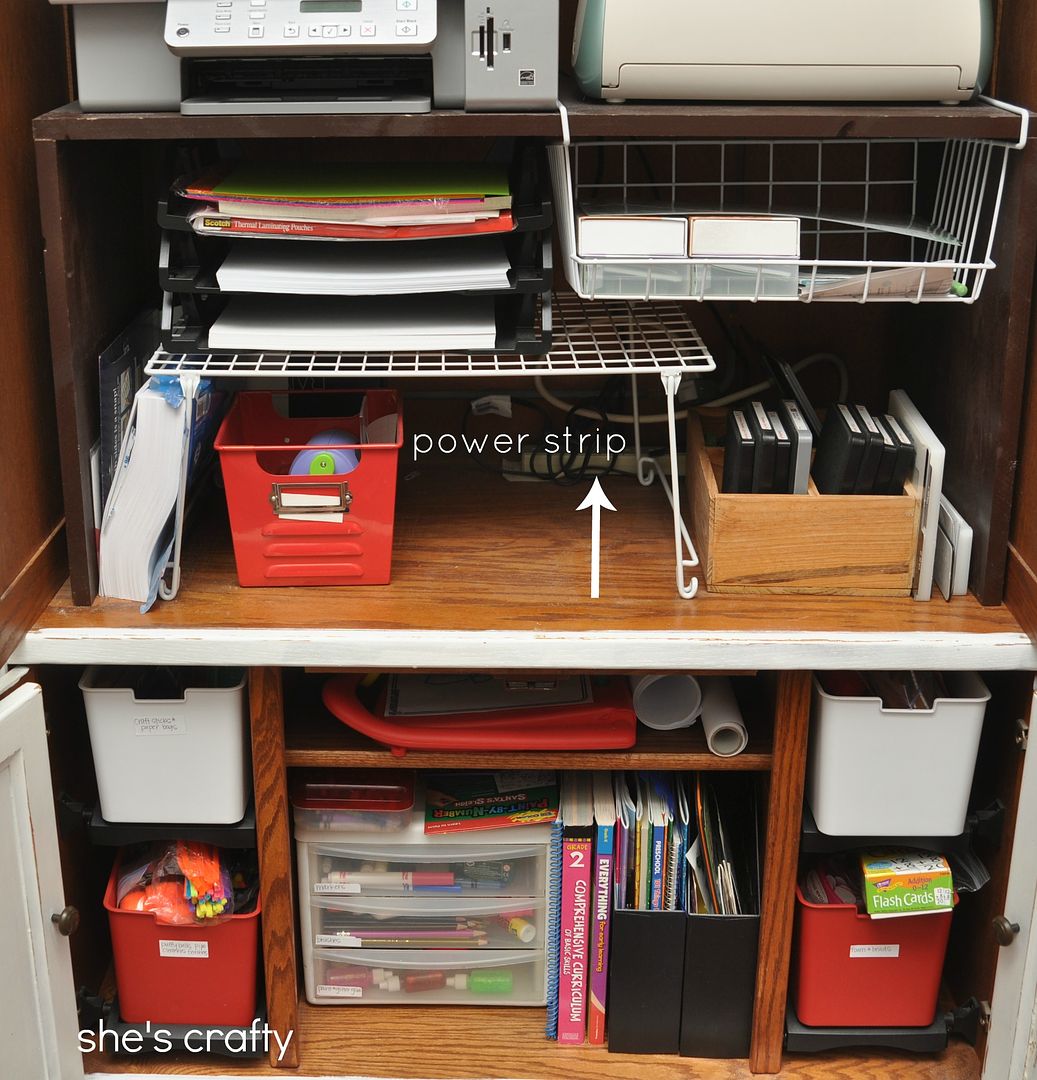
I back up my photos onto an external hard drive.  I do this every other week or so, at the end of every month and before and after I edit any photos that I have taken of others.  On my hard drive, I separate all my photos into folders labeled the same way as I do on my computer:  by year and then by month or by name if it's a client.  I used to write all my photos to cd's but gave up on that once I got the hard drive because it's a pain to store all of those cd's.   After making sure my kids were safe, my external hard drive and my purse are the things I would grab in the event of a disaster.  Just a few months ago, we were under a tornado warning and I made sure my ehd was there as I hid with my kids in our storm closet.  I'm working on finding an option for storage outside of my home.  I'm thinking of using an online automated back up.  


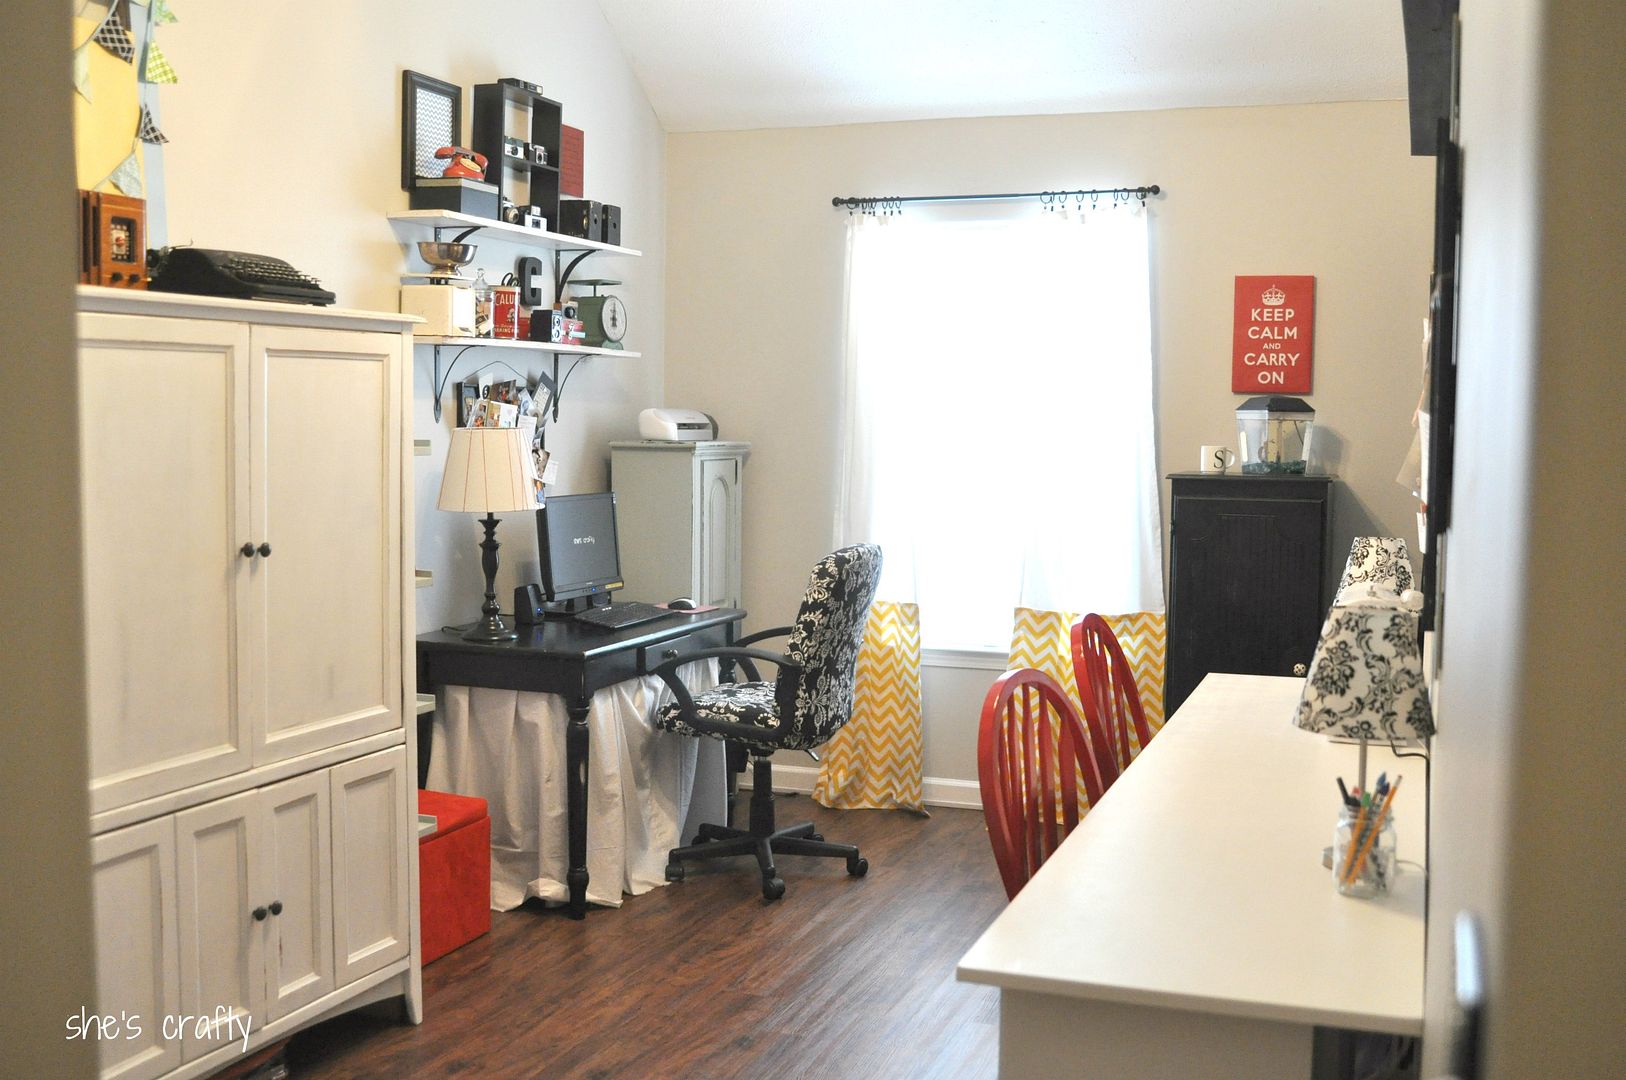
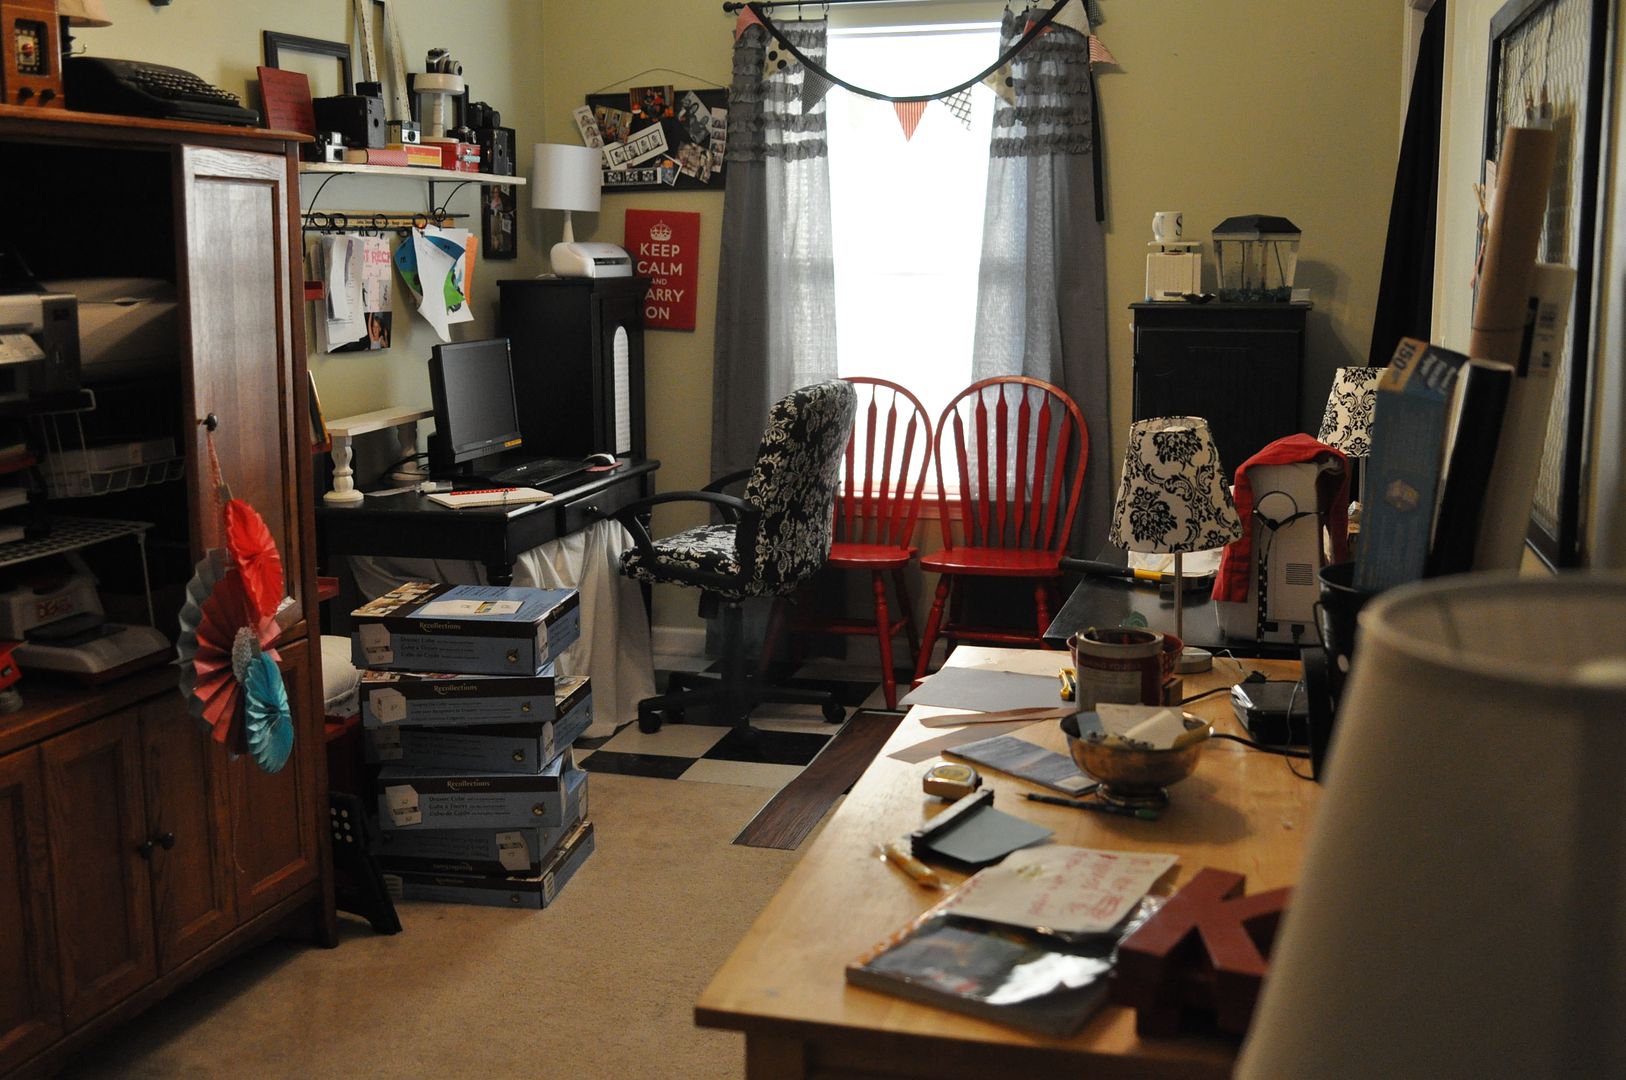
As for printing photos, it really doesn't do much good to take pictures if they never leave the computer.  I used to scrapbook all those photos.  Just look at all of those albums in the photo.  But then I had a 3rd kid and all that went out the window.  My baby is 4 1/2 years old and has about 5 scrapbook pages in his book.   Sad.  I plan to go back to it someday.


It made me sad that no one was enjoying the photos I was taking since I couldn't keep up with scrapbooking.  So 4 years ago I started making photo books using Blurb.  Their software is super easy to use and I've been really pleased with the quality of our books.


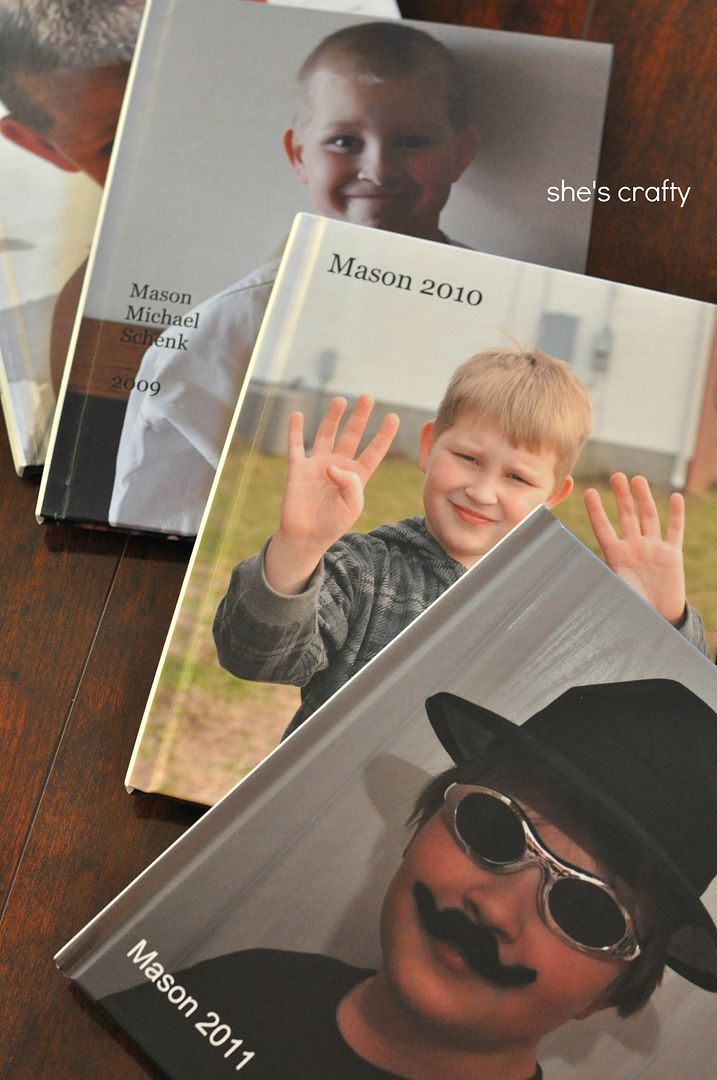
I make a separate book for each of my kids.  In their book is every photo I took of them for the year.  I don't put any journaling at all- just photos.  


I worry that there aren't any stories to accompany the photos, but at least they can see the photos of themselves and their siblings.  One of my favorite says is, "Done is better than perfect."  If I waited until I had time to perfectly do their books, including journaling, there wouldn't be any books at all.  


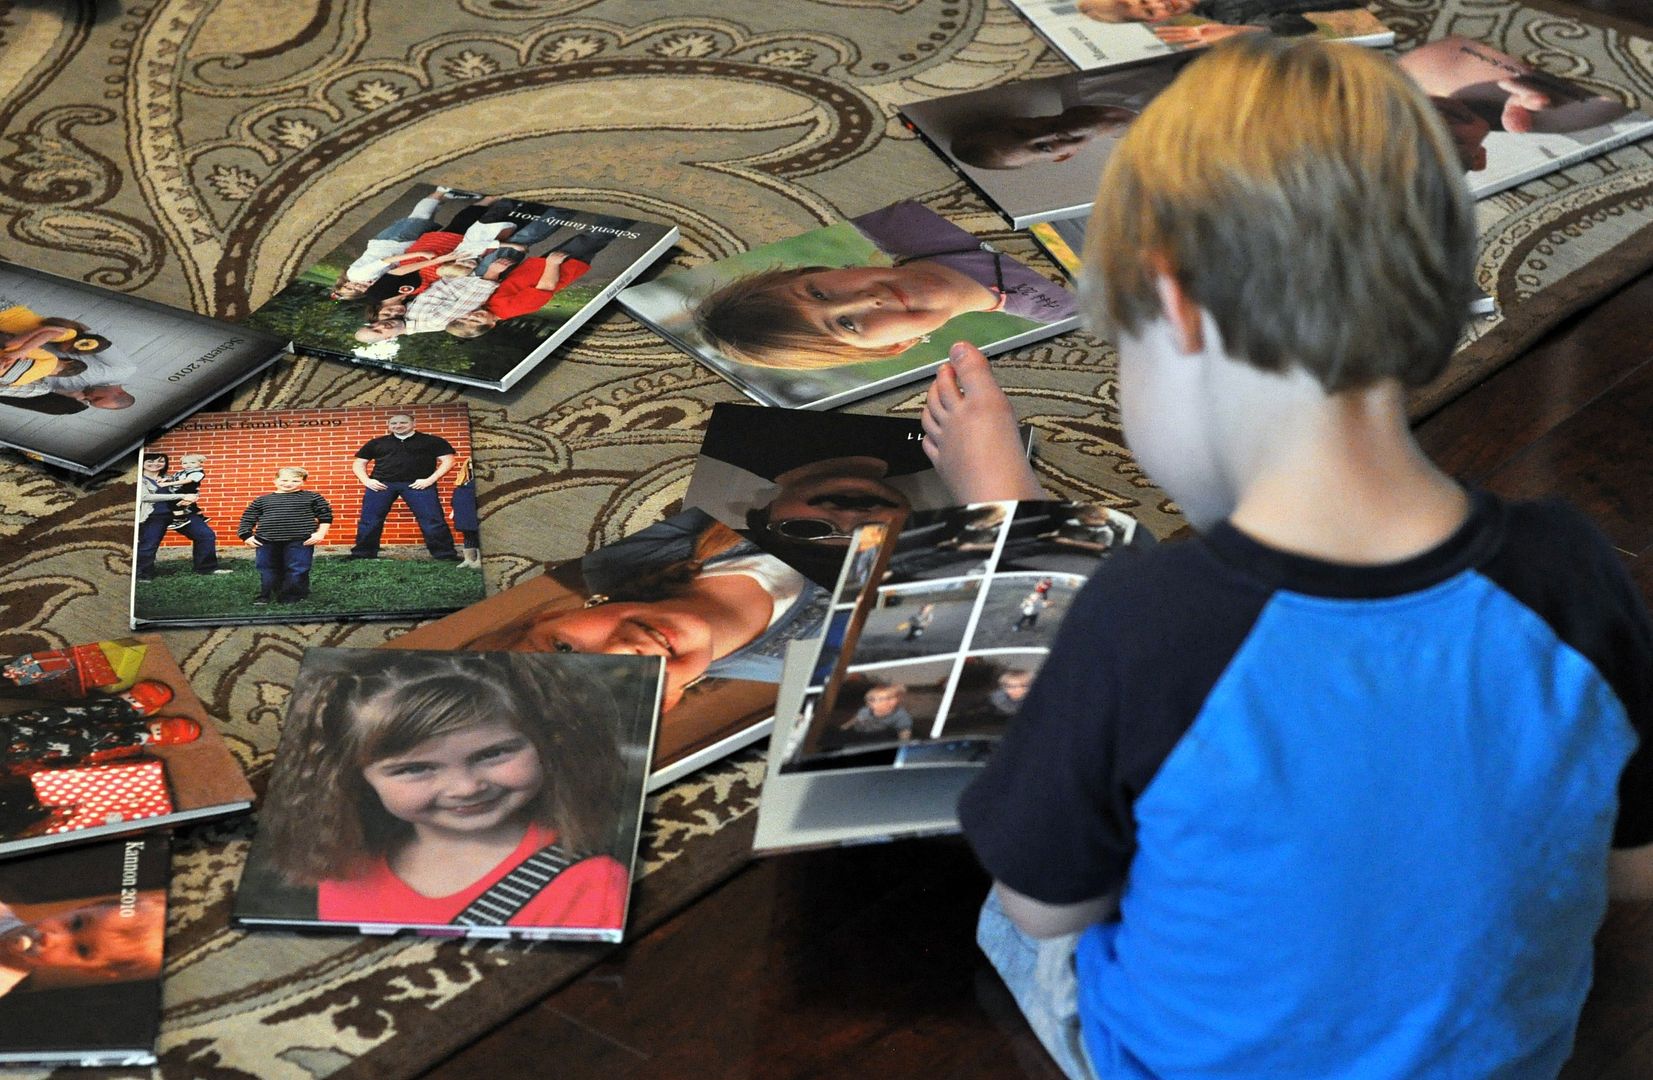
I would rather have books that my kids can hold and look at.  And they do love to look at them.  We all like to sit around and talk about the photos and reminisce about good times.


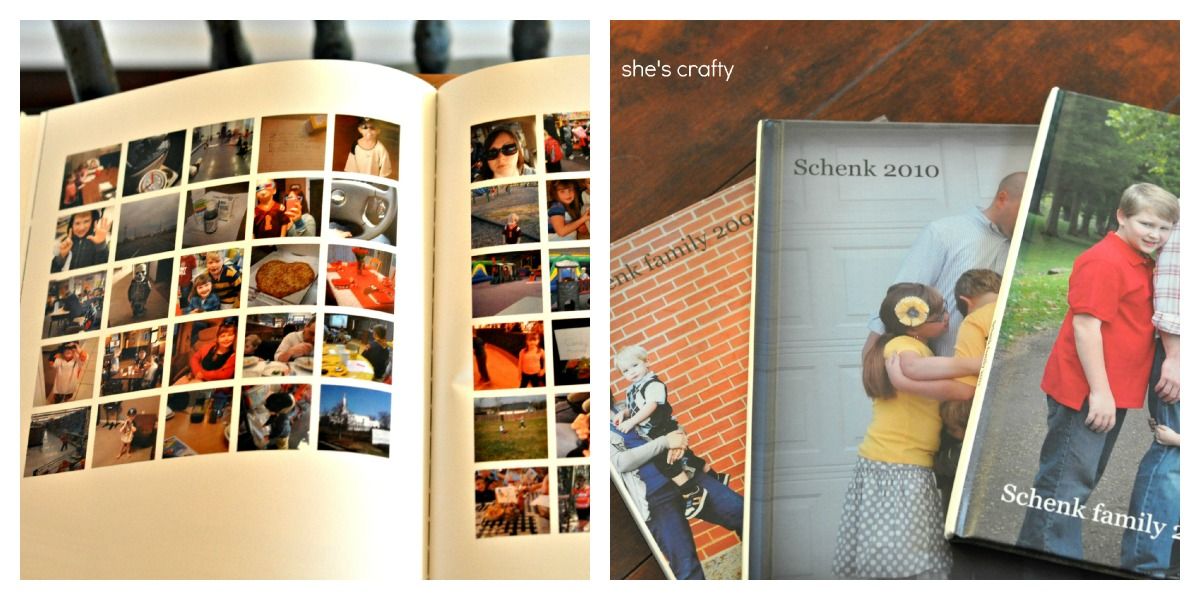
In our family books, I include the photos I take for Project 365 (which is 1 photo a day for a year). That way it is a slice of our lives and not just posed photography.  Although I do include those too since we usually get our family photos taken every year.


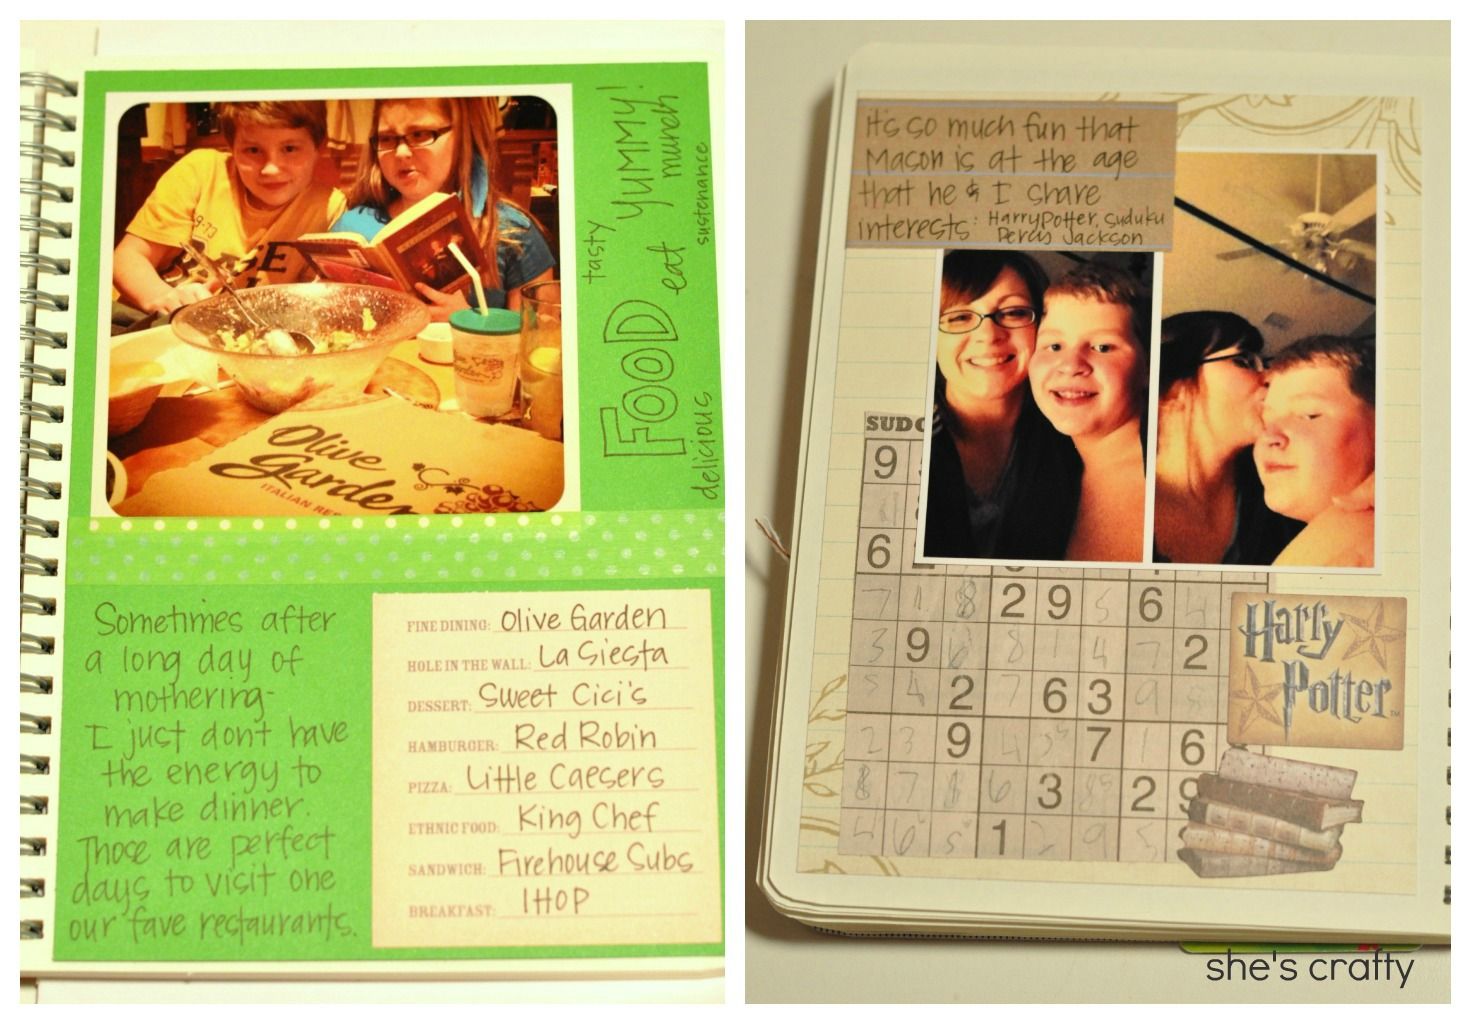
Since I am a scrapbooker at heart, this year I started making a smash book.  It's a cross between a journal and a scrapbook.  I really enjoy writing down my feelings and recording memories on a small scale.


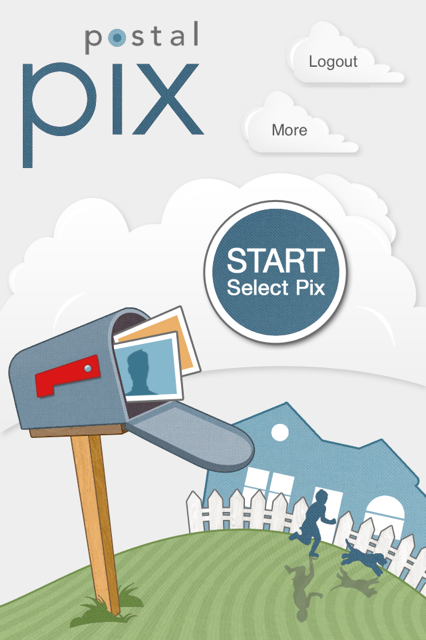
Since I take a good chunk of our photos with my iPhone and love editing them with Instagram, I use Postal Pix to print them.  I can submit the photo order right from my iPhone and pay with my Paypal account.  I like that their size options fit the square Instagram photos but they also print regular sizes like 4x6 too.  The quality is really good and they are speedy.

This was a rather long post with lots of information.  If you have any questions about anything I did or did not cover, please let me know and I'll do my best to answer them.  Also, if you would like to share any tips for how you organize and print photos, please do so in the comments.  I'm always looking for ways to do things better!

10 on tuesday

I've got a bunch of random things to say so I'm doing the 10 on Tuesday thing.

1.  I went to Old Navy twice over the weekend.  I hadn't been there for months.  They were having some killer sales and I scored some great stuff for my entire family.  I got 3 striped shirts to add to my collection.  I may have a problem with buying striped clothing.

2.  I'm excited about summer!!  We have lots of fun stuff planned and we get to sleep in!!  All of my kids are still asleep right now and all I can hear is the sound of the air conditioner and the click of my keyboard as I type.

3.  We still need to make our summer bucket list like we did last year.  We've talked about some of the things we want to do, we just haven't written them on our chalkboard.

4.  We went to the newly opened Opry Mills mall yesterday.  It had been closed for almost 2 years after the Nashville flood.  Our favorite stops were:  the Lego store, Old Navy (of course), Claires, Game Stop and


the Vera Bradley store, where my daughter was able to get her first Vera!  

5.  I'm super behind on my photo a day project.  I hope to catch up.

6.  My husband has been sick pretty much since January.  He's been trying to slow down since his little hospital episode but still was feeling rotten.  He went back to the doctor on Friday and got some serious medicine- high powered (and super expensive) antibiotics and prednisone.  Hopefully that will do the trick.

7.  We have a major problem with fruit flies.  I made this little trap and it's working!  I put apple cider vinegar


in a jar with a paper funnel.  It blows my mind that it works, but it really does.  I needs to work a little faster though, those little flies are driving me nuts!!

8.  I made this cinnamon roll cake.  It is seriously so good.  My entire family really likes it, and that's saying something with all the picky eaters we have here.  Hmmm- I may need to have a piece for breakfast.

9.  I found the cutest little galvanized metal, chalkboard easels (say that 10x fast) at Target.  I think they will look so cute announcing dishes at pot lucks or as place cards at a dinner party.  I should go get a few more for that.


10.  I have been totally addicted to hot tamales lately, as seen in the photo above.  My husband fueled this addiction by buying me a few boxes and strategically placing them around- like by my computer.  Yum!!

What have you been up to?

throw pillows

It's only recently that I've been into throw pillows.  I know right?  What was I thinking?  I thought pillows wouldn't work with my brown leather couches.  But they do work!


And I love them now!! 

But that brought up a new problem.  We had pillows that were made from fiber-fill or that batting stuff.  They flattened very easy and were misshapen.  No matter how much I fluffed them, they looked terrible.


So I was walking through Ross and found these pillows.  


I didn't LOVE the look of them but I did love the price.  That's $13.99 for both of them!!!


And the best part of all, the covers come off, leaving a feather pillow insert.


So I sewed up a cover with some blue fabric that I love for the front and plain white fabric for the back.


I made an envelope so I can change them out really easily.  I don't have a pattern, or even directions since I was winging it and just eyeballed everything.  Here is a great tutorial, similar to the way I did it.  Except that lady knows how to sew! :)


So now I have some throw pillows that can take the abuse my kids give them and still fluff up really nice.  When the covers get gross, I throw them in the wash.  And I'll change them out when I get bored with them, which will probably happen soon. (The flower pillow is from Ross too.)

lamp redo


I love a good lamp redo, don't you?


In my quest to continue to lighten and brighten in my craft room, I decided to tackle the lamp on my desk.  I previously added floss to the lampshade to stick photos in.  I still like that look, but with the board above my desk holding photos as well, it was too much.


The base was purchased at Goodwill.  Ya just can't beat $6 for a lamp base!


I taped the lightbulb part and the cord...


and gave it a few coats of Strawflower spraypaint by Rustoleum.


The lampshade was already covered in white and black polkadot fabric.  I just added the yellow ric rac around the top and bottom with a hot glue gun.  


Here it is on my desk.  I love the pop of color it adds!


Before and After.


How to Achieve Wood Look flooring with Vinyl Plank Flooring

Are you looking for a way to update your flooring without spending a lot of money?  Wood Look Vinyl Plank Flooring is the perfect flooring option and you can do it yourself!  

post updated July 2019


How to achieve wood look flooring with vinyl plank flooring and how to do it yourself

customizing store bought curtains

When doing my craft room, I wanted light and bright curtains. I looked around at a few stores, but couldn't find anything I liked. I wanted something a little more customized then was available.


So I customized some store bought panels. And they go right a long with the chevron phase I'm in!
 
 
I found these white tab top panels at Walmart, on clearance even!!
 
 
Please know that I'm no seamstress, but here are the steps I took.
  • I cut the tabs off the top of the curtain panels.
  • I ironed the bottom edge of the white panels to get them ready to sew the chevron fabric on.
  • I cut the fabric to the width of the curtain panels, then folded over the edge and pressed a seam to the fabric.
  • I then pinned the fabric to the panel,
  • and using a straight stitch with my machine, I sewed the fabric on.


I hung the panels from drapery rings.
 
 
I hung them low enough that they puddle slightly on the floor.
 
 
Easy enough to make custom curtains from store bought panels!


old entertainment center to new storage cabinet

Now that we all have flat screen tv's with smaller stands, old entertainment centers have become a thing of the past. But I decided not to get rid of ours, and now use it for storage.


This cabinet is now in my craft room/office.  


It used to look like this back when it housed our big, old, square, weighs a jillion pounds tv.  


After a few coats of white paint and adding everything inside, it houses tons of craft storage!!!


In order to efficiently use the space, I added a wooden stand (cut from a 1 x 12 and screwed together to form an upside down U) and a power strip to the back of the cabinet to plug in the printer and cricut. 

I found a few different organizers like this under shelf wire storage...

...and this closet organizer to break up and use the space.


Now I'm able to fit so many things in here, that aren't so pretty, but very necessary to my crafting pursuits!


There is also a ton of space at the bottom of the cabinet for my kids craft supplies.


The pull out drawers that used to hold DVD's hold a little plastic bin so nicely.


I love this cabinet!  It holds a ton of stuff!!  And the best part of all is that when I'm all done for the evening,


I shut the door and have a clean and clear space!


craft room makeover

I think this room has been redone more than any other in our house.  It is an area that is open between our kids bedrooms.  It was a playroom for a long time.  But as my kids have gotten older, they have needed less space for toys and more space for craft projects and homework or just hanging out.  And I needed more space for my stuff too.  Over the past couple of years I have been slowly taking it over.  It started with my computer in one corner.  But then I decided that it doesn't have to be all one way or the other.  We can all share it.  So that's where we are now in my new improved office/craft room, that I share with everyone else. :)


   Normally when I start projects, I neglect everything and everyone else, and work my tail off to get things done quickly.  But that's not how I did it this time.  I started thinking about repainting and rearranging a few months ago.  That turned into ripping up the carpet for new flooring- and then my husband got sick, my kids needed me, I got a little cold, we had lots of school and church activities etc etc.  So I took my time to finish it.  I wouldn't even say that I'm DONE yet (I'm never truly done) but it's far enough now to show.  My goal was to lighten it up and add lots of happy color.  


I started by clearing everything out of the room and putting down vinyl wood tiles.  I wish I had done this a long time ago.  It was inexpensive and not difficult.  I'm not going to lie- it was a long day (but it only took a day) and I hurt like crazy afterward from all the lifting, bending and kneeling.  The hardest part was taking up the carpet and fixing the sub-floor to make it smooth enough to lay the tile. But it was soooo worth it.  I seriously come in here all the time and just stare at the floor. I love it so!  There are a lot of tutorials out there on how to lay these tiles.  But if anyone is interested in how I did it, I would be happy to tell you.


The next step was picking a paint color.  Oh my word- I've never had so much trouble picking paint ever.  This room has weird light and casts strange tints to the walls.  I bought 8 different samples of paint to get the right one.  I ended up going with Smooth Stone by Glidden, that I had color matched into Behr paint plus primer. It's the sample on the bottom row, 2nd from the left in the photo (please excuse the poor cell phone pic).  It's a nice beige-grey color.


I painted a lot of the furniture I already had. The big white cabinet (which houses my printer, paper, die cut machines and kids craft supplies) used to be stained wood.  The grey-green cabinet in the back by my desk used to be black.


This is the top of the big white cabinet.  It's not going to stay like this.  I had a bunch of stuff just sitting on the floor so I stuck it up here.  I'm for sure going to do something with the yellow canvas but the inspiration hasn't struck yet for that or anything else up here so it will do for now while I figure it out.


Across the room is this wall- with my new long desk and organizers.  Oh my I love it so much!  I have so much storage room and so much room to spread out doing crafts.  And my kids have a place to do homework or craft projects. 


I bought the organizers from Michaels (at 50% off).  The top is a piece of MDF I had cut from Lowes.


The chairs were already in the room. You'll recognize the chicken wire message board and mom pictures framed of my kids.  I just finished the wooden blue subway art (will post about that soon).  And the chalkboard holder that the scissors are hanging from is from my stash.  The lamps are from Walmart.  The black curtain on the left is my scrapbook/craft storage closet.  I've reorganized that too and will post about that soon as well.


This is the desk area with my recovered office chair.  It's still holding up perfectly.  


This photo display is an old cash register drawer.  


I have two stacked shelves above my desk.  I'm still working on adding more color here instead of just black and red.


Some details:  blue subway art, chevron fabric added to store bought curtains

Some more details:  an old phone from my grandmother (I think my mom and her siblings used to play with it), a chalkboard (might change the color on top from red to something else) and a vintage typewriter


Here is the before of the room - I had already started taking it apart to put in the new floor. But still - whoa!!


And after!  SO much brighter and happy!  And a lot more spacious too! Yay! 

I still would like to get a comfy chair (to put where that red square stool is) for reading or relaxing, a tv/dvd player to watch movies, maybe a new lamp for my desk and some colorful artwork.  

more about the craft closet here
more about the floors here
more about the curtains here