organizing for school- school landing zone

My big kids have been back in school for about 2 1/2 weeks.  I feel like I almost have our schedule and routine down.  It's been an adjustment because I am spending so much time in the car dropping off and picking up my kids from school.  When my littlest starts pre-school (MDO) next week, all 3 of my kids will be in 3 different schools.  Crazy!  One thing that has really helped is to be organized and have a school landing zone. I'm still working out all of the kinks but for the most part this is working!


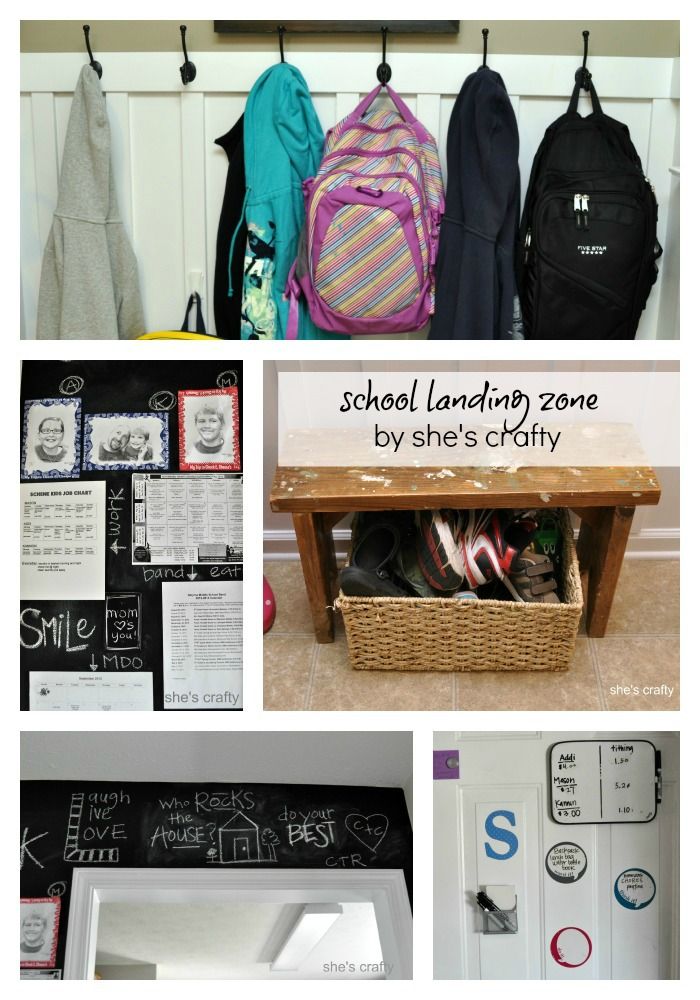
Inside our back door is our landing zone.  


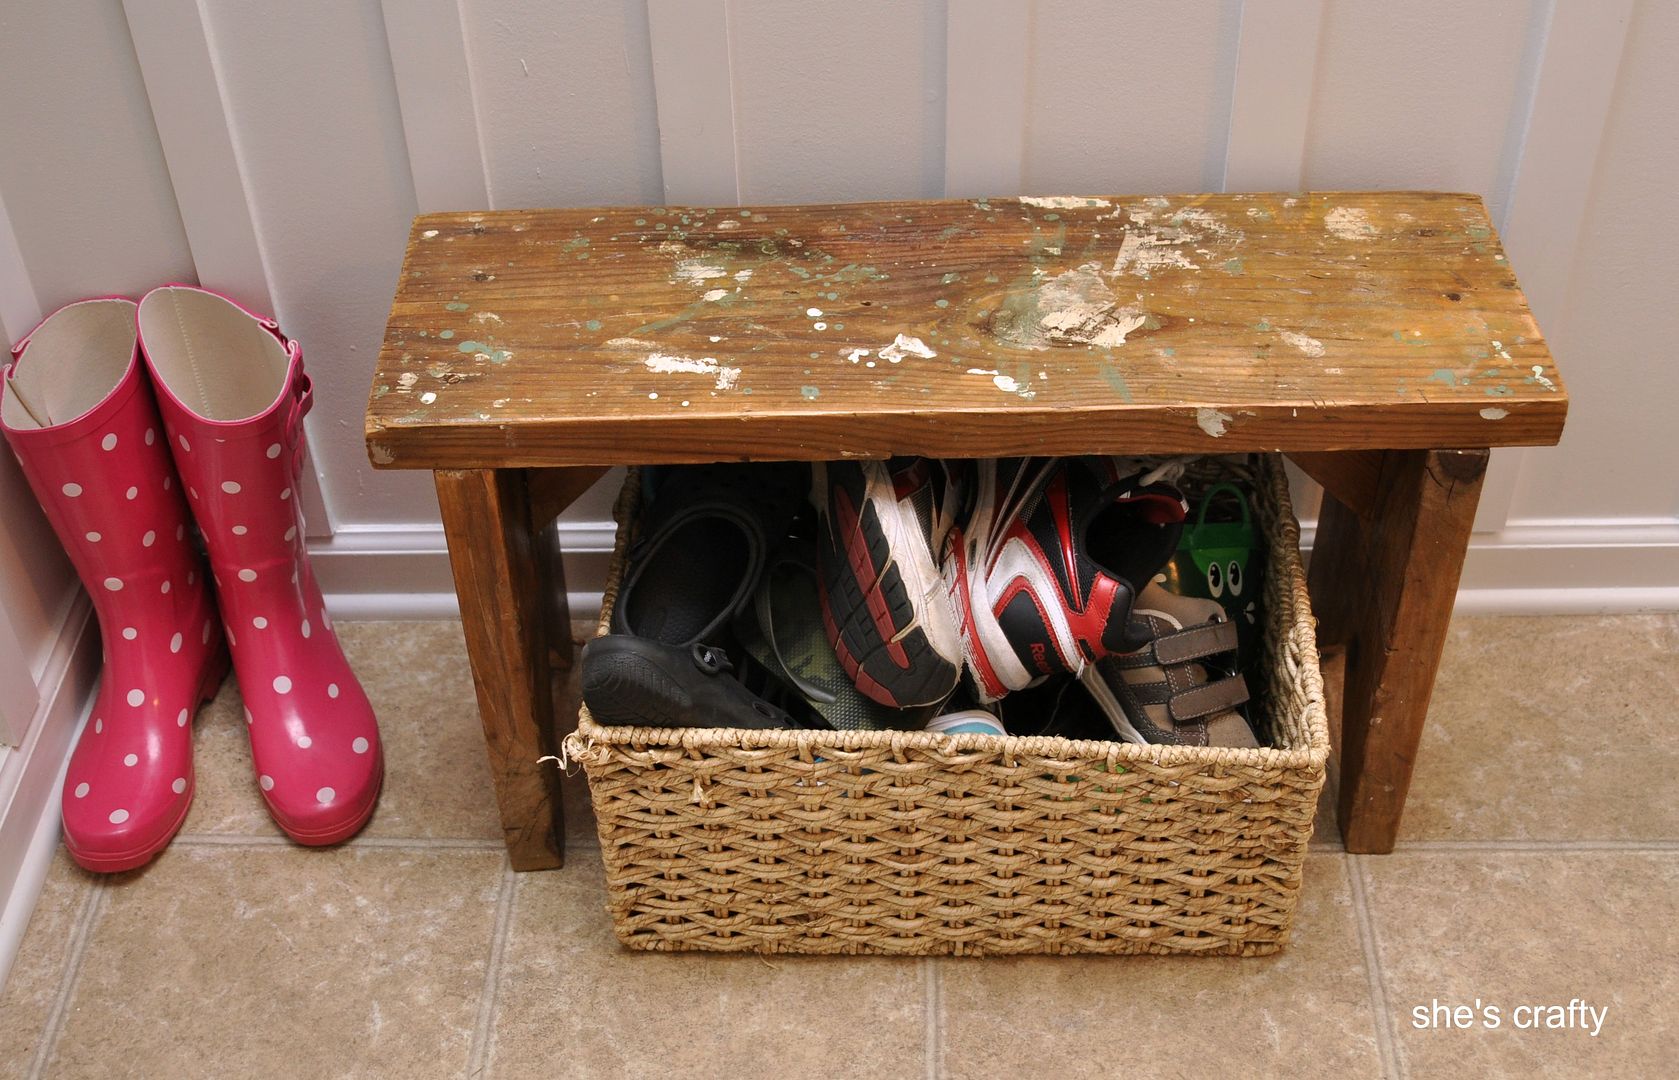
As soon as my kids get home from school, they sit on the cutest chippy bench to take their shoes off and put them in the basket. 


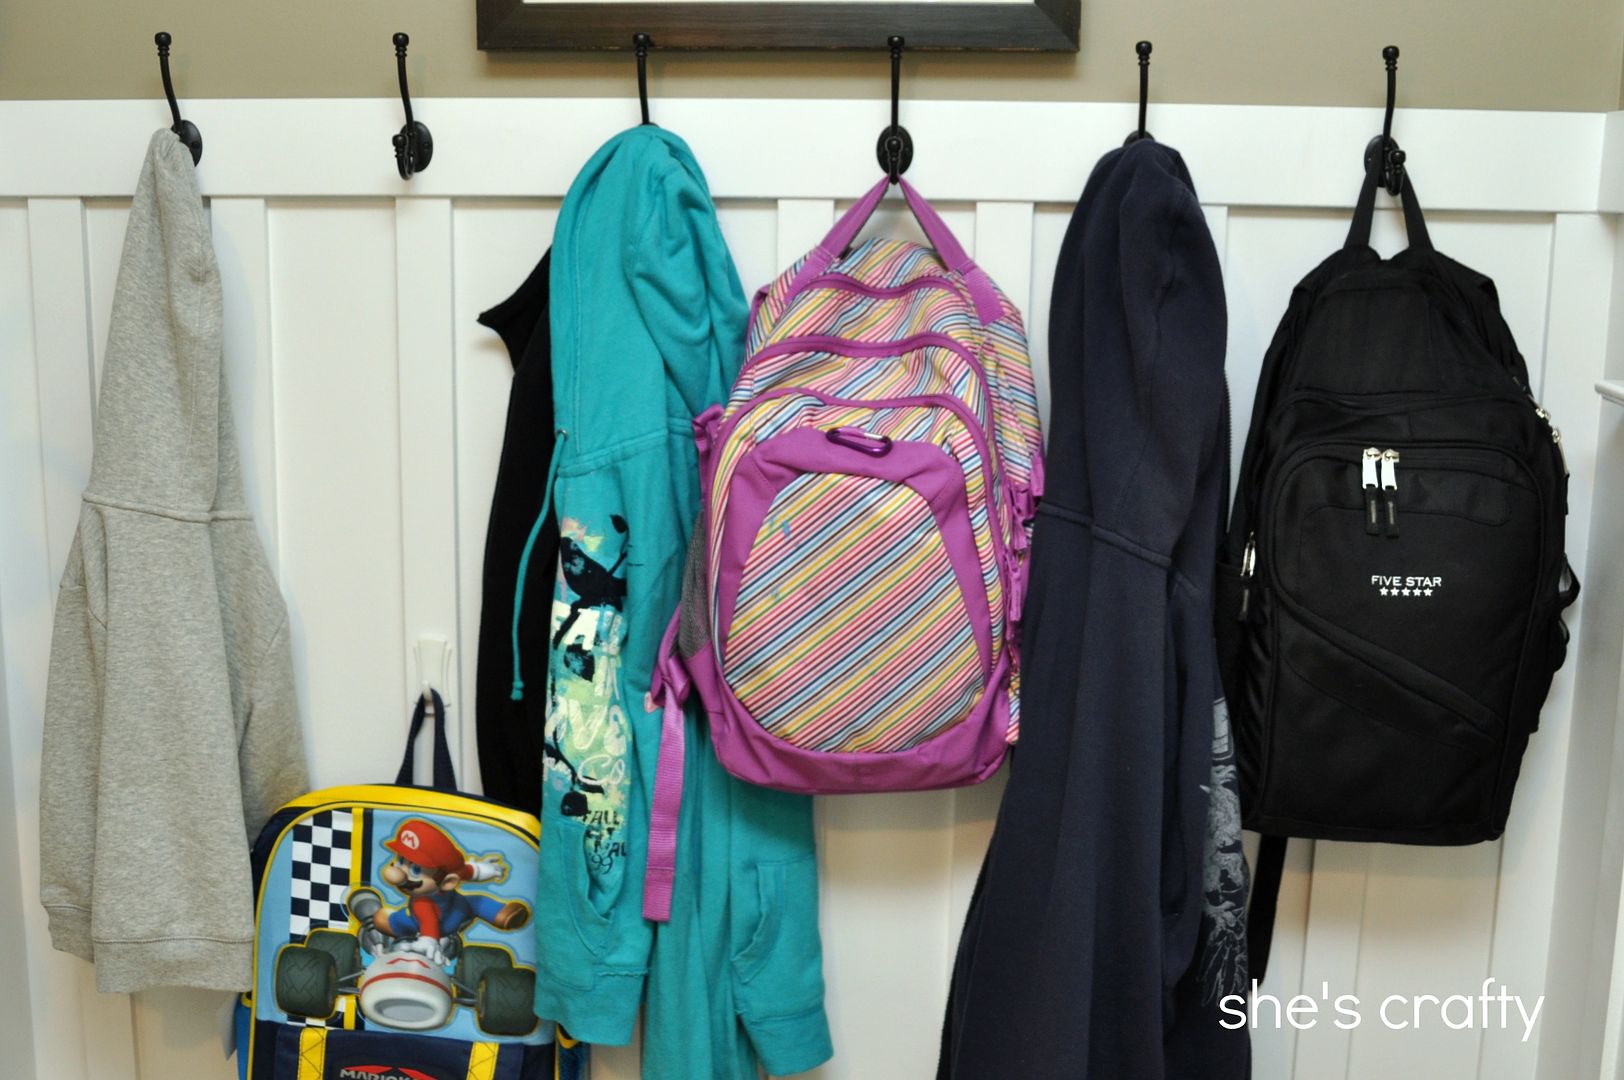
Then they hang their back packs and jackets on their hook. It took some gentle (and not so gentle) reminders on my part to get them into the routine of putting their things away.  But they do it on their own now.  I'm so happy that we don't have to run all over the house in the morning searching for books, backpacks and shoes. 


My littlest can't quite reach his hook so I added a temporary hook down lower on the wall so he can hang his backpack by himself.


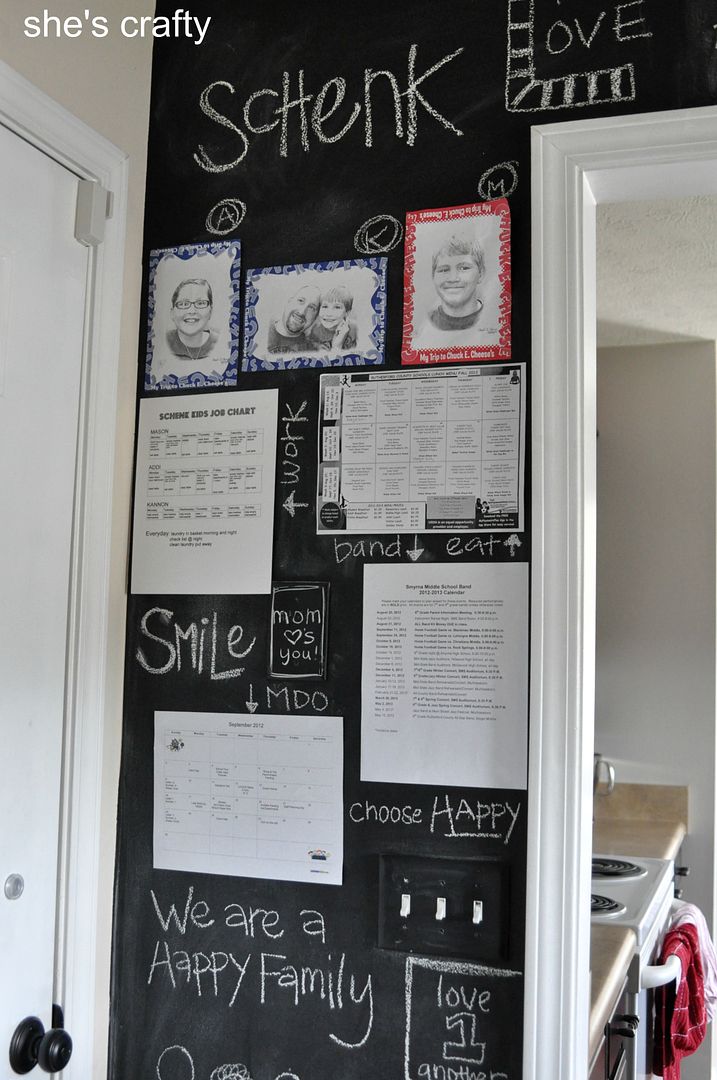
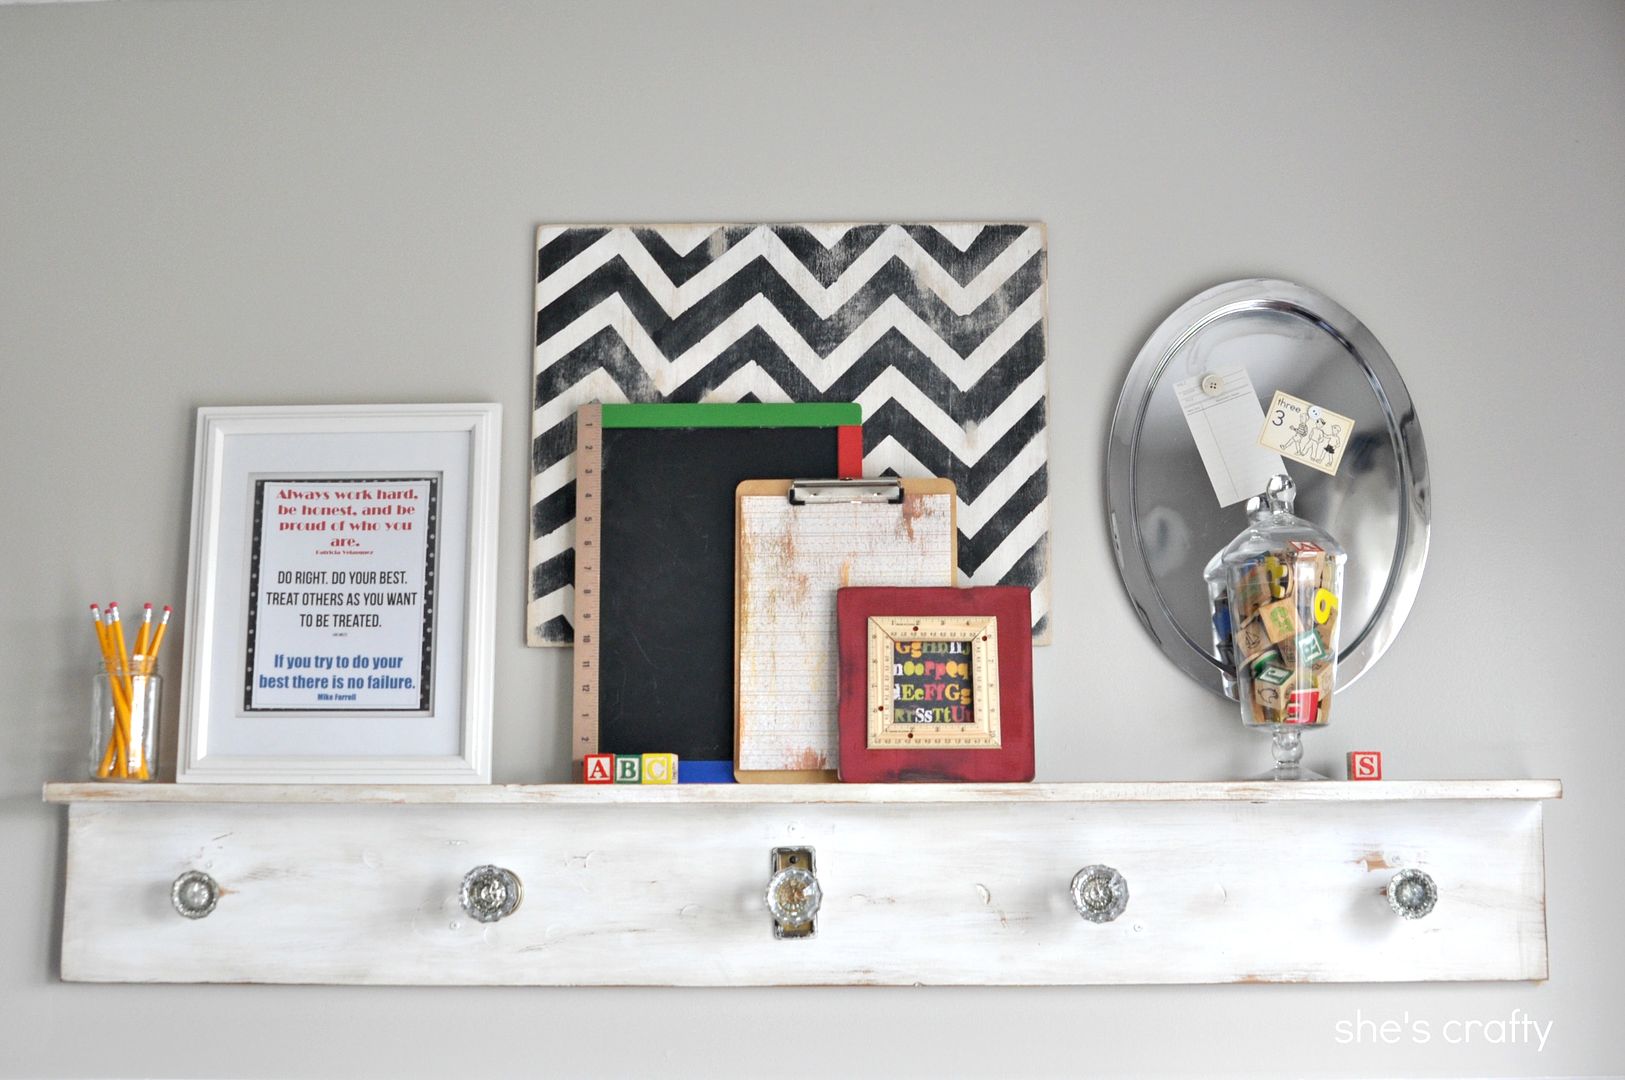
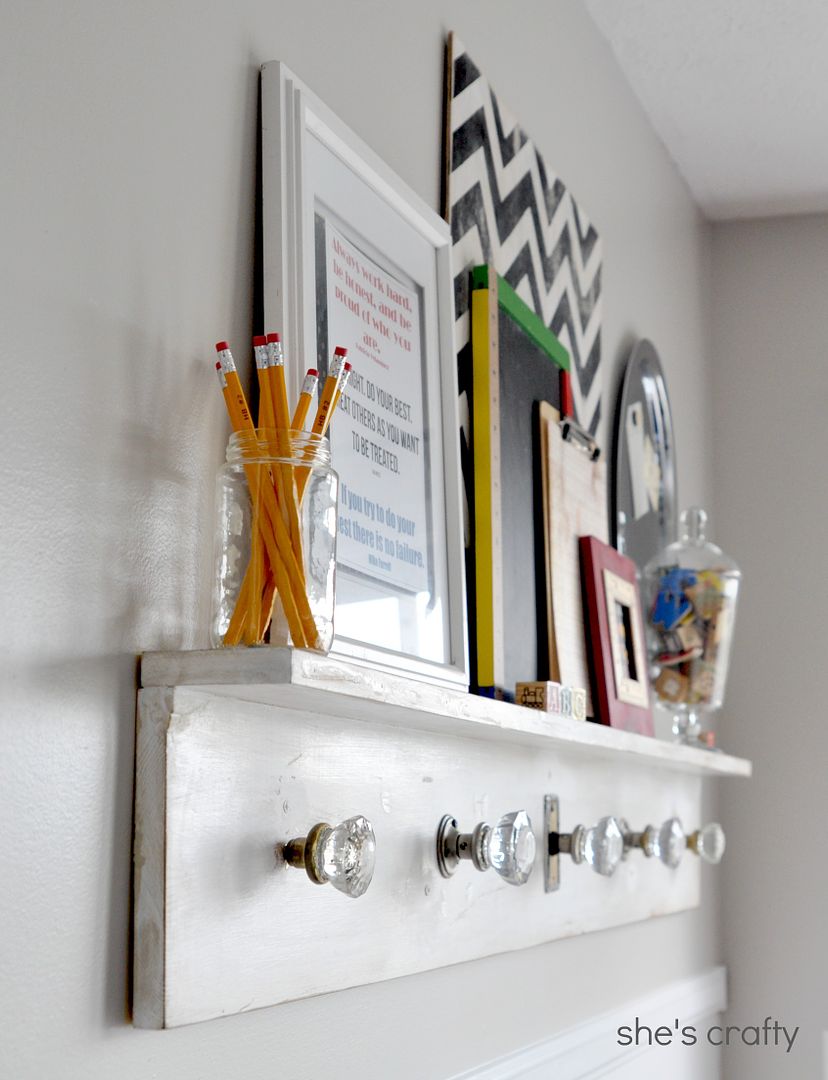
We have this chalkboard wall in our little hallway leading to our garage. 


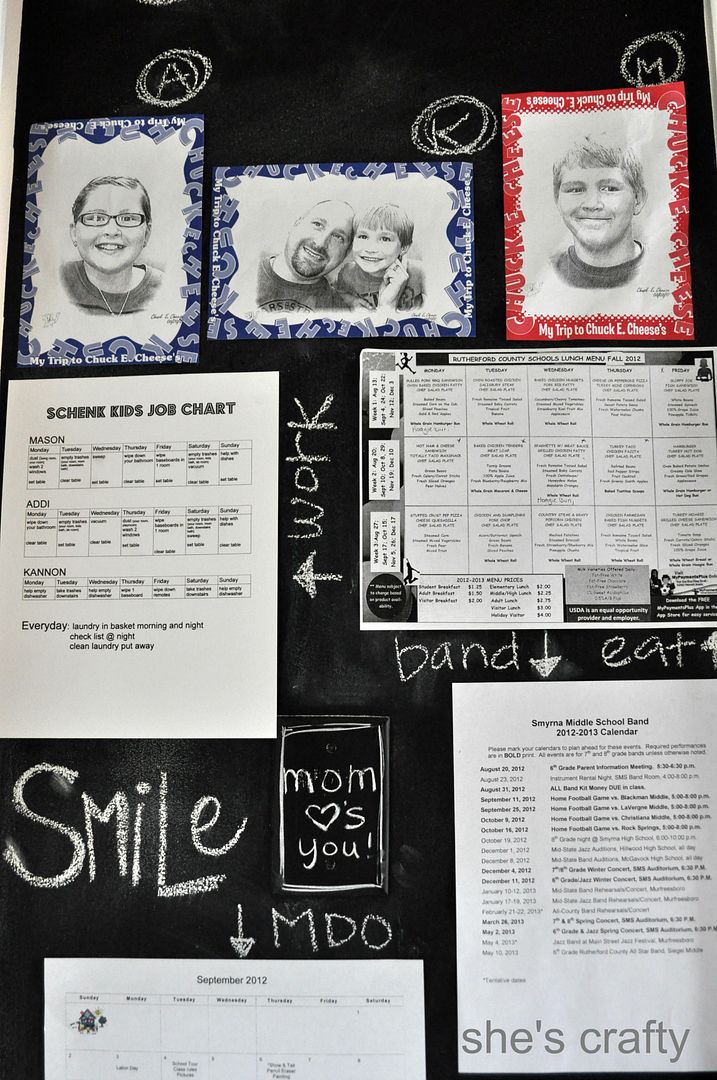
This is where I put all of our schedules, lunch menus, school calendars etc.  


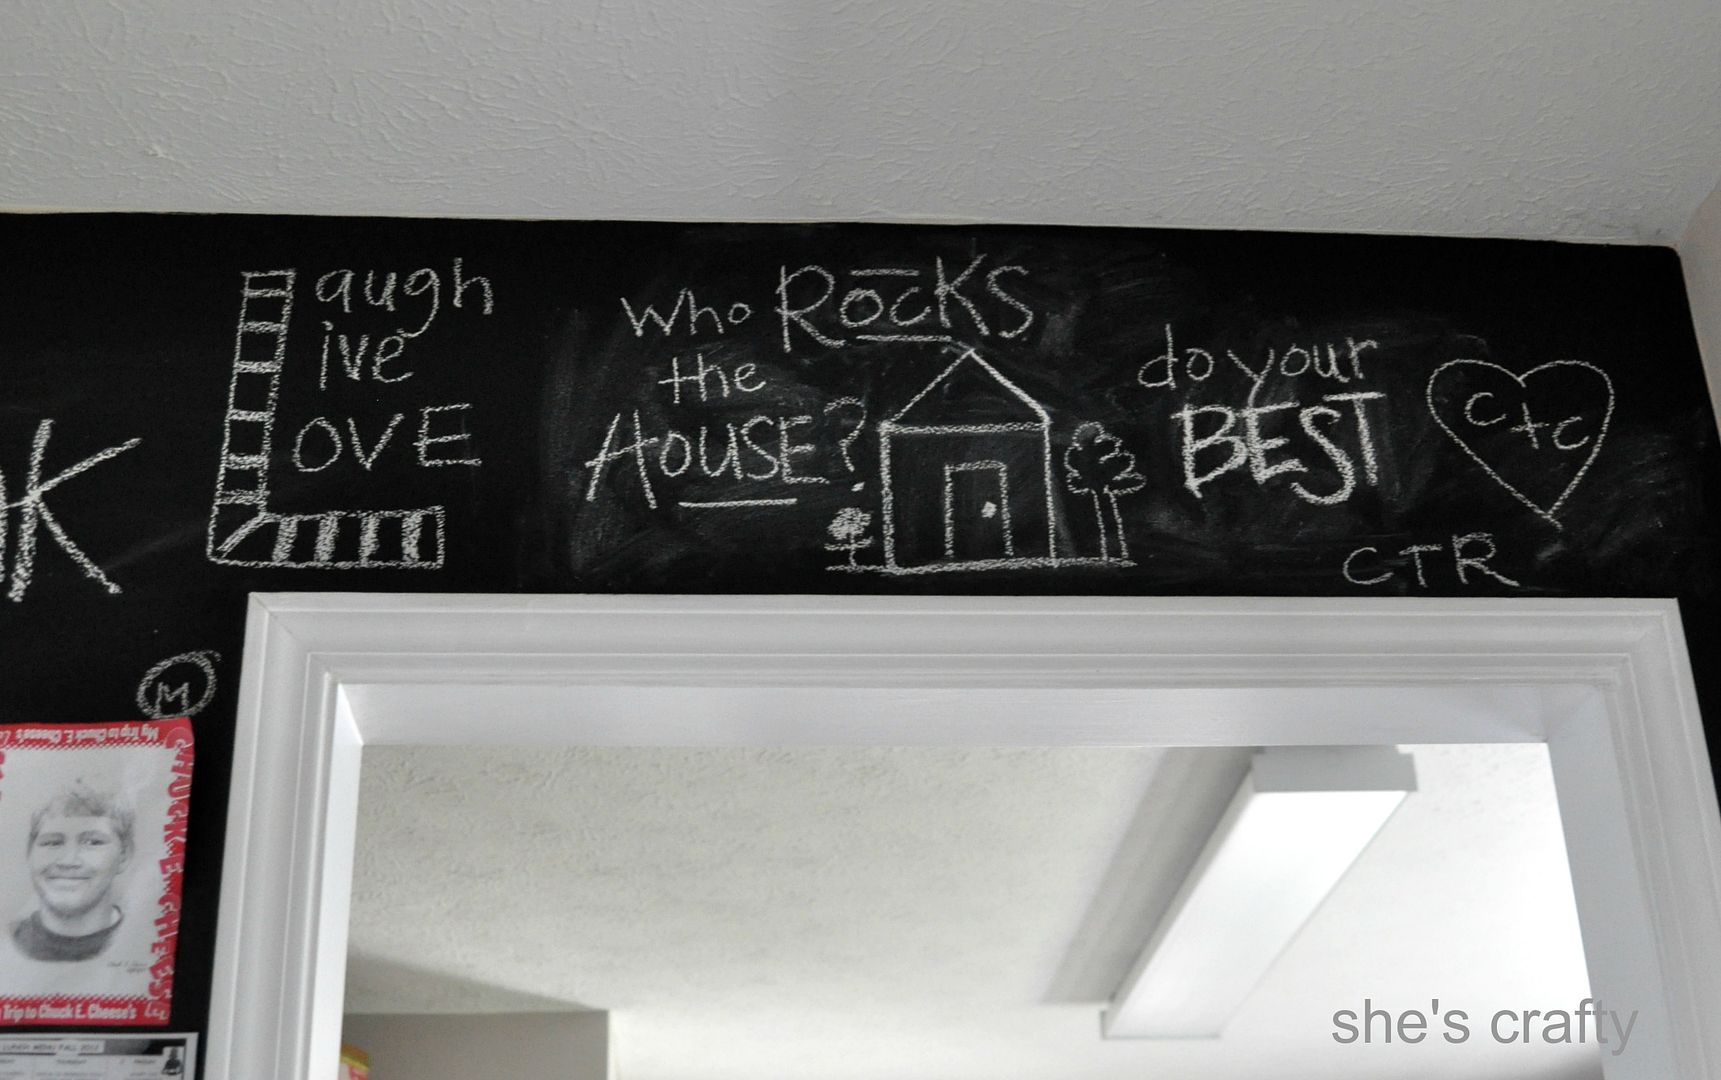
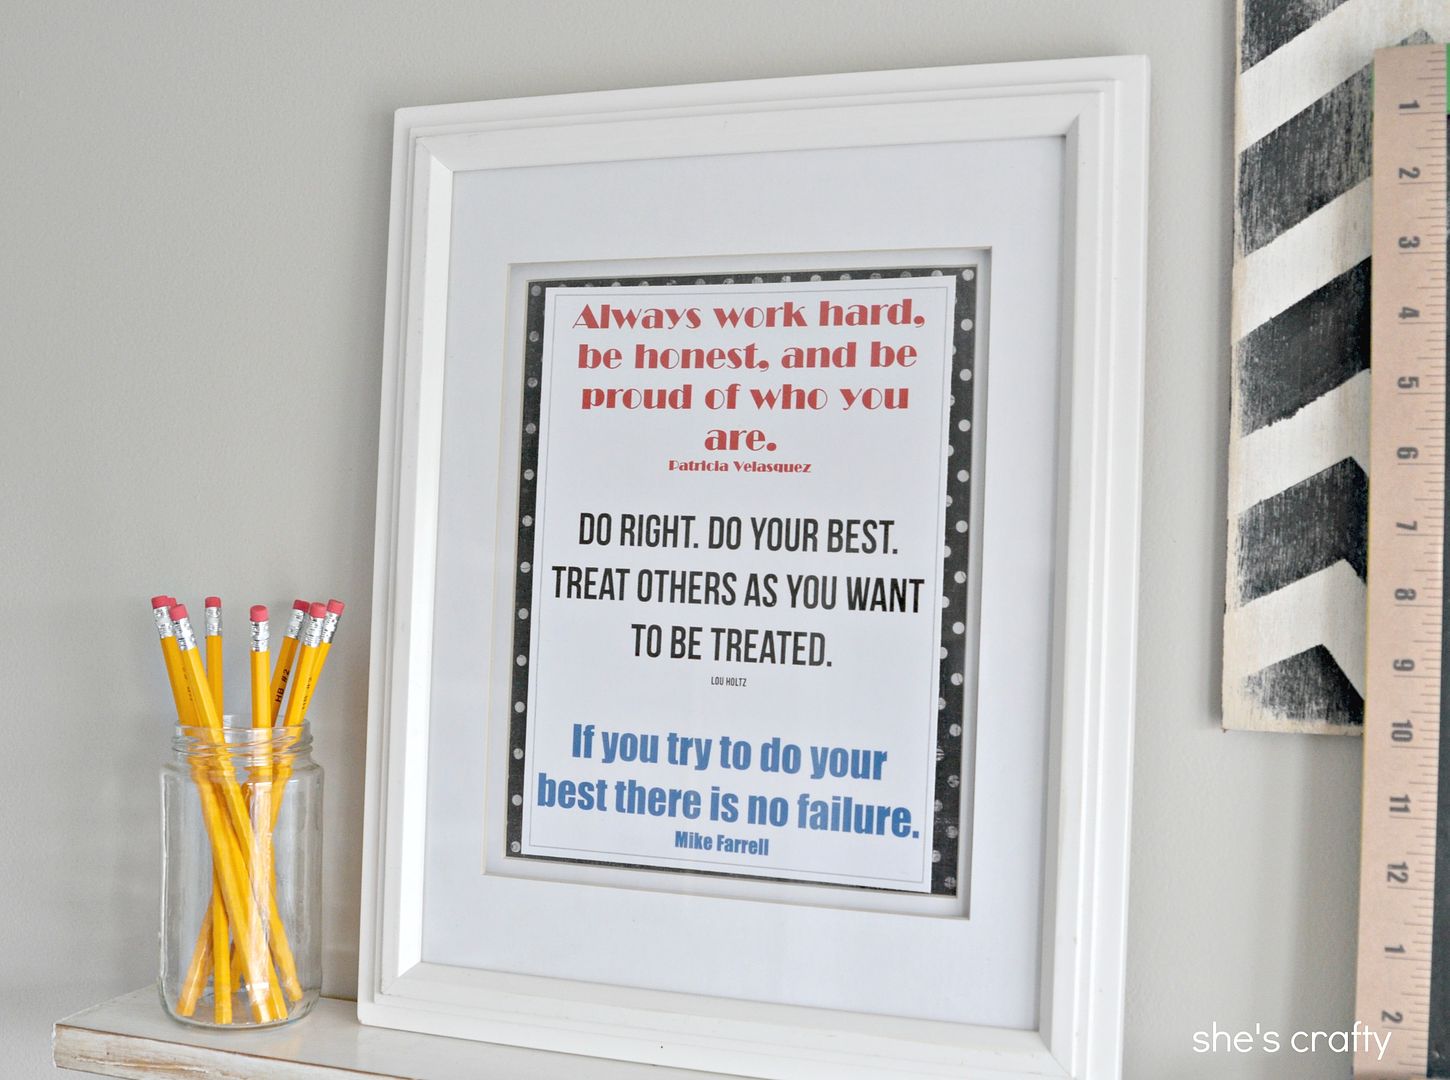
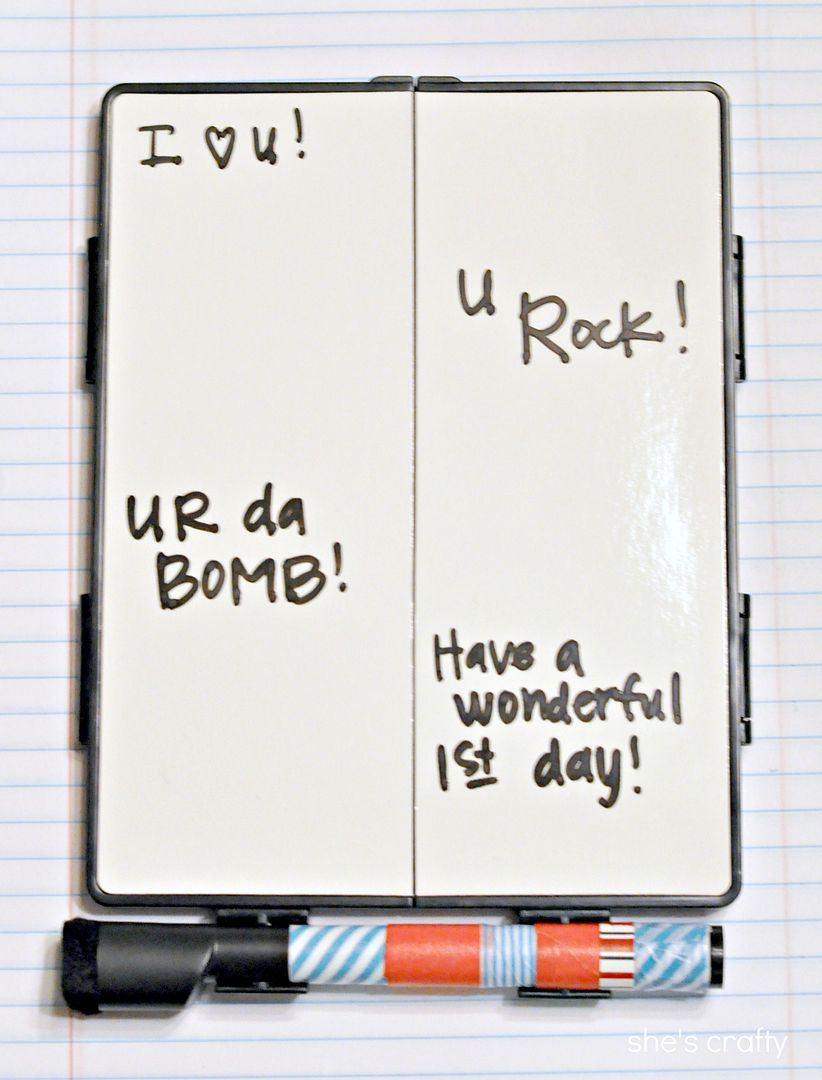
I also added some inspirational words.  :)


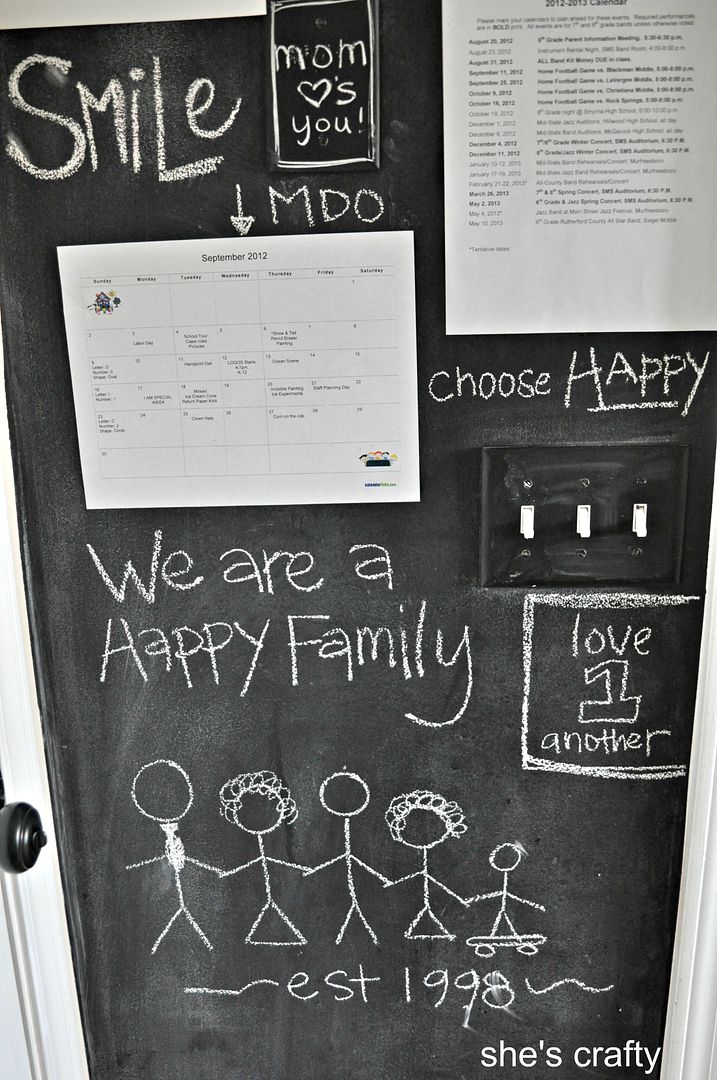
I think it's just fun and maybe puts a smile on everyone's face before they leave for the day.


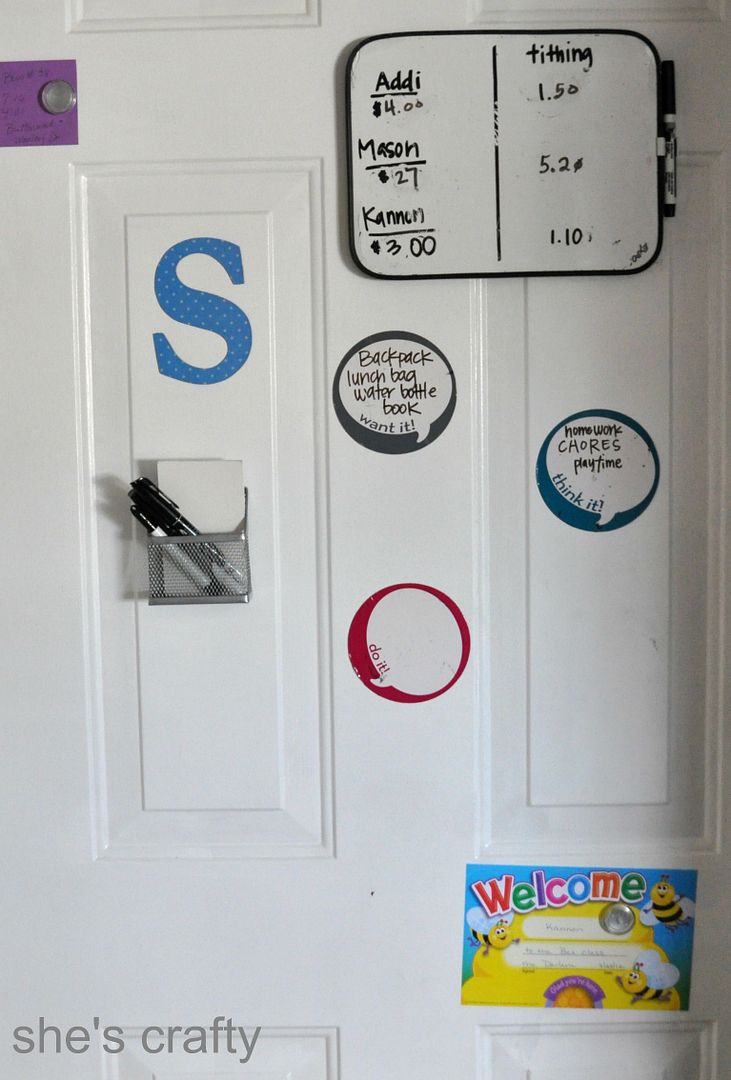
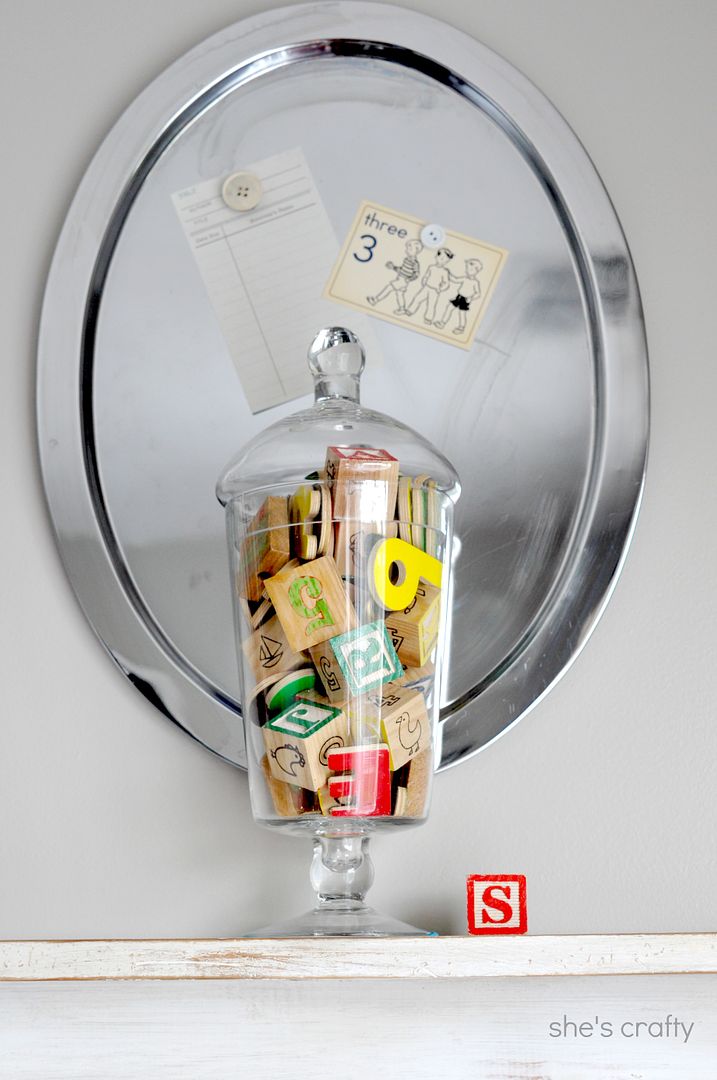
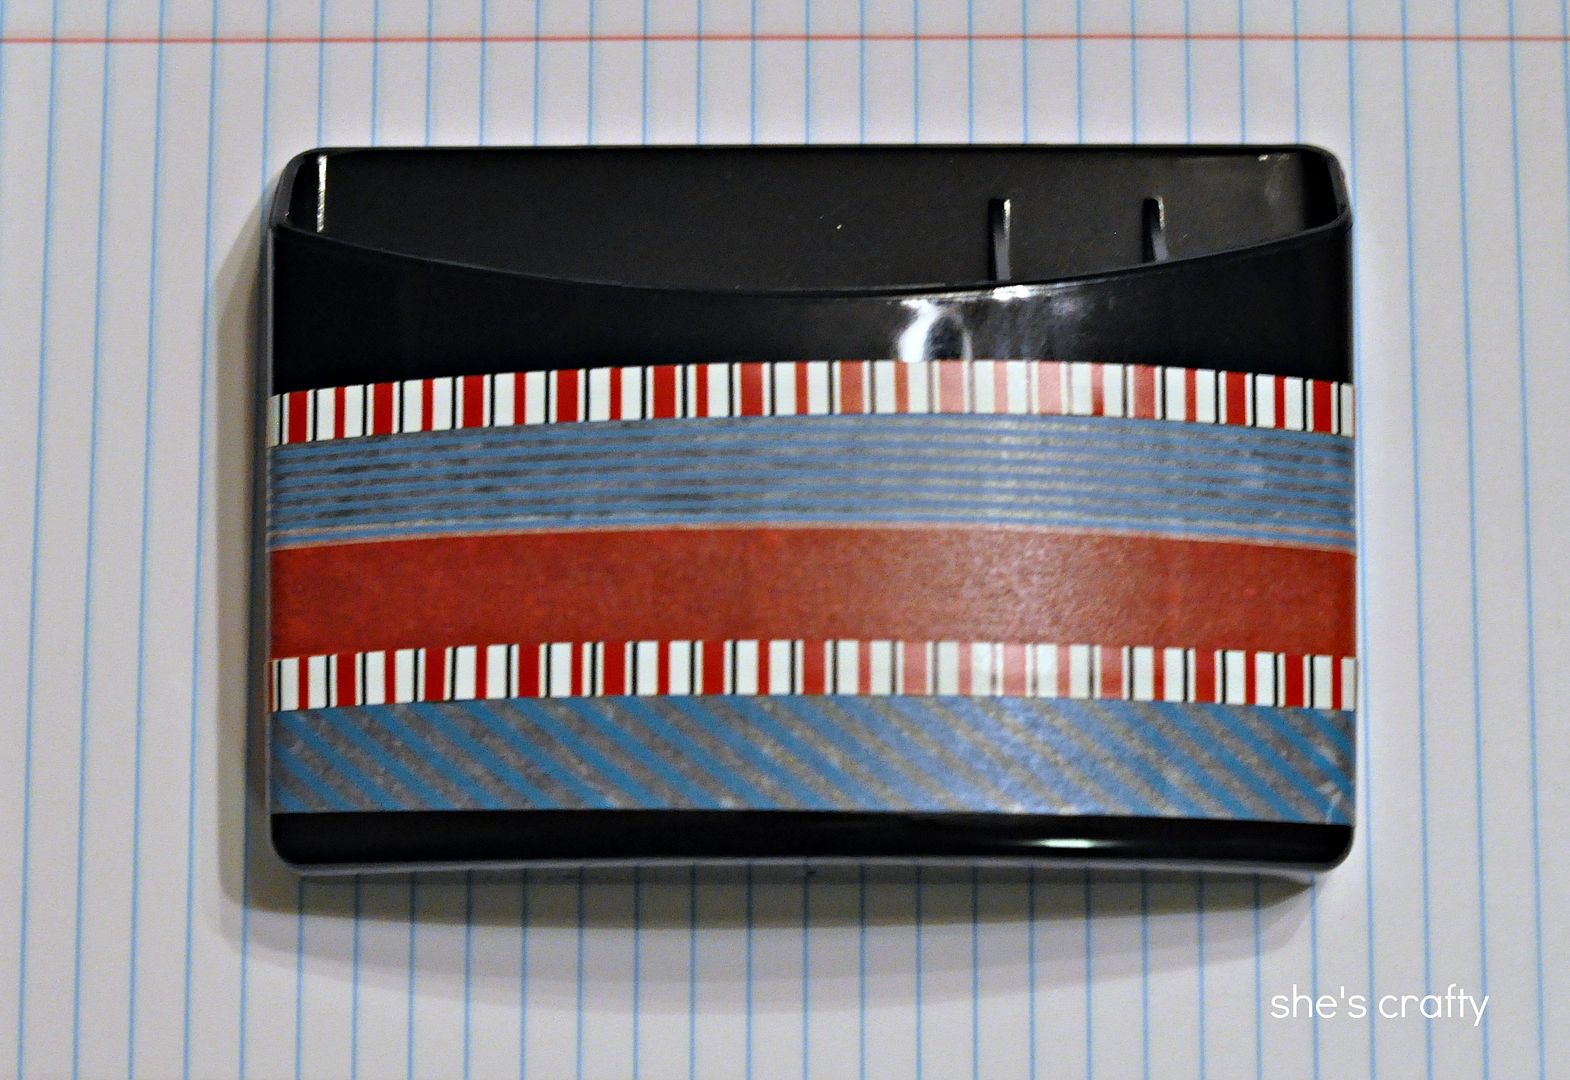
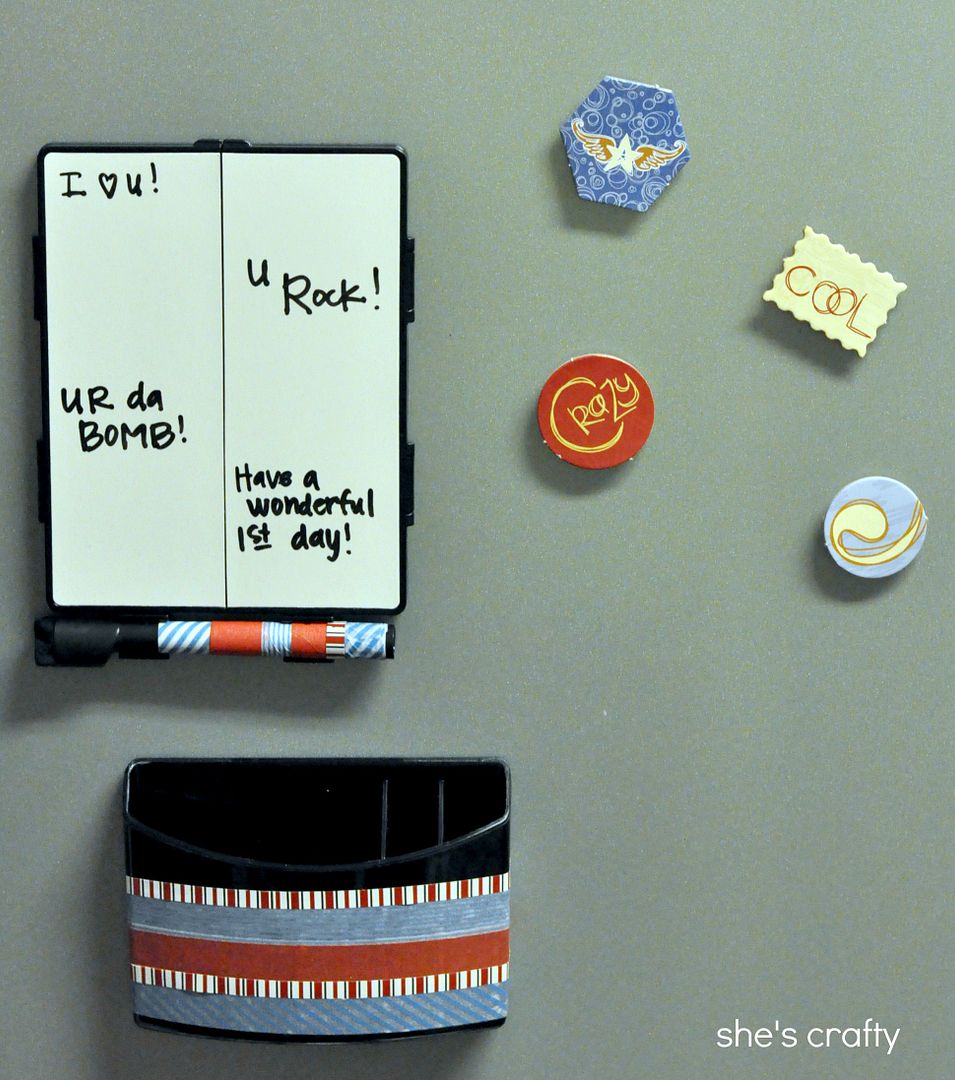
Since the door to our garage is metal, I can use magnets to put reminder notes on it. Right now it only has a few things but usually band notices, birthday party invitations, school open house reminders and things like that can be found here.  

I'm sure I'll be tweaking things here and there as our needs change, but hopefully we are starting our school year off right!!

What do you do to help organize for school?


Staining our deck

Remember here when I talked about getting a new deck.  We had grey composite flooring and wooden rails added to our existing apron and poles.  It looked like this:


and this:


Not so pretty!!  I planned to stain everything the same color right after I let the wood cure for about a month.  Um yeah, then it got blistering hot here in TN.  I barely even went outside.  I certainly wasn't about to stay outside long enough  to stain this puppy!

Enter last week when it cooled down a little and I was able to head out to work on the deck.


I started by sanding (with the same mouse sander I always use) the bare wood down to get rid of uneven spots and prep the wood for stain.


Safety first here using a really nice respirator sent to me by 3M.  I'm a tiche on the claustrophobic side and hate my face covered so I normally don't use any sort of  mask when painting or staining.  But this respirator  (amazon affiliate link) has a valve on it that allows the wearer to breath in cool air.   I didn't freak out at all wearing it.  And my lungs said thank you!


For the stain I chose this semi solid deck stain by Cabot in Fieldstone color from Lowes.  The semi solid allows the grain of the wood to show but still has good coverage of the wood.  I thought the color matched our composite very well.


Then we stained and stained.


And stained some more.  It took 2-3 coats in some places to get all the wood covered.


But it turned out so pretty!!


Look at that!  I barely even remember sweating myself to almost death staining it!!  


And just so you don't have to scroll back up to the top, here is a before and after.  What a difference!


, 52 Mantles

School Mantel

In my continued quest to be excited for school, I decorated my mantel.


Really, it did help a bit.  I still miss my kids though.  And I miss staying up late, sleeping in late and swimming.   Anyway...school.  We are in school. We are celebrating being in school.  I'll just keep telling myself that!


And if I can't be happy about school then I'll be happy to use some decorative school items!  :)


I filled an apothecary jar with vintage letter blocks.  On the silver plate I used a library card and a flash card.


In front of my ever present Chevron art, I have an old chalkboard that I added some ruler washi tape to, a clipboard with some cute school paper, my ruler frame and some ABC blocks.


On the other end I used a jar of pencils and a printable that I whipped up of some inspirational quotes.  I don't know if anyone wants it and since I don't know how to embed a document link, if you want the printable, email me and I'll email it to you.


I better get used to the idea of my kids being gone.  My littlest starts Kindergarten next year.  


I better go do some retail therapy to cheer myself up and help me forget how much I miss my kids.


Maybe I'll find some more stuff to redecorate my mantel for the next season.  Fun!!

School Themed Ruler Frame

I'm really not all that thrilled about my big kids being back in school. For the first time ever, I wasn't ready for them to go back.  We had an awesome summer that ended way too quick!    But if there is one thing I can get excited about, it's crafting and decorating.  So I thought in order to have more enthusiasm about school, I would do some school themed posts.  I did a nap mat and locker accessories and now I'm doing some school themed decorating.


Starting with a ruler frame (inspired by one I saw here)


I used:
*a wooden picture frame- (from the craft store) which was painted black, then red and distressed for the black to show through
*and 2 wooden school rulers that are in all the stores right now


I cut the ruler down and mitered the corners with my handy little miter box and saw.


then I glued the ruler to the frame with wood glue.


Super simple and easy.


I put some patterned paper in the frame.


Here it is on my school mantle, which will be in an upcoming post.

How are you feel about school starting?


Locker Accessories

My oldest is starting middle school.  I have been in denial.  He's been looking forward to it since the end of 4th grade.  Me?  Not so much!  I have actually been sick to my stomach for the past 2 weeks just thinking about it.  This will be the first time I won't walk him to class, meet his teachers, see his desk, etc.  He's going to be doing so much on his own.  I'm pretty sure he's ready.  I'm just not sure I am.  (sniff, sniff)

Anyway, one of the things he's most looking forward to this year is having a locker.  He wanted some really cool (do the cool kids call things cool?  I need to figure out the lingo) accessories to hang up in his locker.  After seeing this post from Tausha at Sassy Style I was inspired to do a little something with the boring things we found at the store.


I started with an inexpensive magnetic storage box and dry erase board (that opens up to reveal a 3 way mirror) from Walmart and some washi tape. (Please excuse the poor pictures.  We didn't even start this project until 8:00 the night before the first day of school.)


When I first asked my son if I could decorate his things he got a very worried look on his face and asked what kind of decorations?  I think he was picturing flowers and unicorns.  But then I pulled out the decorative tape and showed him my plan, he was all for it.  He chose red and blue.


He was pretty happy with the way the storage box turned out. 


There wasn't a lot I could do with the dry erase board so I just wrapped the pen up with some tape and wrote some messages on the board.


He also wanted some magnets for hanging papers and such so I dug through my stash and came up with these chipboard pieces, which I then hot glued magnets to the back.


My boy is so excited to hang his new accessories up in his locker at Middle School.  I wish I could see his locker.  (sniff, sniff) I'll guess I'll have to ask him to take a picture.  

How to make a Nap Mat Cover

Here in the south, kids go to pre-school and Kindergarten all day.  All day school  = nap time, and with nap time, a child needs a nap mat. Nap mats are required and that means a nap mat cover is important too. I'm sure there are covers you can purchase, but making a cover with fabric your child chooses will make them so happy!

It's pretty easy to make a Nap Mat Cover.  I'll show you how!  updated August 2019


How to make a cover for a napmat or kindermat

July photo a day

July 2012 is history.  Can you believe it?  Where did it go?  This month was a little challenging to take a meaningful photo of each prompt.  But it was fun figuring it out too.


1.  self portrait:  me with my boys watching a movie
2.  busy:  driving to Orlando for vacay
3.  best part of your day:  playing at the Nickelodeon Hotel
4.  fun:  playing at the World of Harry Potter
5.  on the floor:  our clothing totes (much more efficient than suitcases) at the hotel
6.  chair:  sitting on the bus after a full day at Disney
7.  garden:  the hotel grounds at Coronado Springs in Disney


8.  lunch:  eating lunch in Orlando
9.  big:  our big drive home
10.  favorite color:  red wrist strap on my key chain
11.  letter:  mine and my husband's initials on my new bracelet
12.  texture:  rain on the windshield of our van
13.  open:  my husband's new work backpack (he fits lots of stuff in there)
14. building:  a quick trip to Walmart
15.  finger:  my daughter's hurt finger


16.  sign:  Target
17.  your addiction:  cheddar biscuits from Jim N Nicks
18.  plate:  we had a taste test party (so much fun trying different soda's and cookies)
20.  eyes:  my pretty daughter enjoying a Popsicle outside
21.  9:00:  church
22.  upside down:  wearing ankle weights while getting my housework done
23.  mirror:  my son wrote his hygiene checklist on the mirror
24.  a stranger:  working on her car at our local gas station


19.  (missed it in the collage) animal/insect/pet:  our guppies


25.  heart:  We heart our lazy summer mornings
26.  sunshine:  enjoying a snack break in the sun at the pool
27.  on the road:  our neighborhood
28.  cup:  my son is trying to get rid of his sippy but I'm not ready!  (it's the last baby thing he does, sniff!)
29.  last thing you bought:  chalkboard paint to paint outside my kids bathroom
30.  calm:  this little stinker sleeping calmly in my bed
31.  toothbrush:  the daily toothbrush and paste mess my kids make


Here is the list for August from fatmumslim.  It's lots of fun to play along!!  Link up on instagram with the hashtag #photoadayaug


handmade necklace pendant tutorial


I'm really into jewelry lately.  And like a good DIY'er, I figured out how to make customized necklace pendants myself.  It was super easy.  I'm not sure why I didn't do it before now.


I started out with these blank pendants from Hobby Lobby,


and cut this scrap of patterned paper down to fit inside the pendant.


I then used Glossy Accents...


to fill in the entire inside, on top of the paper.  I let it dry over night and it set up thick and clear.


I loved it so much, I decided to make a bunch more the same way.


With red polka dot paper and a square pendant blank.


And this one is a circular copper blank.  I also used a charm from my scrapbook stash.


For this pendant, I used yellow and white chevron paper and then wrote on some words with a scrapbook pen, before sealing it with the glossy accents.


Anytime I don't have a necklace to match one of my outfits from now on, I'll probably just make a new one!!